Here we are with the second instalment of this Gravitar restoration project. If you’ve been waiting patiently for me to get this cabinet completed, I can only apologise. I have too many arcade projects and so little time! To catch up on the history of this cab so far, take a look here for the original pickup post, and here for Part 1 of the restoration itself.
So you’ll see that we were left at the end of Part 1 with a cleaned up shell:
A good starting point for Part 2. One cleaned up Gravitar cabinet
I didn’t really document it with pictures, but I spent many a rainy afternoon rebuilding the WG-6100 vector monitor. With the help of fellow Stateside collector Andy Baldman, I got the thing working again, after much head scratching and testing, thanks to the working monitor I had in my Tempest cabaret, which I was able to use as a reference point.
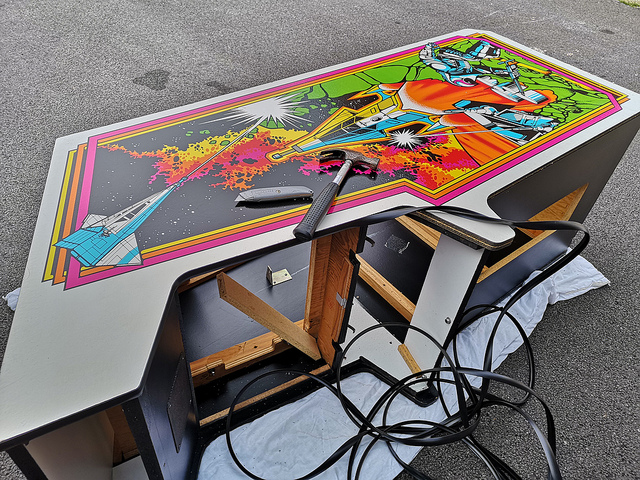
With that done, it was time to get the cabinet up to the loft arcade. But before that, I thought I’d get new t-molding onto the cabinet, while I had the space to do so:
I’ve documented this process many times before, so won’t bore you with the details again. Suffice to say, a classic arcade cabinet always looks better with new t-molding!
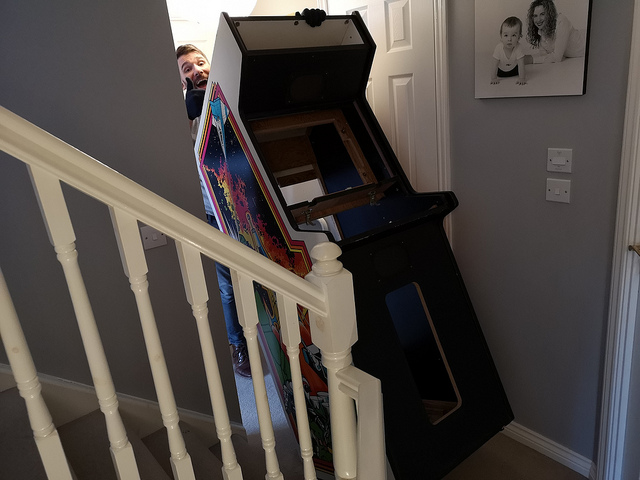
My friend Rich came over to provide some much-needed muscle to get the beast up three flights of stairs. I traded endless cups of tea and pizza slices in return for his help. I needed it:
Rich and I risked life and limb to get this thing up the stairs at Arcade Blogger Towers
The loft arcade is pretty packed with cabinets these days, but to date, I can safely say that the Gravitar was the most difficult to get up to my arcade room. We actually had the machine stuck on a corner at the very top for a couple of minutes – literally. It was balancing on one step with the top of the cabinet firmly stuck against the sloped ceiling of the loft. It refused to move. Just as we contemplated taking it back down and giving up altogether, we somehow managed to jar it round the corner without too much damage to the walls (well, maybe there was a bit, but I managed to repair it before Mrs Arcade Blogger got home).
One empty Gravitar cabinet. I don’t want to think about ever getting it back down the stairs again. Looks like we’re either living out our days in this house forever, or when it comes to selling up, we’ll have to do a package deal
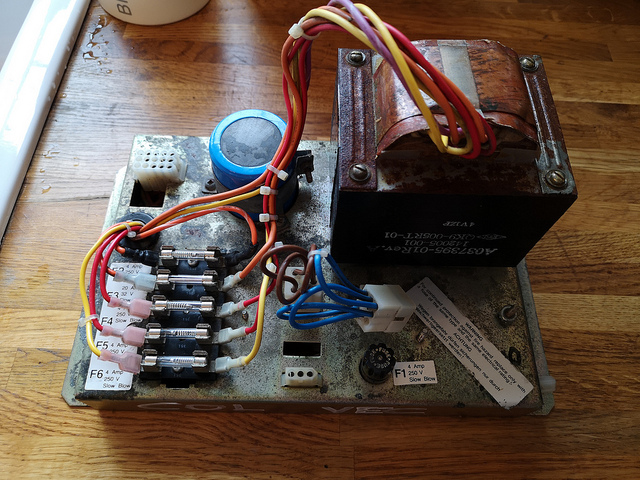
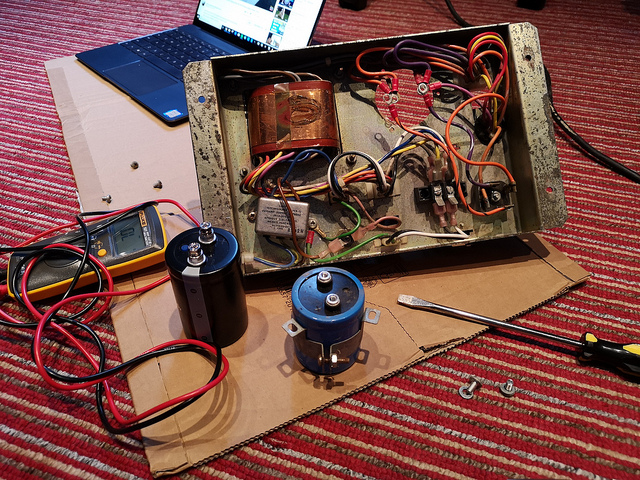
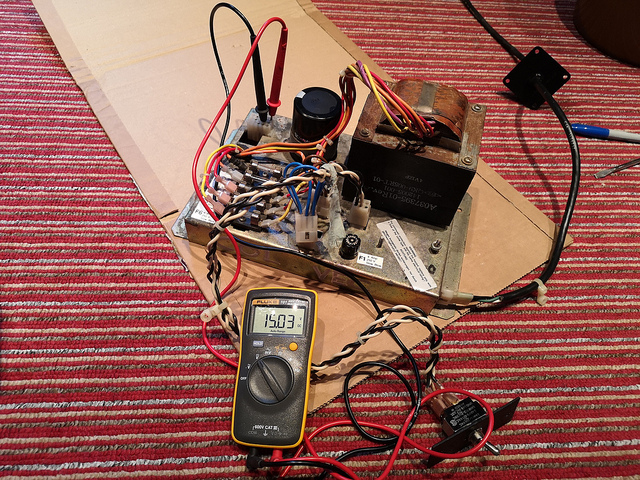
So with the Gravitar safely in the loft, it was time to get to work on the hardware, getting it clean and ready to repopulate the cabinet. First up, was the power supply:
This was the starting point. Covered in 35-year-old muck and dustI like the patina on these things, so it just needed a clean upA few flight checks before we plug it in. I decided to change the Big Blue capacitor as I had one lying around unused. Replaced all the fuses too as a couple had blownTesting voltages with the multimeter. Everything checked out. We are good to go!
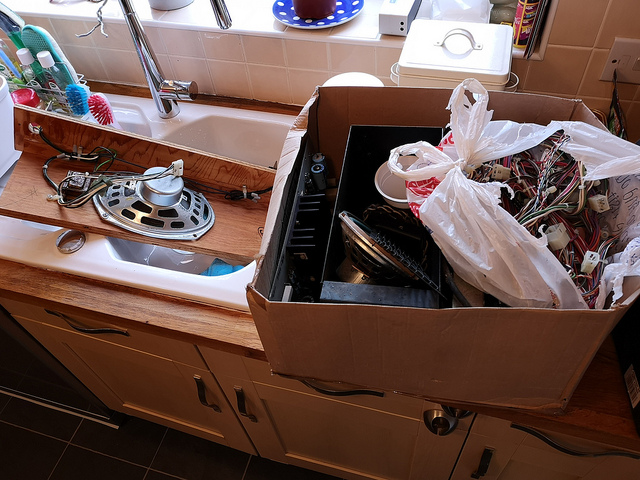
Next up, time to head to the kitchen sink to give some of the metal work a wash:
That’s a big box of stuff. Washed the cash box and other metal bits that were safe to soak
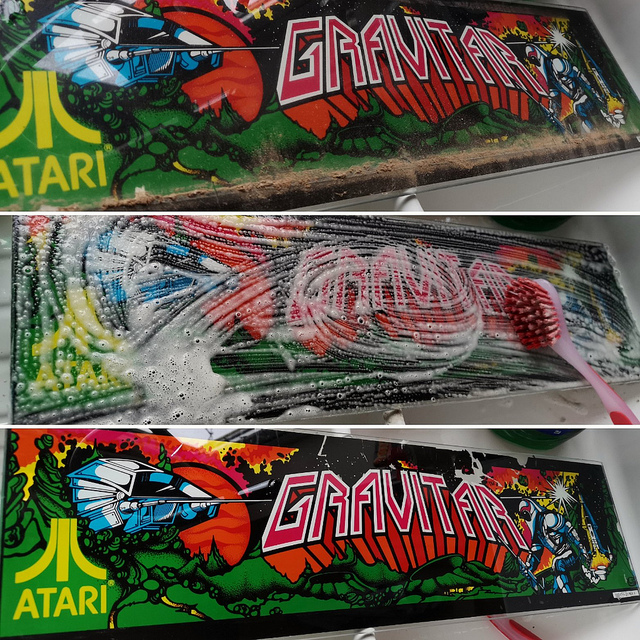
Next was the marquee:
The three stages of cleaningHad a slight disaster (and learned something along the way). It turns out that 35-year-old silk screened graphics don’t like warm water. Not happy! it doesn’t look too bad. I may consider replacing this with new art, but for now we’ll see how it looks on the machine
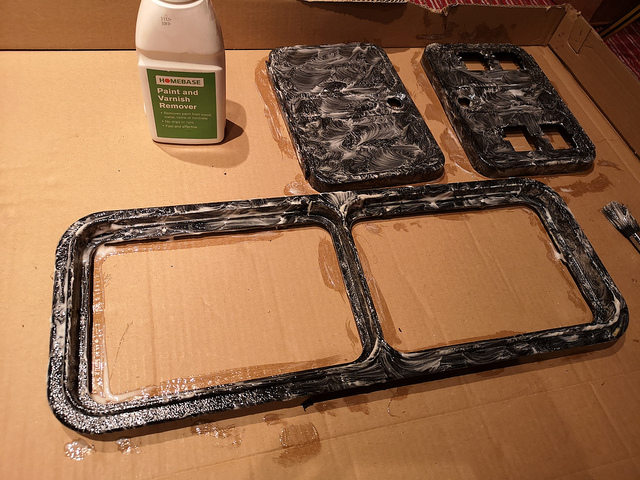
Back out to the garage to get the coin door into shape. It came very badly rusted and needed a complete refurbishment:
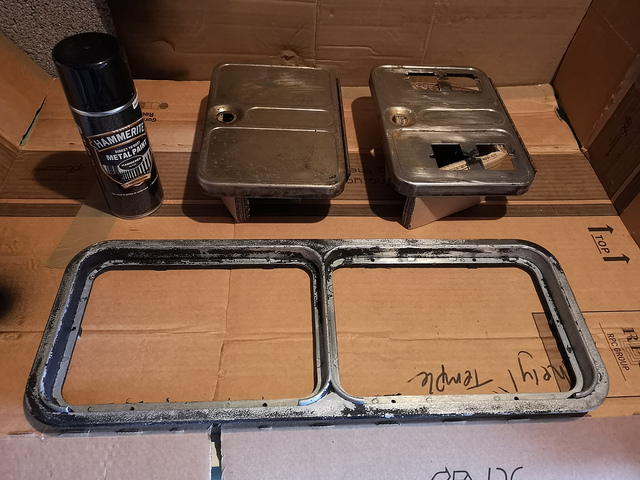
Step one, coat everything with Paint Stripper and leave for an hourThe paint scrapes off pretty easily once the stripper has done its work. We’re now ready to respray using Hammerite metal paint from a rattle can. I use ‘Black Hammered’ finish
After three coats of paint to the door, I left that to dry overnight and ventured back into the house to get to work on some other jobs that needed doing:
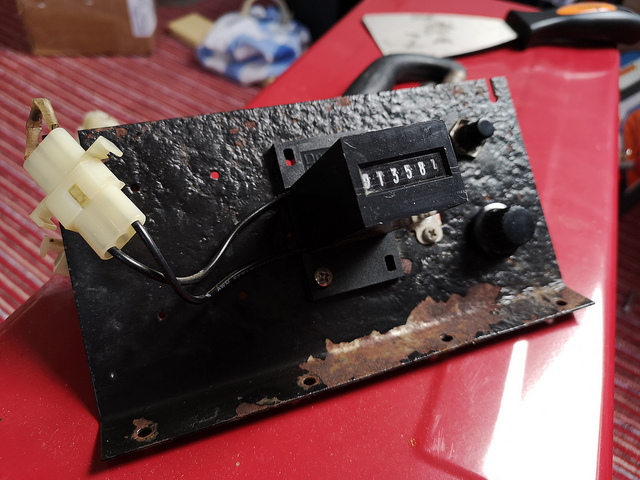
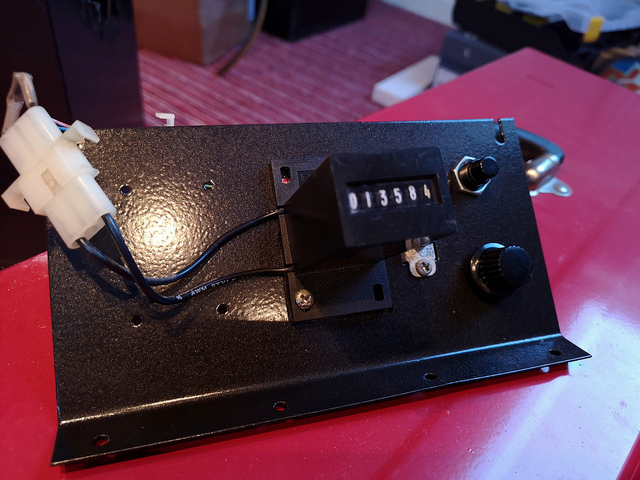
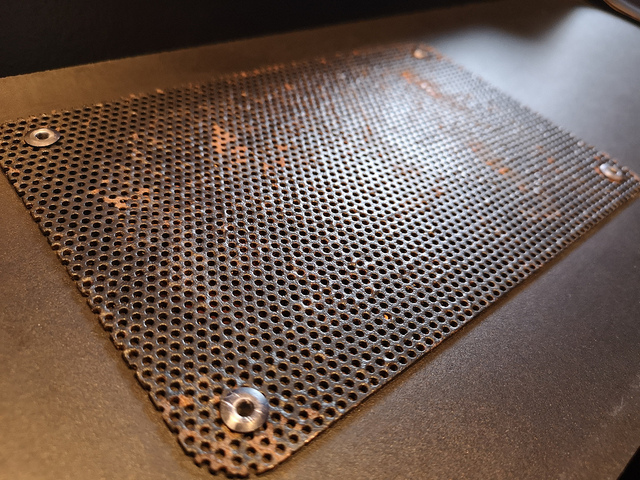
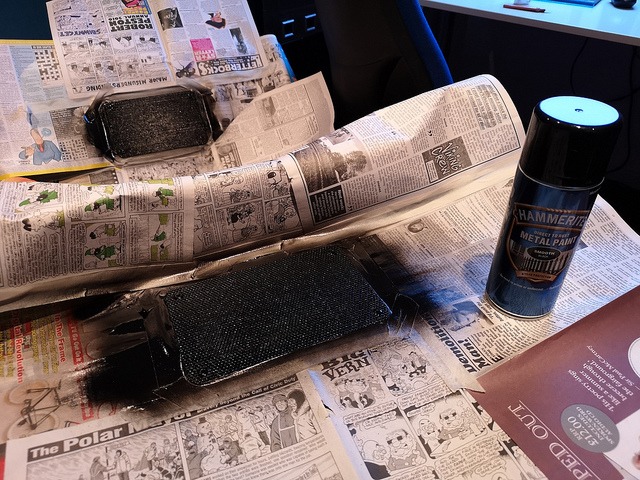
Here’s the test plate that sits on top of the cash box. This is the state mine was in. The paint has bubbled and rusted right through. Can’t have that inside my cabinetAfter removing the hardware, I stripped the old paint, resprayed with three coats and put everything back together. A vast improvement!Gravitar has two speaker grilles, and both of mine are pretty rusty looking. This is a job I probably should have tackled in the garage, but I managed to overlook itI wouldn’t normally recommend spraying paint inside the house, but I had little choice. Masked everything off with newspaper, and carefully sprayed the grilles with smooth black metal paint. I surrounded the grilles with a cardboard box to minimise overspray. Don’t forget to mask off underneath your grille otherwise you’ll find paint goes right through to the inside of your cabinet, or worse still, your carpet. Ask me how I know….
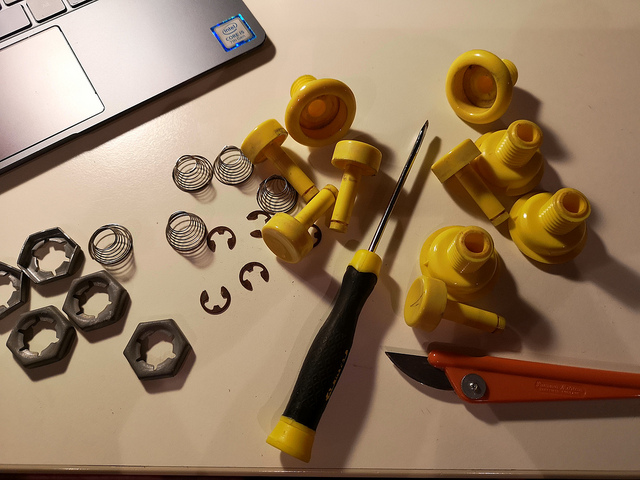
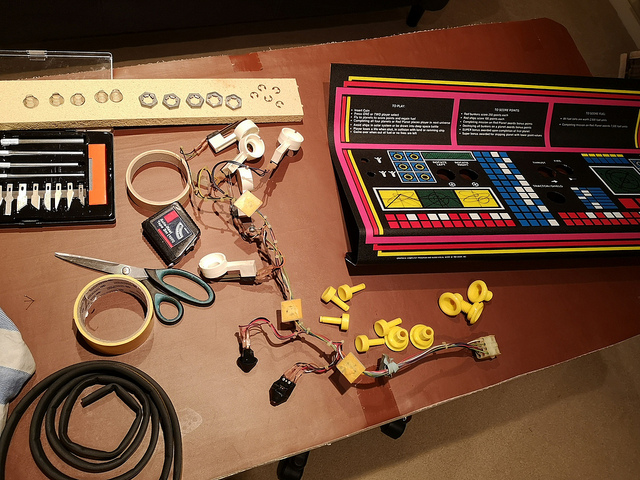
Buttons next. I depopluated the control panel and dismantled everything:
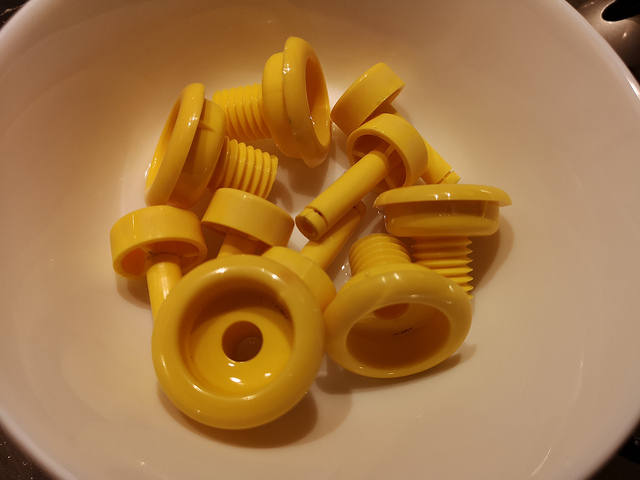
Here’s the buttons from the control panel. Pretty mucky. They’ve never seen water by the looks of it. I dropped them into hot water and detergent and left them to soak overnightAfter drying them off, I grabbed the drill, put the button shafts into the chuck and spun them in an old tea towel with a spot of polishThe clean and polish really brought the colour back to these old yellow buttons. Nice!
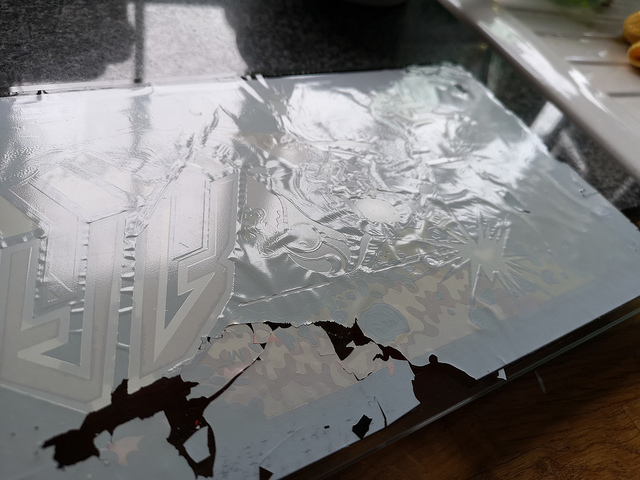
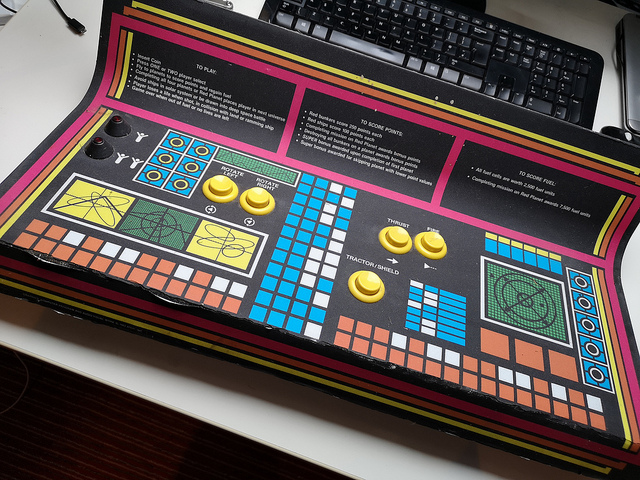
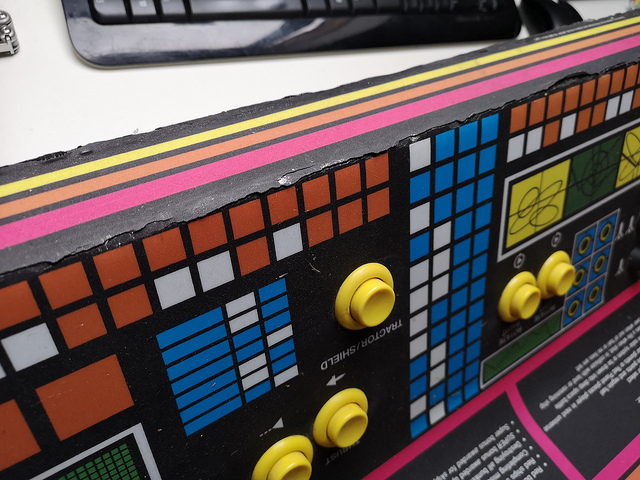
Next up it was time to tackle the control panel:
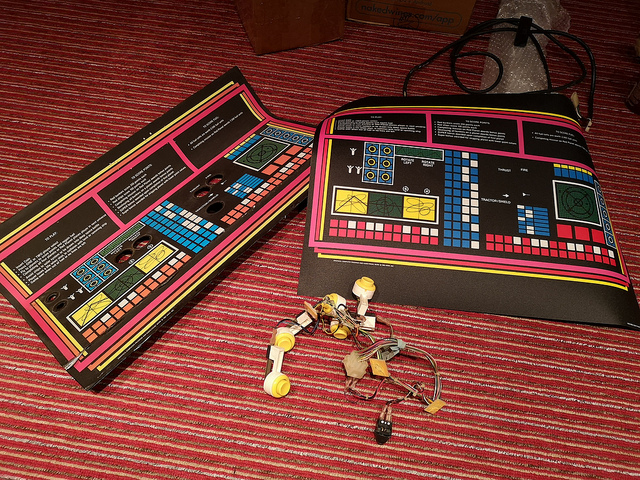
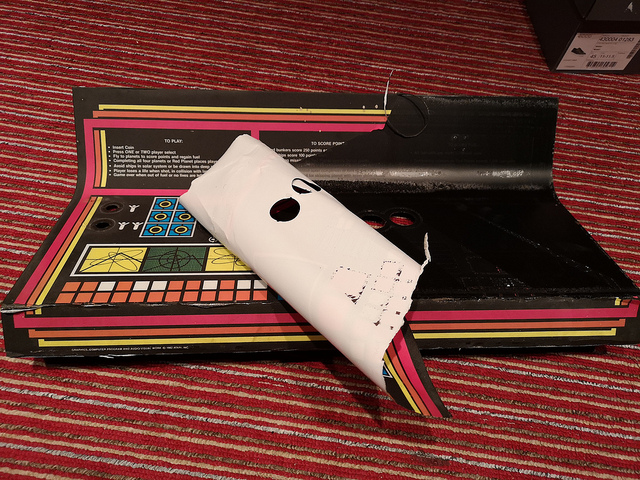
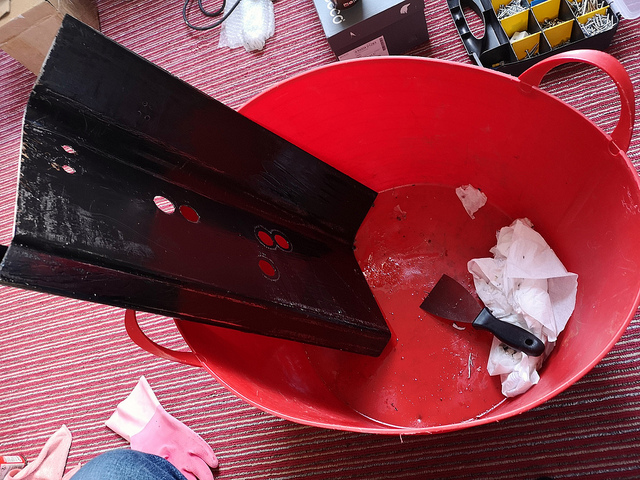
Here’s the control panel that came with the Gravitar. Looks pretty nice at first sightBut I wasn’t happy with this. Fairly typical of control panel overlays of this age, the vinyl overlay starts to crack around the edges, and my panel was pretty rough-looking in placesThankfully, I acquired a reprint from This Old Game. This particular reproduction uses the same materials, and the graphics were done using the original Atari film screens. This is literally an exact copy of the original – I had no qualms about replacing itSo let’s get the old vinyl offWhat the vinyl leaves unfortunately, is a thick film of adhesive on the metal panel. Now there are lots of restoration jobs to be done when working on old cabinets, but this is the worst job of all. All told, I spent a good three hours with a scraper and copious amounts of kitchen paper and WD-40 (which I found to be the best remover). I finally got there though
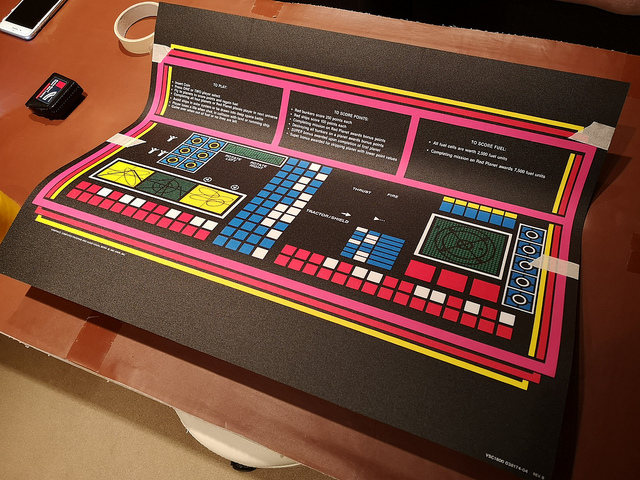
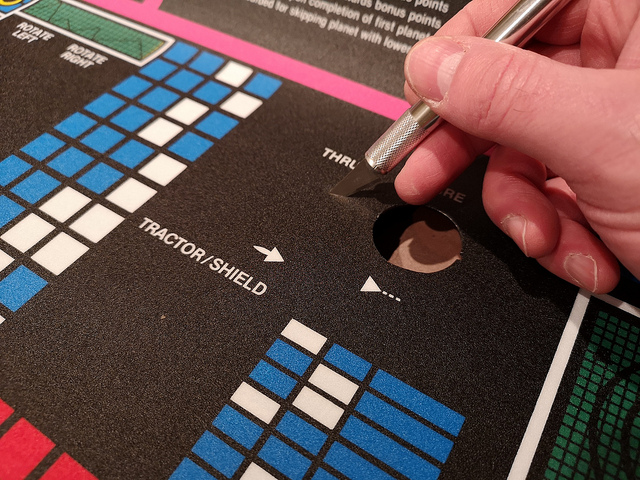
So with our panel stripped, prepped and cleaned, it was time to apply the new artwork:
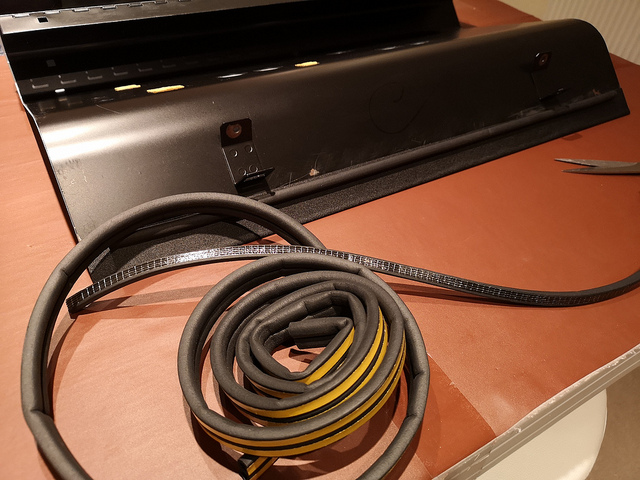
Take careful measurements and mount the artwork to your panel using masking tapeThis is a job for two people really. Fold out and remove the backing film from the top to the middle of the art, then cut it away. Use a soft cloth to press firmly from the middle upwardsRepeat the process from the middle to the bottomGet a sharp craft knife and cut out your button holes using the holes already on your panel as a guide. Here’s where you find out if your measurements were correct!With your new art applied and button holes cut, its time to replace the hardwareEt Voila! One spanking new control panel. Very pleased with how this came outThinking outside the box. There was a strip of foam applied by the factory at Atari on the back side of the control panel that protects the monitor glass when its closed up. It came off when I stripped the vinyl art off. To replace this, I used a cut length from a roll of window & door insulation tape. It came with an adhesive edge – does the job perfectly!
Couple more jobs:
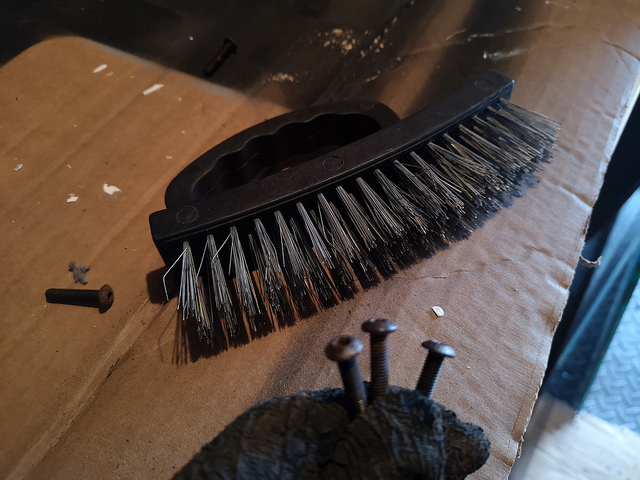
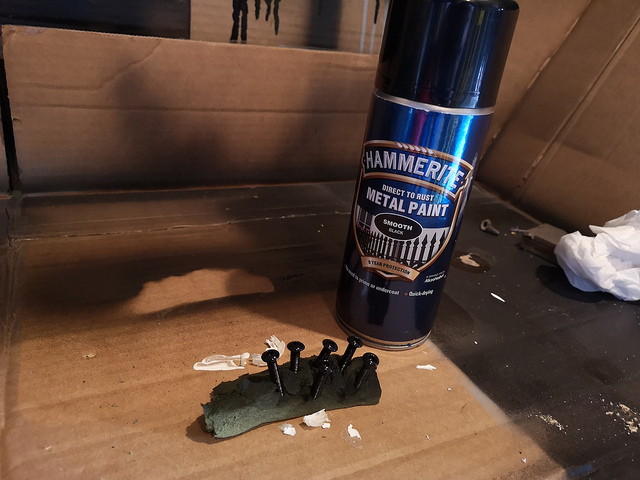
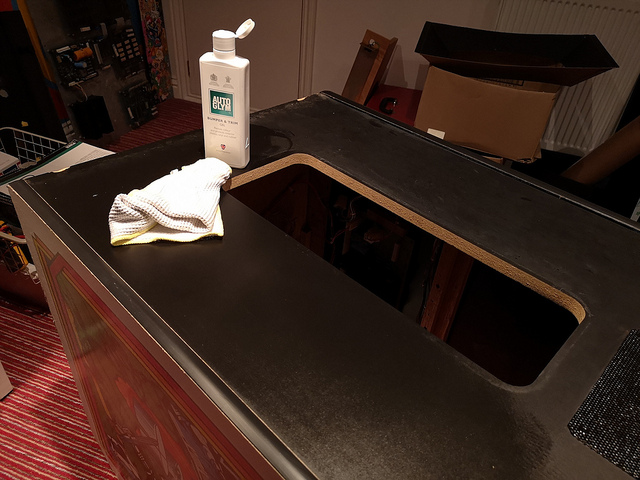
Got to work on the badly rusted marquee retainer bolts with a wire brushGrabbed the Hammerite paint and gave the tops a couple of coats with smooth blackI wasn’t happy with the vinyl on the front of the cabinet. it was badly faded and looked very tired. A great product to bring this back to life is AutoGlym Bumper & Trim Gel. it really makes the vinyl look like new again
There we go, that’s Part 2 finished. Join me for the third and final part, where we’ll get the cabinet repopulated and fired up! Almost time to play some Gravitar!
This looks great! It’s a pity there’s not a cabaret version, but then it would probably just have boring wood grain on the sides. What would you suggest for volcano buttons for which the plastic has become scratched or pitted? Is there a way to polish or shine that?
Hey Andrew. There is a cabaret version of sorts that didn’t see a wide release. It was built in the EU factory in Ireland. A couple of examples are out there. Volcano buttons – attach them to a drill bit (or not) and go to work on the cones with a very fine sandpaper, then use Novus polish to bring them back again. Here’s a pic of the cabaret Gravitar: http://www.andysarcade.de/data/picseries/gravitar_eu/pic001.jpg
Great post, Tony. These are my favourite to read. It is coming along very nicely indeed. Great tip on the adhesive insulation tape, too. Muggy be exactly what I need for underneath my Asteroids cocktail.
I can almost feel your pain after the marquee cleaning!
It was in so good condition under his dirty coat!
Anyway, the work you’ve done on this cabinet is amazing! I especially like how the new paint looks on the test plate


This looks great! It’s a pity there’s not a cabaret version, but then it would probably just have boring wood grain on the sides. What would you suggest for volcano buttons for which the plastic has become scratched or pitted? Is there a way to polish or shine that?
LikeLiked by 1 person
Hey Andrew. There is a cabaret version of sorts that didn’t see a wide release. It was built in the EU factory in Ireland. A couple of examples are out there. Volcano buttons – attach them to a drill bit (or not) and go to work on the cones with a very fine sandpaper, then use Novus polish to bring them back again. Here’s a pic of the cabaret Gravitar: http://www.andysarcade.de/data/picseries/gravitar_eu/pic001.jpg
LikeLiked by 1 person
Thanks for the tip; I’ll give it a try!
LikeLiked by 1 person
Great post, Tony. These are my favourite to read. It is coming along very nicely indeed. Great tip on the adhesive insulation tape, too. Muggy be exactly what I need for underneath my Asteroids cocktail.
LikeLiked by 2 people
I can almost feel your pain after the marquee cleaning!
It was in so good condition under his dirty coat!
Anyway, the work you’ve done on this cabinet is amazing! I especially like how the new paint looks on the test plate
LikeLike
Thanks Tom. Appreciate your support of the blog sir! Final part of this restoration will be up next week!
LikeLike