It’s been a while. But work continues with the Space Fever table. Next up was improving the cosmetic side of things. You’ll recall that in the last blog I mentioned that the main body parts were sent to the power coaters. So while I was waiting for them to come back, I thought I’d have a look at the feet. They are not in great shape, but are complete. Lots of grime and scratches:
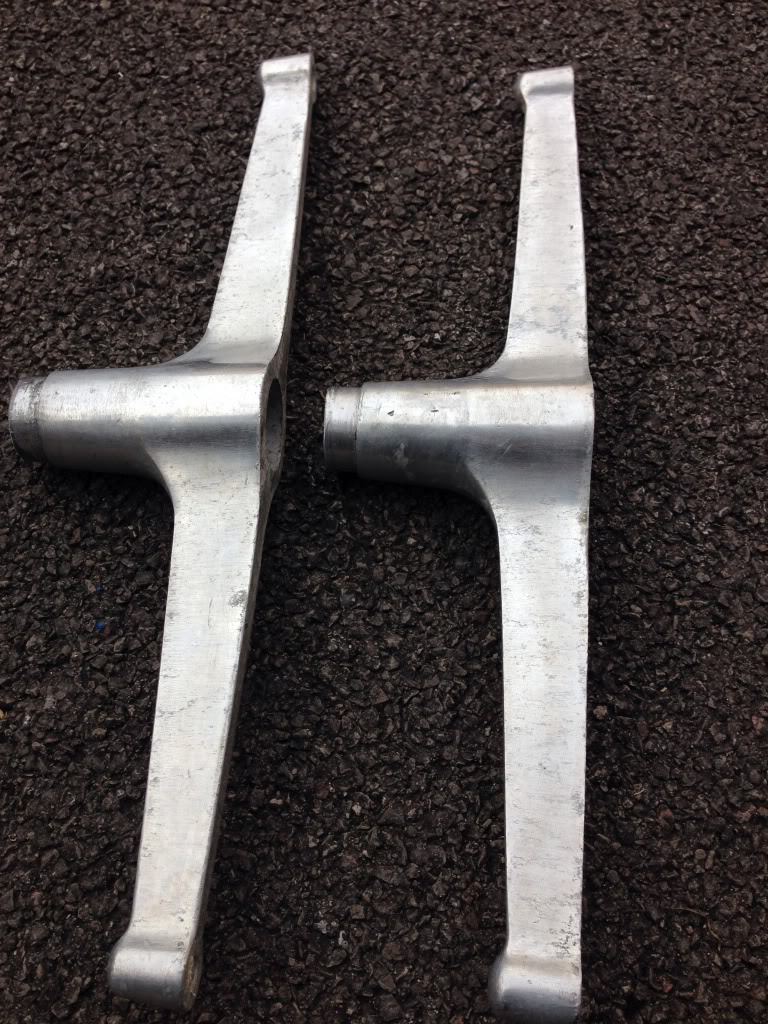
…and thinking about it, I don’t want them to be perfect – given the cab isn’t going to be an extreme resto, I’m going for a worn “vintage” look. This is a 70s cab, and whilst I obliviously want it looking good, I don’t want it to look absolutely brand new.
So I picked up a polishing kit from the local hardware store:

There are three different polishing heads, from abrasive to soft, and two different polishing compound bars.
Had a read up on how to use the kit properly, and set to work!

A good 30 minutes later, after applying the compounds, we ended up with this:

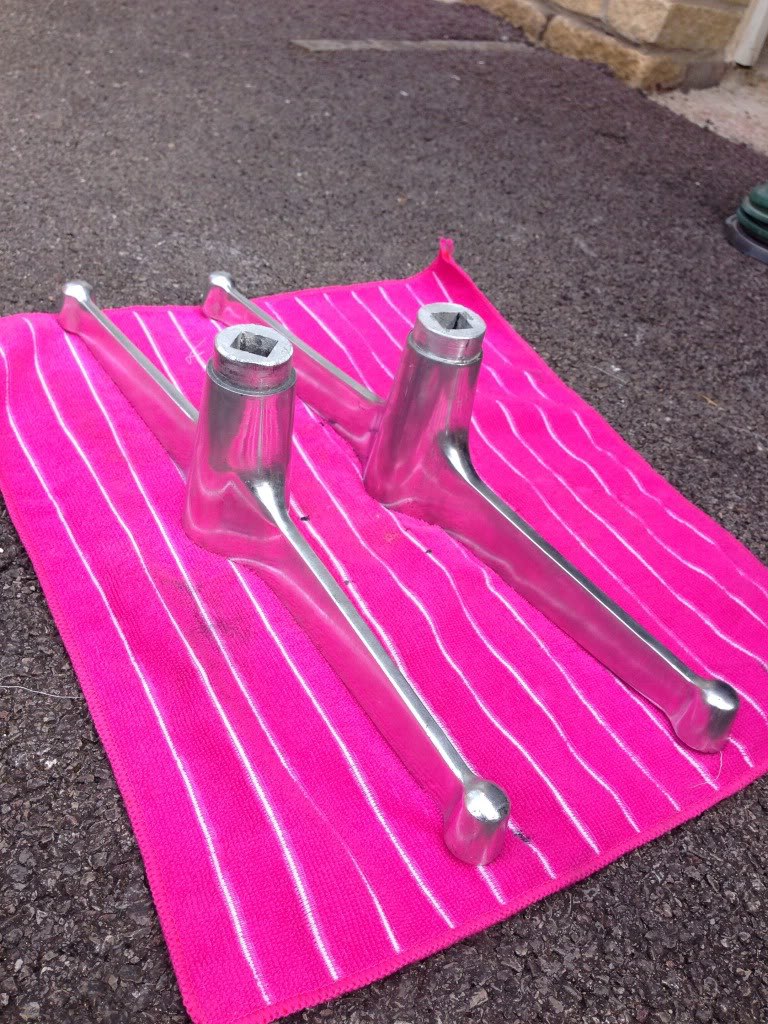
Pleased with that – it’s a huge improvement and I’ve got the look I was aiming for – polished but still worn looking.
So next to get the restoration treatment was the wooden hinged top. This actually fell off when I picked it up, so it needed some major repairs. Ordered some new wood veneer edging to replace the old stuff that’s on there. The first thing to do was remove the old veneer that was on there using a scraper:

I then sanded down the edges ready for the new stuff to be put on. Then got to work on the old sticky felt surround, which was full of 30 year old gamer grime. Ewwww:

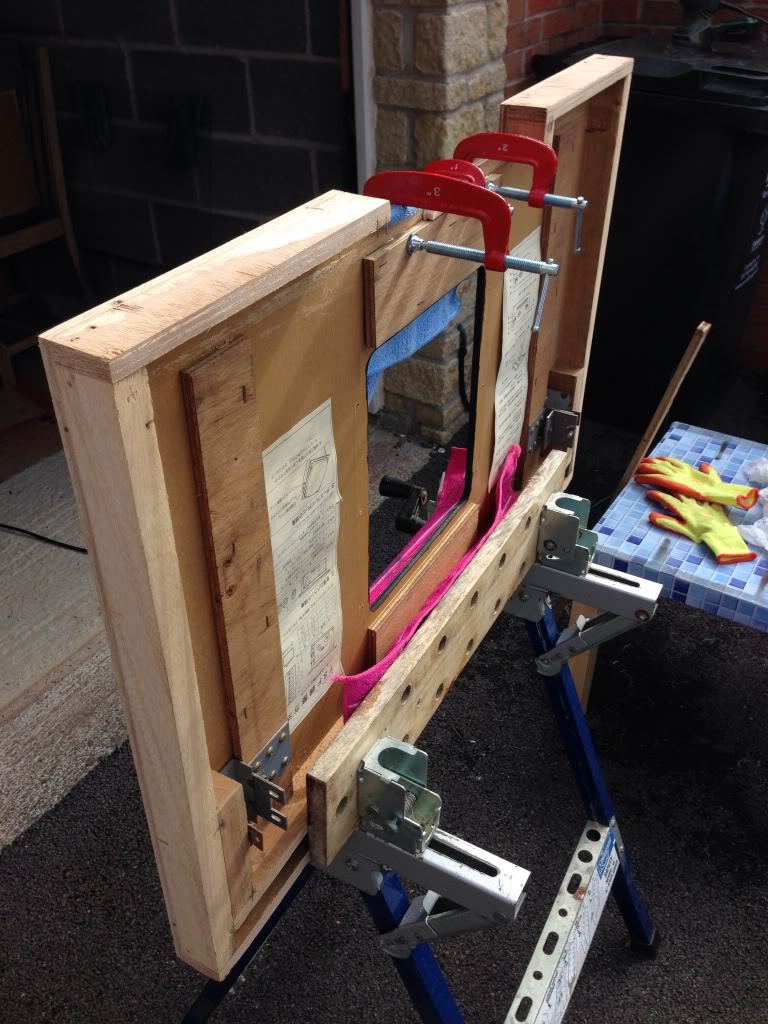
Then some fun with clamps to glue and secure the top back to full strength:
Once the glue had set, I could apply the new veneer. The biggest challenge here was sneaking the clothes iron out of the house from under Mrs Arcade Blogger’s nose. When she wasn’t looking, I snuck out with it and got to work ironing on the new veneer:


It came out great. What you find with cabs, is it’s often the simple things that stand out. So this was a job definitely worth doing.
Progress! more in part 4, so stay tuned!
Tony

