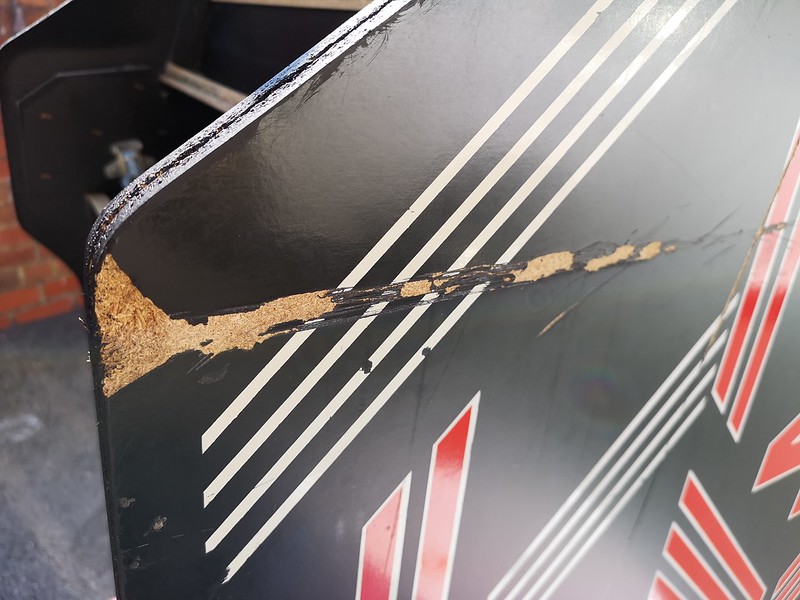
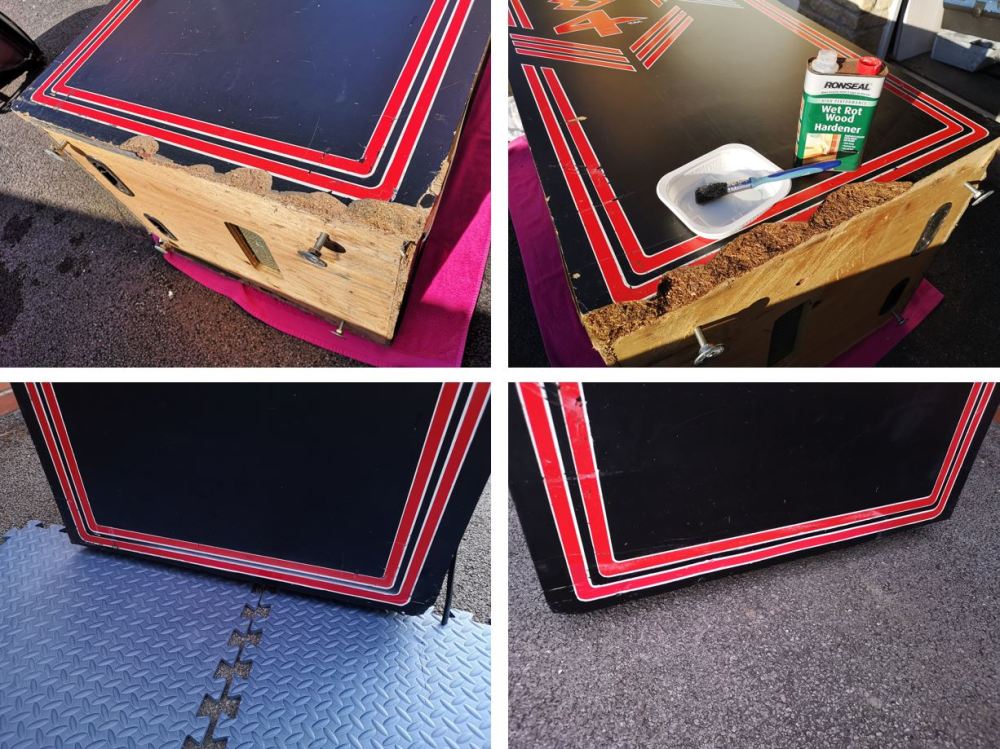
So I’m in the home straight here with my Robotron upright restoration. If you missed Part 2, you can quickly catch up here. In short, we left the cabinet last time having just used filler to tidy up the bottom edges, which were disintegrating quite badly, and I wanted to patch those up so that cosmetically, it looked more acceptable:
Here’s the Bondo product drying out, ready to sand
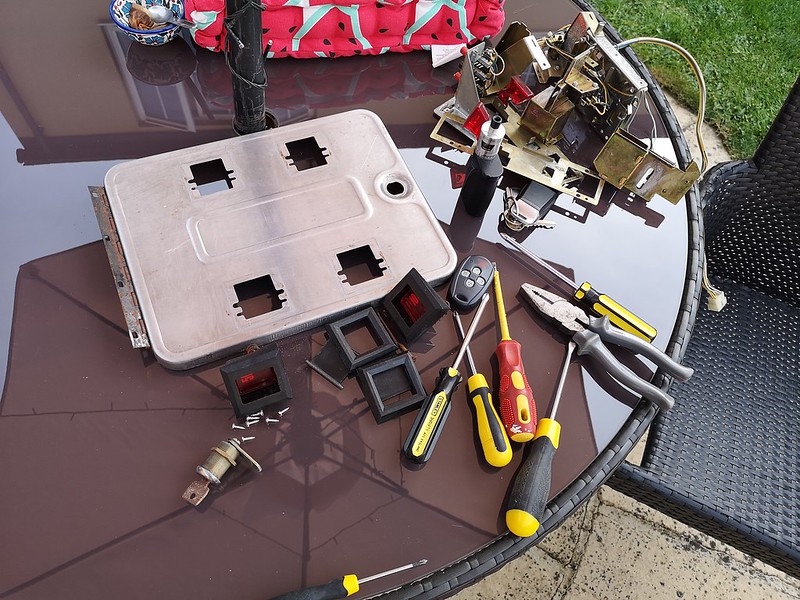
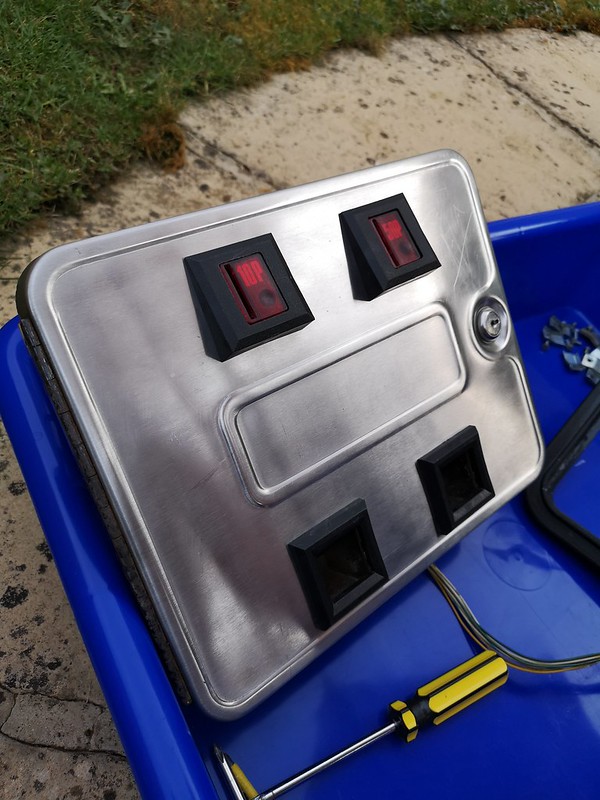
So while that was happening, I decided to tackle the coin door:
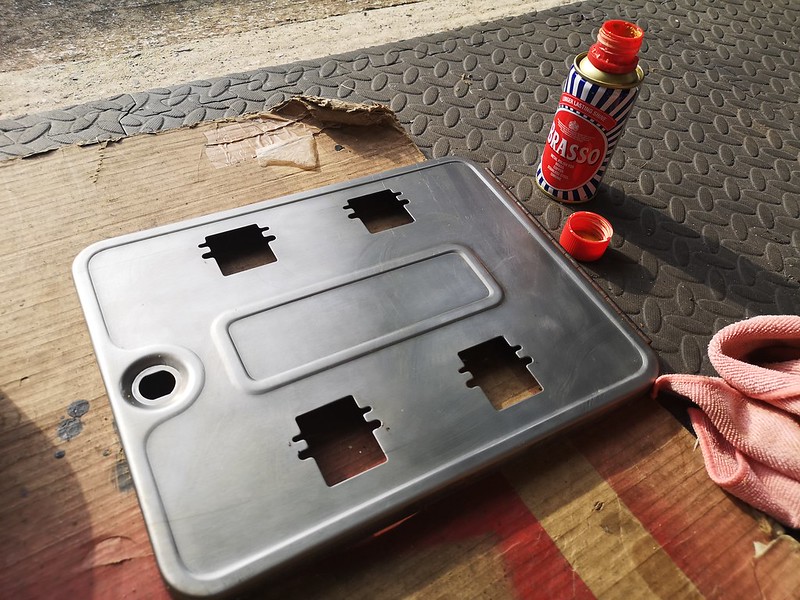
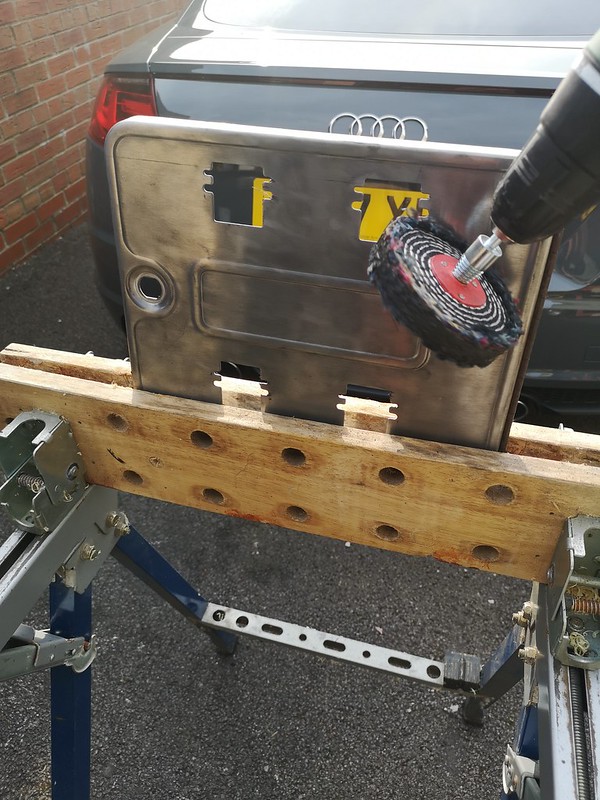
The door itself is in good shape, but really needed a good strip down and clean upWith the parts removed and given a hot soak to remove the grime, I got to work on the steel door itselfUsing my rotary polishing tool, I gave the polish a good work over for 15 minutesVery pleased with the end result!
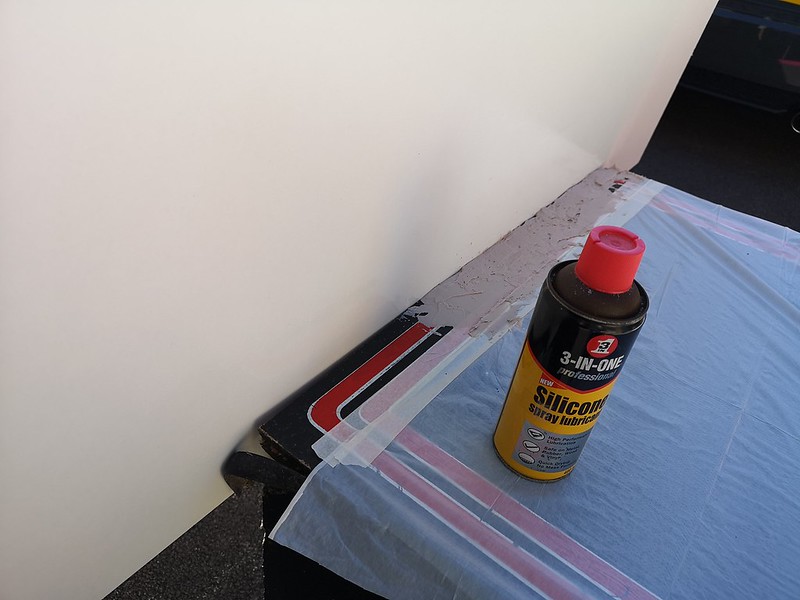
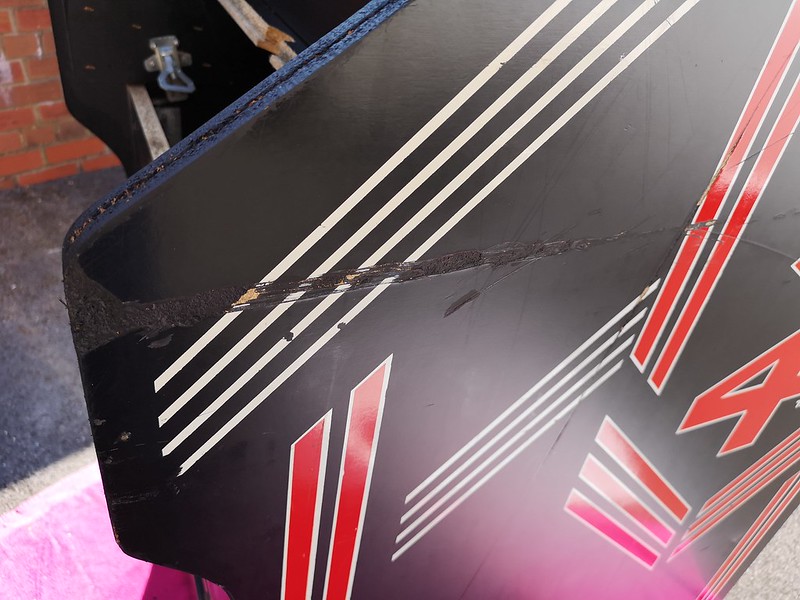
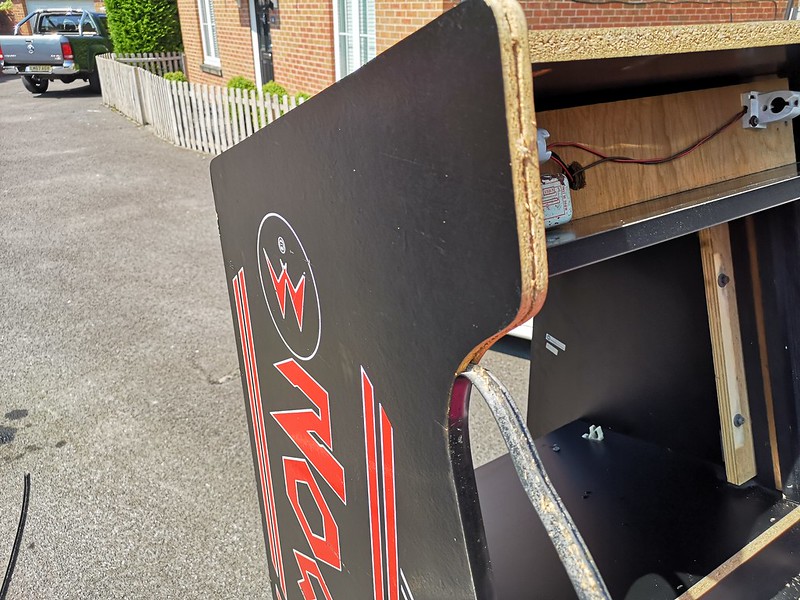
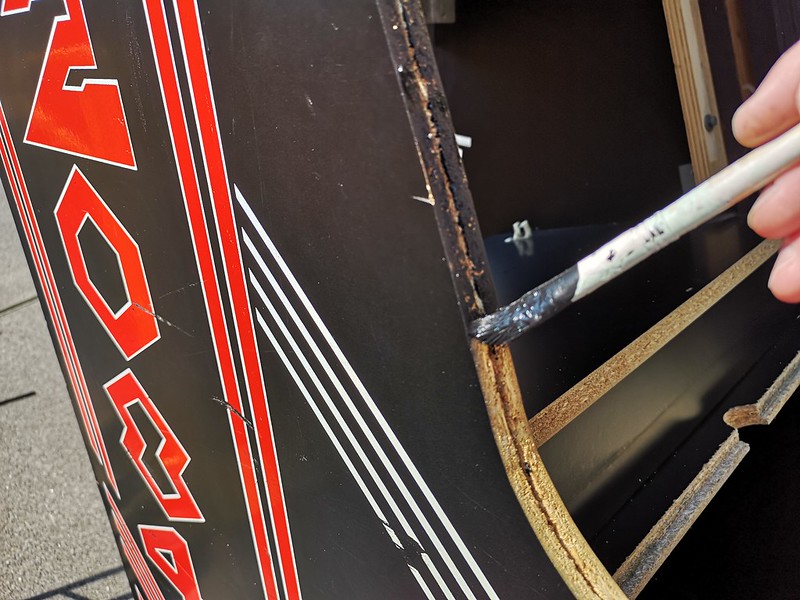
Let’s turn to the cabinet itself. There’s a lot of patina on the cabinet, which shows it’s age and reflects the hard life it had on the arcade floor for many years. The plan wasn’t to make the cabinet mint, but to subtly touch up anything that glaringly stood out in terms of damage. This for example, I think is worth tidying up a little:
Not great. There’s a number of things one can do here, including filling, sanding and respraying. I wasn’t convinced that was the right way to go, as matching up and blending in paint was going to be difficultDecided that just painting the scrape over with satin black paint was the way to go
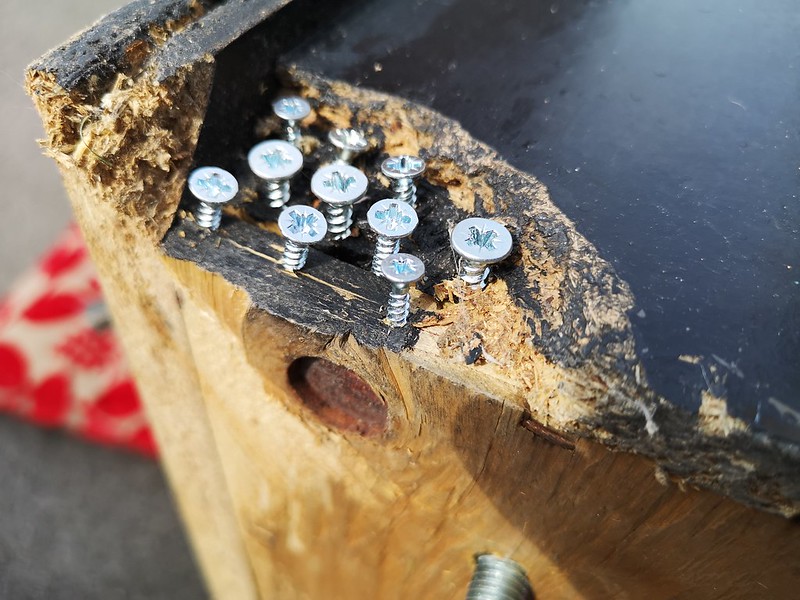
As I was there, I decided to add some filler to a gouge at the base of the front of the cabinet. To do this, I added screws in the space available to give my filler something to grip to:
This will make any filler work much stronger
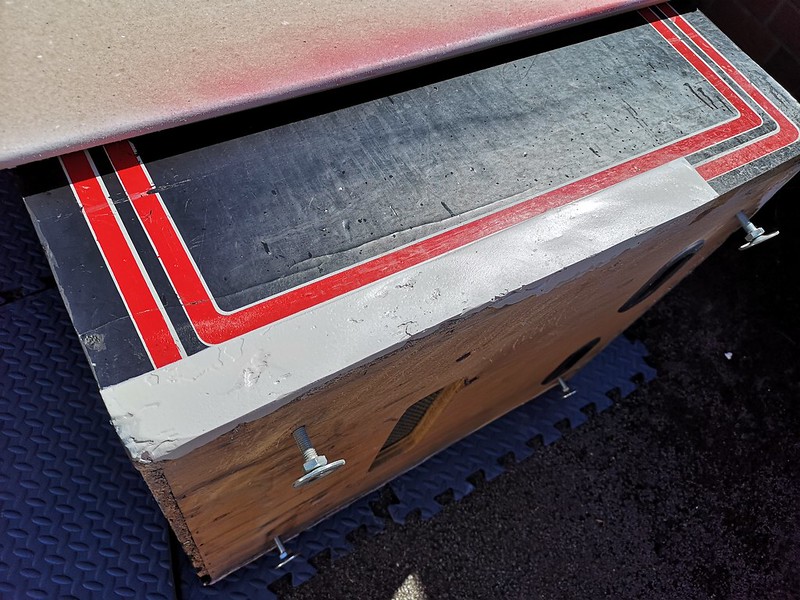
So talking of filler, by now my Bondo had dried, at the sides, so it was time to finish that cosmetic job up. What I want to do here, is recreate those red stripes that were torn off with the damaged wood. It took a bit of patience and figuring out, but the result was just what I was looking for:
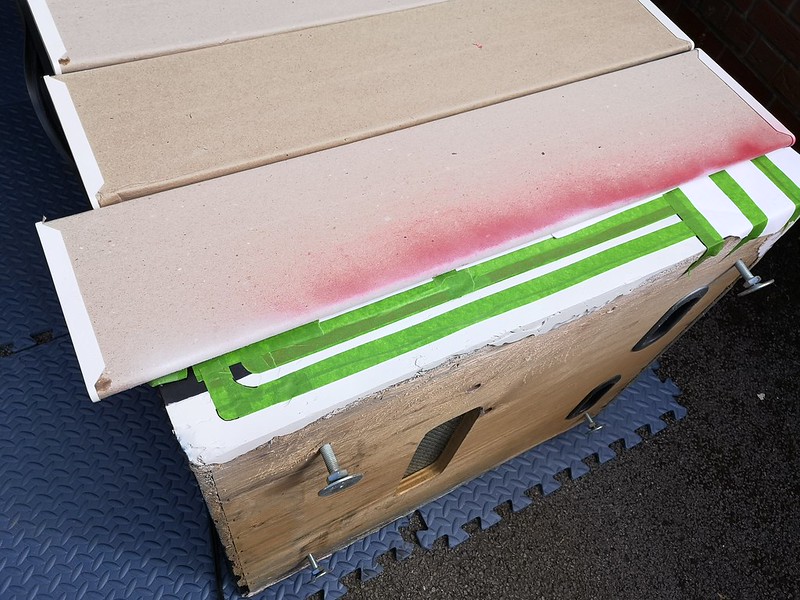
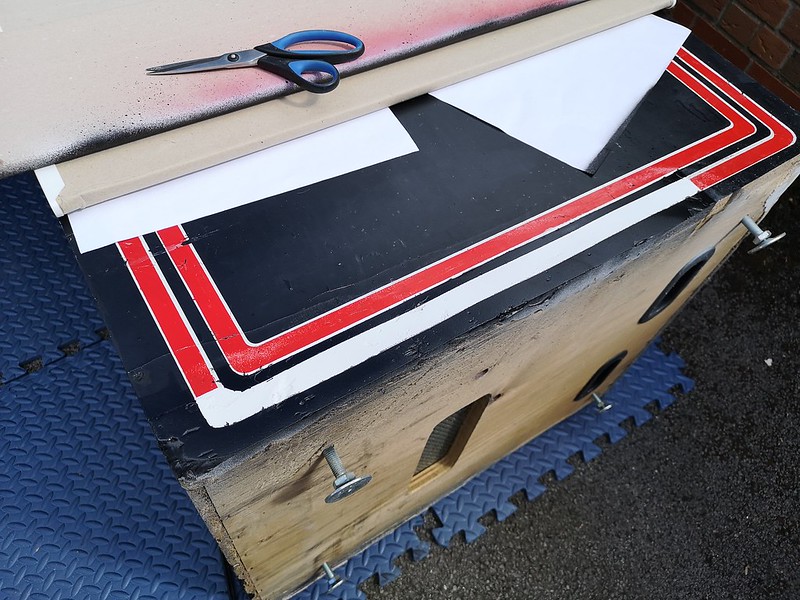
The first job is to sand down the filler. Note it’s not perfect – this is deliberate, as the rest of the cab is far from perfect! I’m looking for a repair that isn’t going to stand out too much – it needs to be in keeping with the overall condition of the cabinetWith that done, its time to mask off where necessary so that our spray paint goes to the right places. Here I’m about to spray the black partsTwo coats of undercoat and black satin later, remove the masking tape, and this is the resultAllow that paint to dry overnight, then apply more masking tape ready for the red stripe….All masking tape removed, here’s the end result
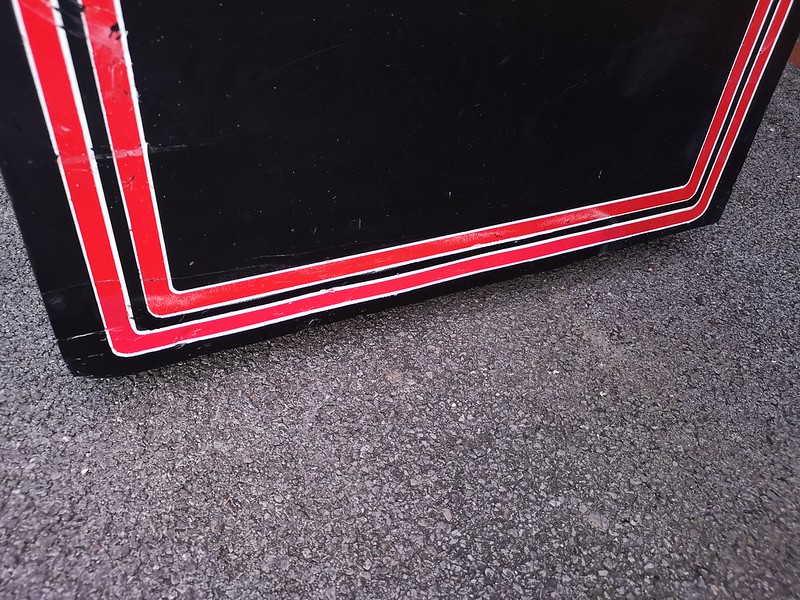
I am very pleased with how that came out. Same process for both sides. To give you an idea of the striking difference this has made, here’s a before and after picture of both sides:
Came out great. Very happy with the end result!
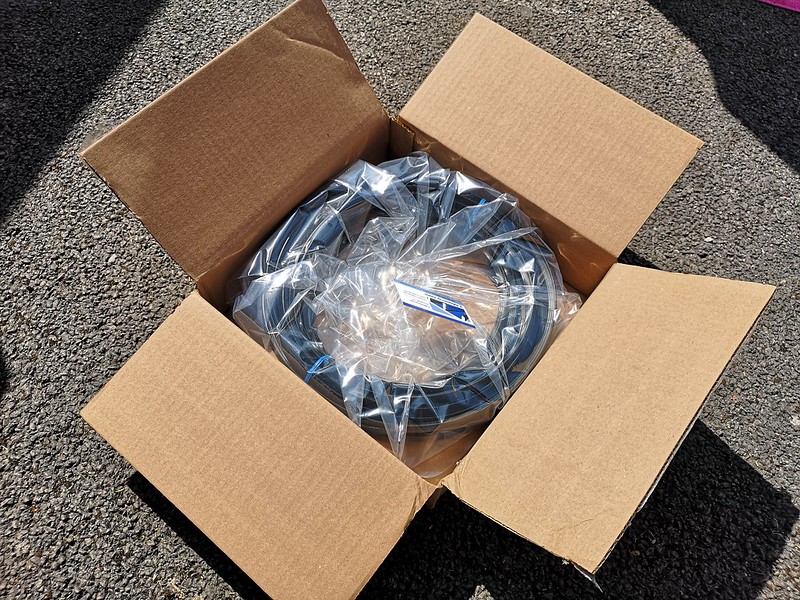
T-molding next. You’ve seen me do this a hundred times here on the blog, so just quickly:
Out with the old. This stuff was brittle and disintegrated as I started peeling it awayYou don’t have to do this, but I decided to paint the raw wood in black chalkboard paint before adding the new t-moldingHere’s our new t-molding ready to apply. 20 minutes later, we’re done!
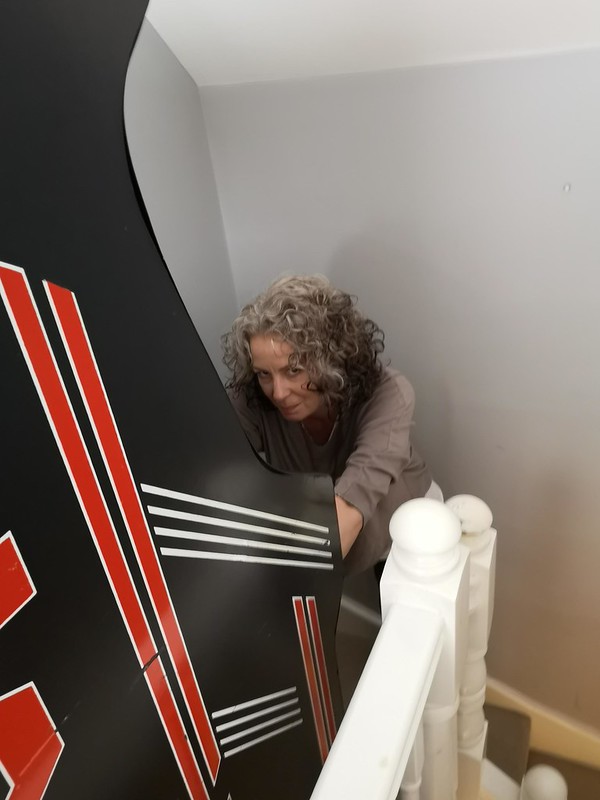
So with the cab now in a state where most of the repairs are done, it was time to bring it into the house. Now as you know, my games room sits at the very top of my house, with three flights of stairs to negotiate. It’s never an easy job. Given we are on lockdown, I had no choice but to persuade Mrs Arcade Blogger to help me get the thing up!
She wasn’t too impressed with the whole situation, but we got there in the end without too many arguments or scrapes to the walls!And in!
So that was most of the painful stuff out the way. But now I had to work out where it was going to go. Cue a giant game of arcade cabinet Tetris!
Not sure how I managed it, but I got there in the end (final pic below)
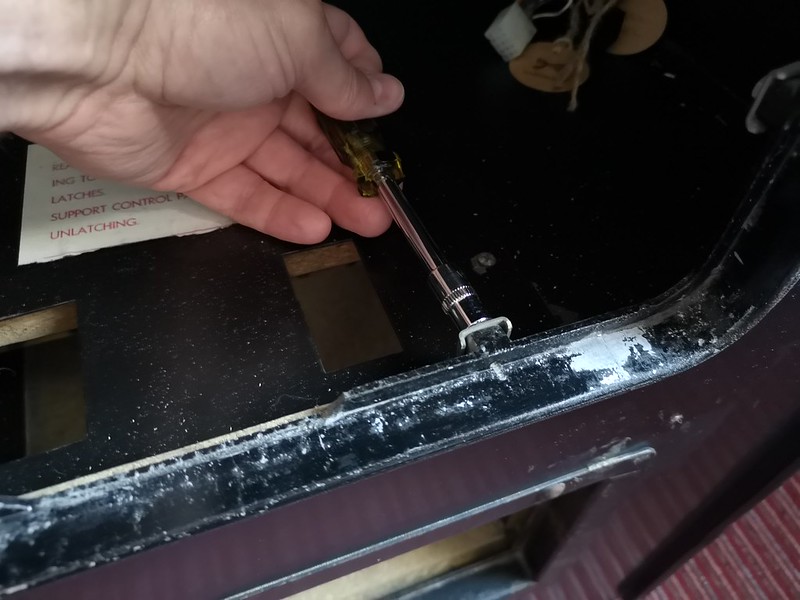
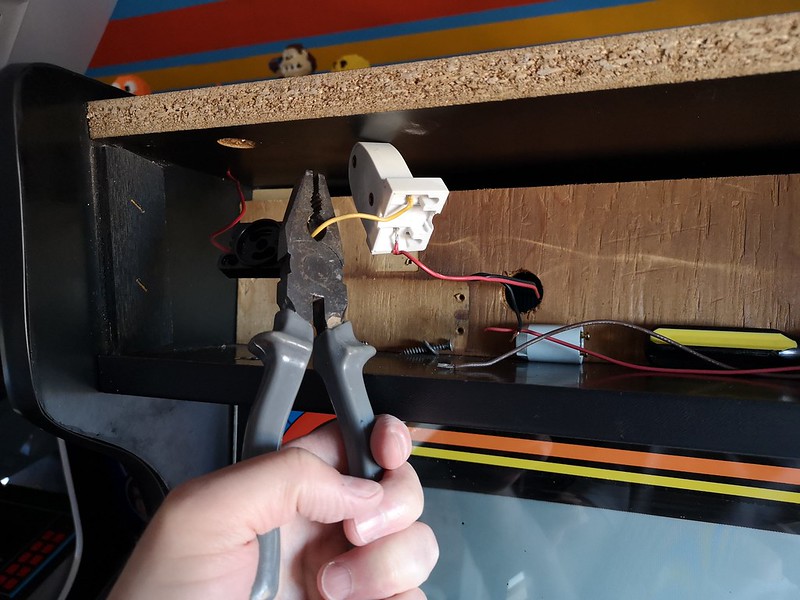
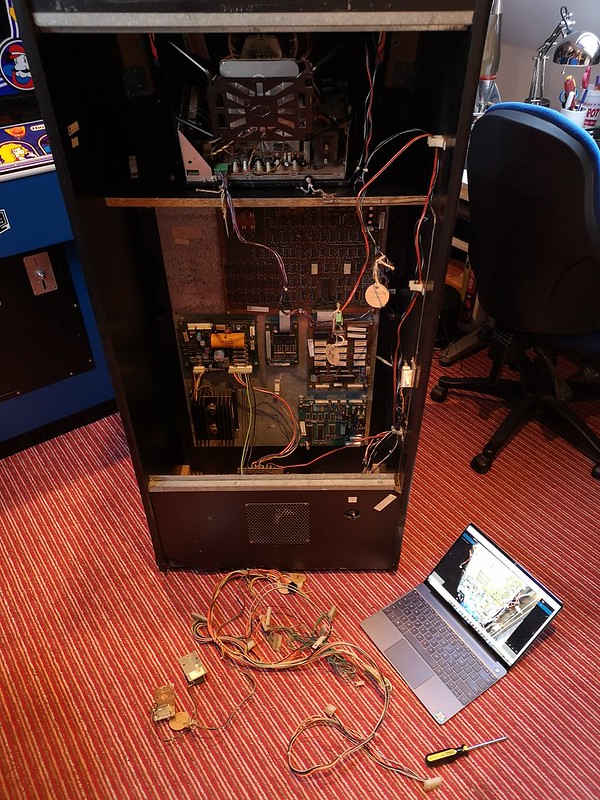
From here, it’s really a case of repopulating everything back into the cabinet:
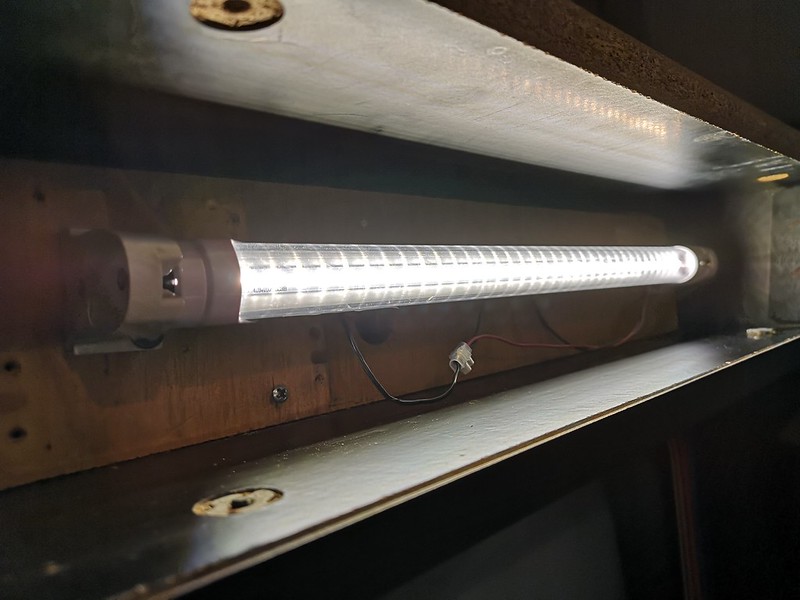
Wasn’t happy with the condition of the coin door surround, so decided to remove it and get it resprayedCoin door surround and lower cash box stripped, ready for paintMarquee light next. The fitting was in a bad state, and I had a spare LED strip needing a home, so decided to remove the old fitment and replace. This requires some wire cutting and re-routingHere we goLED lights get a bad rep when it comes to classic arcade cabinets, but the ones I use give a nice hue – very happy with thisReferring to schematics and some of the pictures I took when I removed everything over two years ago, I started to repopulate the PCBs, monitor and wiring
This all went well. There were a few hiccups including:
The speaker which was hanging down by a single screw and interfering with the monitor meaning it wouldn’t degauss properly. The speaker wasn’t stock, so I replaced with a shielded one and refitted properly, which solved the monitor issue.
The board was initially resetting, which I tracked down to a bad 5V line. A good clean of the connector and loom fixed this.
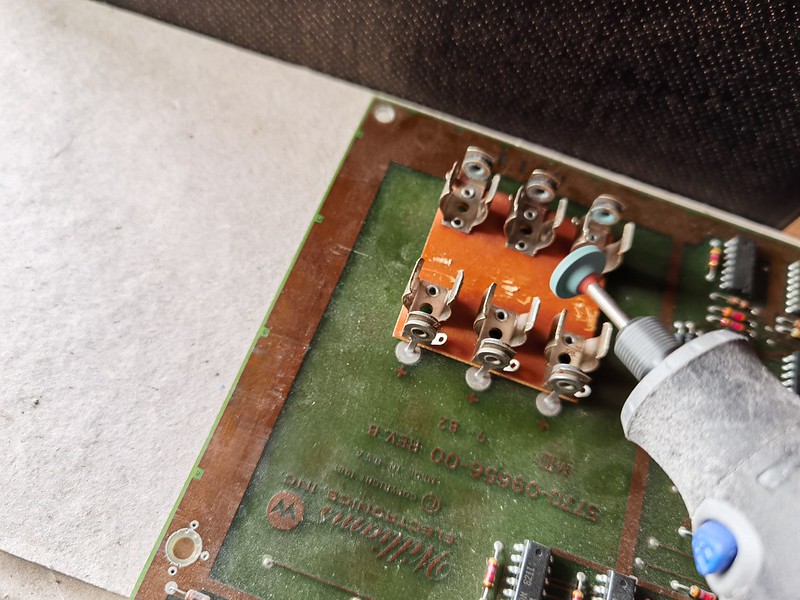
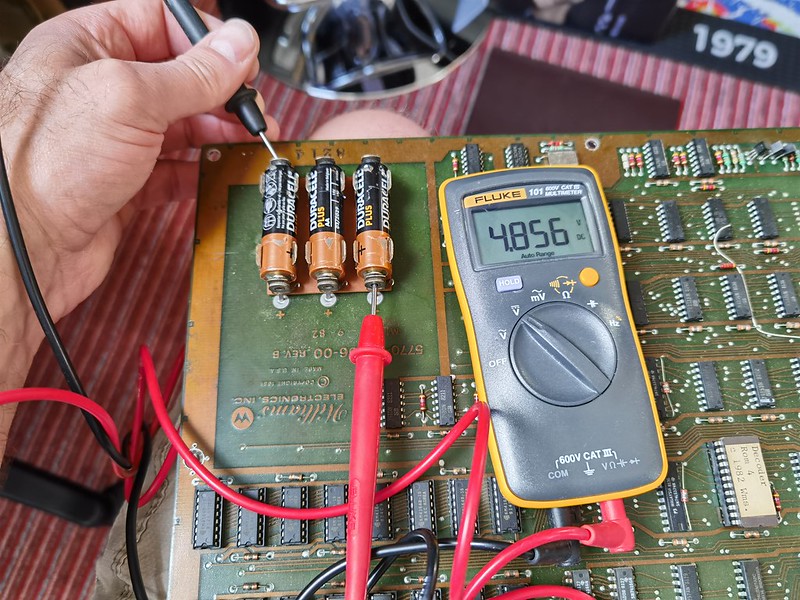
Another issue was I found the game wasn’t saving high scores or settings. The board uses 3 AA batteries to do this job. After verifying the CMOS RAM chip (that saves settings and scores) was functional, I tracked the problem down to bad contacts on the battery holder. A gentle clean with a Dremel tool solved thisVerifying good voltages and connections on the batteries. Problem solved!
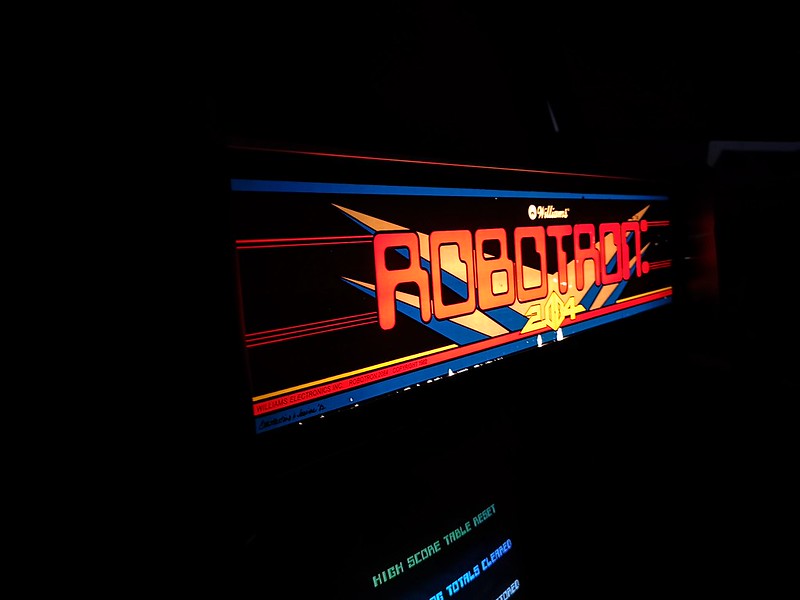
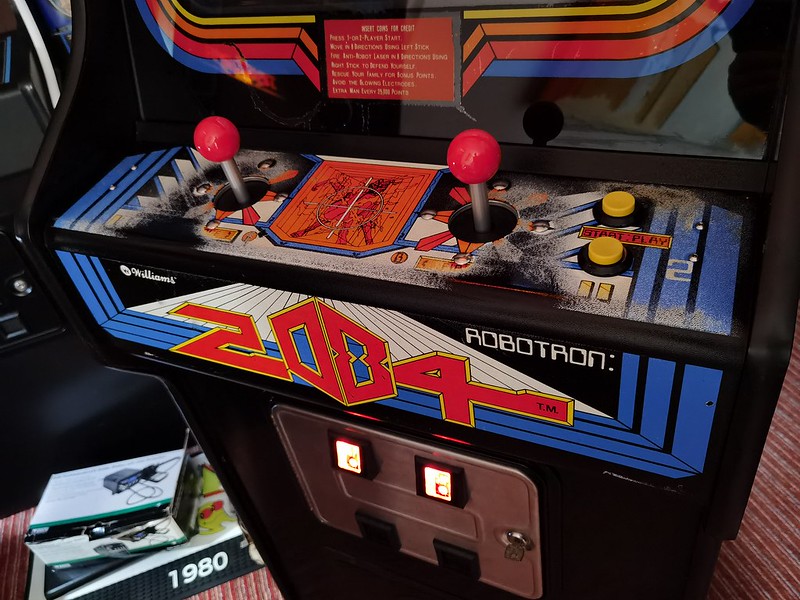
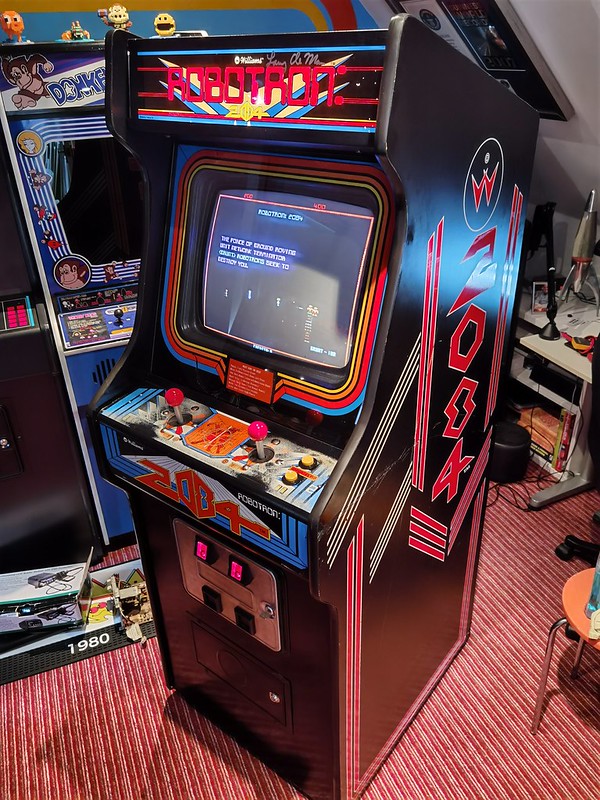
And that’s just about it. Here’s the finished result:
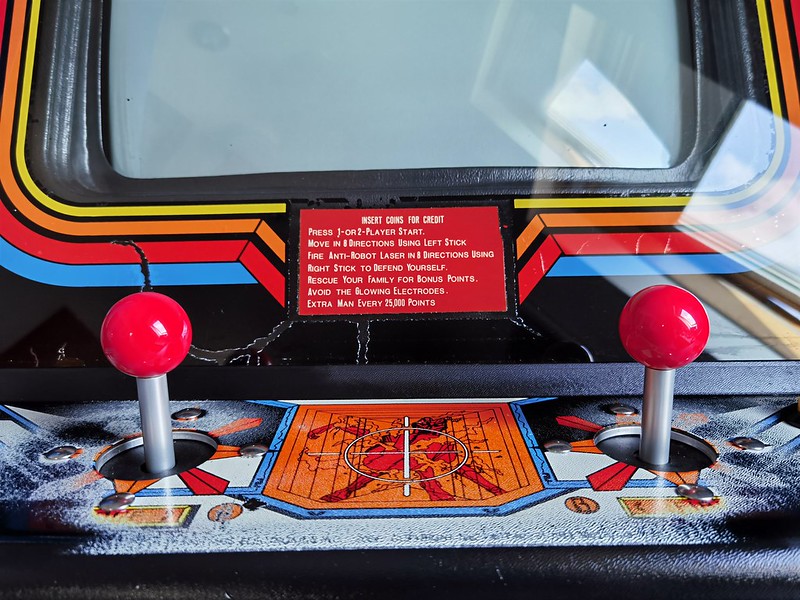
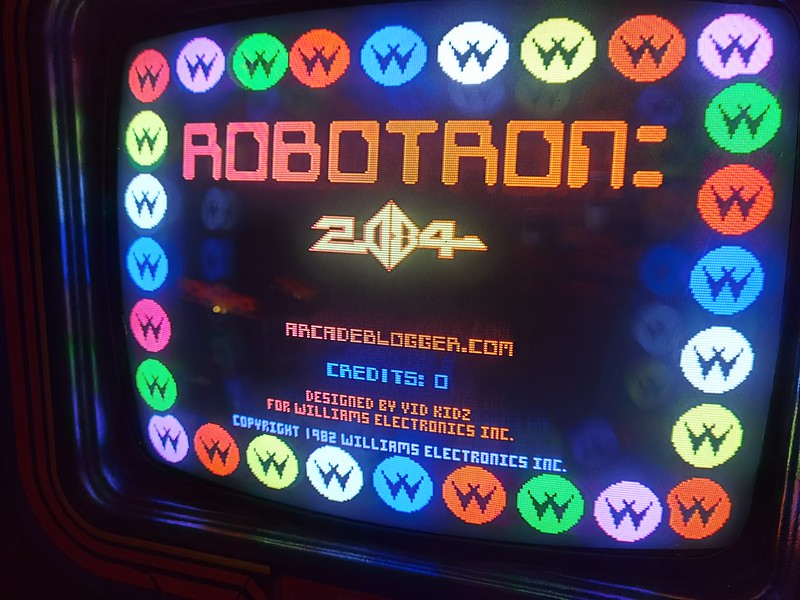
It would have been easy to get a brand new overlay for the control panel, but I really liked the worn look of the old one, so it was just cleaned up and given some polish to bring out the colours. Notice the wear is the shape of players’ fists holding the sticks!The cab came with the original EU marquee, which is a slightly different size to the USA version. As an aside, last year, I was lucky enough to meet co-creator of Robotron Larry DeMar and was able to have him to sign it tooAs you will have seen in Part 1 of the restoration, the joysticks that came with the cabinet were beyond repair, and parts are no longer available for their unusual design. These are “Leaf Pro” sticks imported from groovygamegear.com in the USA. They work very well and are perfectly acceptable. I do have a pair of NOS Wico joysticks (used in original US Robotron cabinets) which I acquired last year. I’ll be dropping those in at some point for authenticity’s sakeThe screen gives a nice bright picture after a refurbished chassis was sourced from SpainAged like a fine wine!I’m out of space now, but couldn’t think of a better game to add to the collectionFinal picture of the finished result
So there you go. One Robotron saved from destruction and now ready to play again!
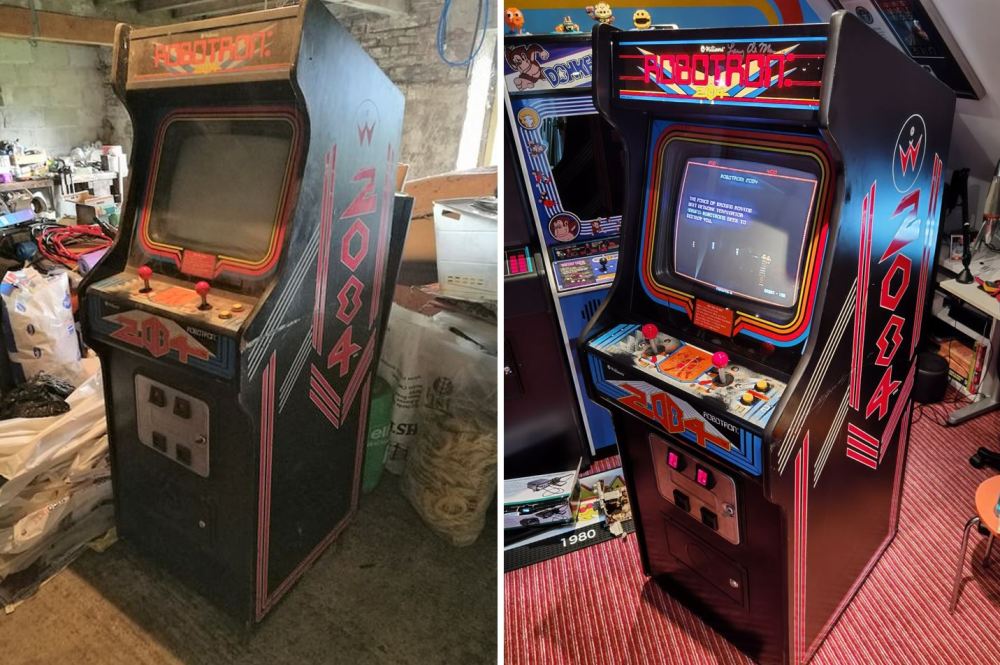
Here’s some before and after pictures:
Joystick and panelCabinet, before and after
A very satisfying restoration considering the cabinet was going to be trashed when it was rescued in 1996. A few people I should thank for their invaluable help with this:
Fellow collector Phil, who very kindly thoroughly went through the PCBs making various repairs. He also converted the RAM to 4164 making the machine much more reliable, as well as technical assistance when I finally got to installing them back into the machine. I owe you several beers Phil!
Larry DeMar for signing my marquee – the perfect finishing touch!
Fellow collector James who was able to give live WhatsApp assistance when I needed to track down a few faults on power up.
The long-suffering Mrs Arcade Blogger for the extra pair of hands in getting the thing up to the games room and not complaining too much when I took over the kitchen sink cleaning parts.
Thanks everyone. The finished result reflects your efforts.
Hope you enjoyed following the progress of this Robotron. She’s definitely a keeper. To read the whole process from top to bottom, check out this page.
Thanks for joining me this week – I’m off to set some scores!
Tony, Another great restore work and game saved! My only “minor” contention with your work was replacing the fluorescent light in the marquee with a LED strip. It will undoubtably run a little cooler than the FL one did thus perhaps extending the marquee life a bit more, and staving off any flaking of it but I just like everything as original as possible. Again, it’s ONLY a minor contention point. If you are happy with it – PERFECT!
Hey Mike! This is an LED that I had lying around and is what I had available. Personally, I have no problem with non-original things in cabs if they keep it running and reliable (at one point I was considering putting a JROK board the cabinet for reliability (Phil persuaded me otherwise), but completely understand the other side of the argument. On the plus side, it’s not permanent so can be switched back in the future.
That’s a really nice restore there Tony. I quite like the way you’ve kept a lot of the patina. The original joysticks must of taken a right old pounding and it’s nice that the cabinet can still tell a story of the no-doubt hard life it’s had in the past. Although I am a fan of the JROK boards, I think you’ve certainly done the better option of using original boards in an original cabinet. Thanks for your excellent restoration log.


Great to see the finished result, and once again it’s good to see my old cabinet went from my dad’s unfinished extension to a loving home.
pete
LikeLiked by 1 person
Tony, Another great restore work and game saved! My only “minor” contention with your work was replacing the fluorescent light in the marquee with a LED strip. It will undoubtably run a little cooler than the FL one did thus perhaps extending the marquee life a bit more, and staving off any flaking of it but I just like everything as original as possible. Again, it’s ONLY a minor contention point. If you are happy with it – PERFECT!
All the Best. Mike B. Michigan USA
LikeLiked by 1 person
Hey Mike! This is an LED that I had lying around and is what I had available. Personally, I have no problem with non-original things in cabs if they keep it running and reliable (at one point I was considering putting a JROK board the cabinet for reliability (Phil persuaded me otherwise), but completely understand the other side of the argument. On the plus side, it’s not permanent so can be switched back in the future.
LikeLike
That’s a really nice restore there Tony. I quite like the way you’ve kept a lot of the patina. The original joysticks must of taken a right old pounding and it’s nice that the cabinet can still tell a story of the no-doubt hard life it’s had in the past. Although I am a fan of the JROK boards, I think you’ve certainly done the better option of using original boards in an original cabinet. Thanks for your excellent restoration log.
LikeLiked by 1 person
Thank you Matt. I really like the “weathered” look on this one too!
LikeLike
Excellent work! The restored cabinet looks quite at home with its new friends. Well done!
LikeLiked by 1 person
Just happened upon this blog by accident – read the whole thing in one go! Great restoration of my all time favourite game. Thank you for sharing.
LikeLiked by 1 person