In Part 1 you’ll recall reading that the Centipede cab had been picked up, and arrived in an all round good shape. On the surface of it, this looks like it’s going to be a pretty simple restoration. We just need to be methodical, and work around the parts of the cab, fixing and cleaning stuff up as we go.
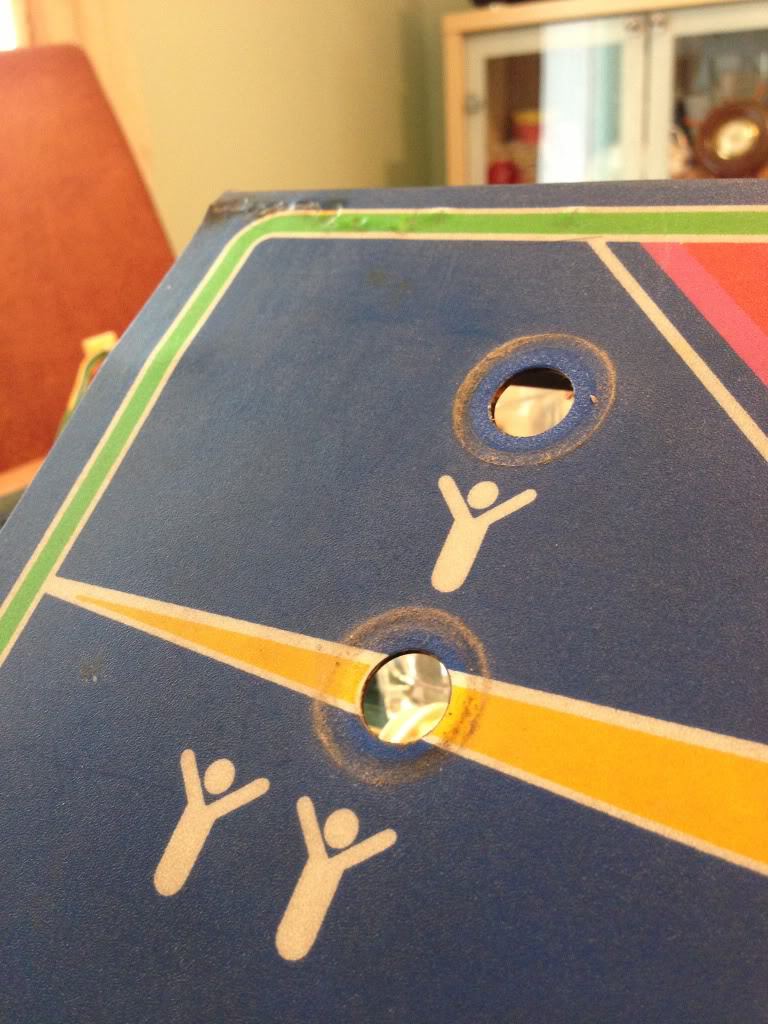
The first thing to get to work on was the control panel. I thought about a new overlay to replace the artwork, but actually, apart from a few cigarette burns and a lot of grime and dirt, it was still in nice order, so in the spirit of wanting to keep as much of this cab original as possible, I opted for cleaning it up instead. This is the worst of the damage:
This thing has clearly never seen a cloth in 33 years. We can soon change that:
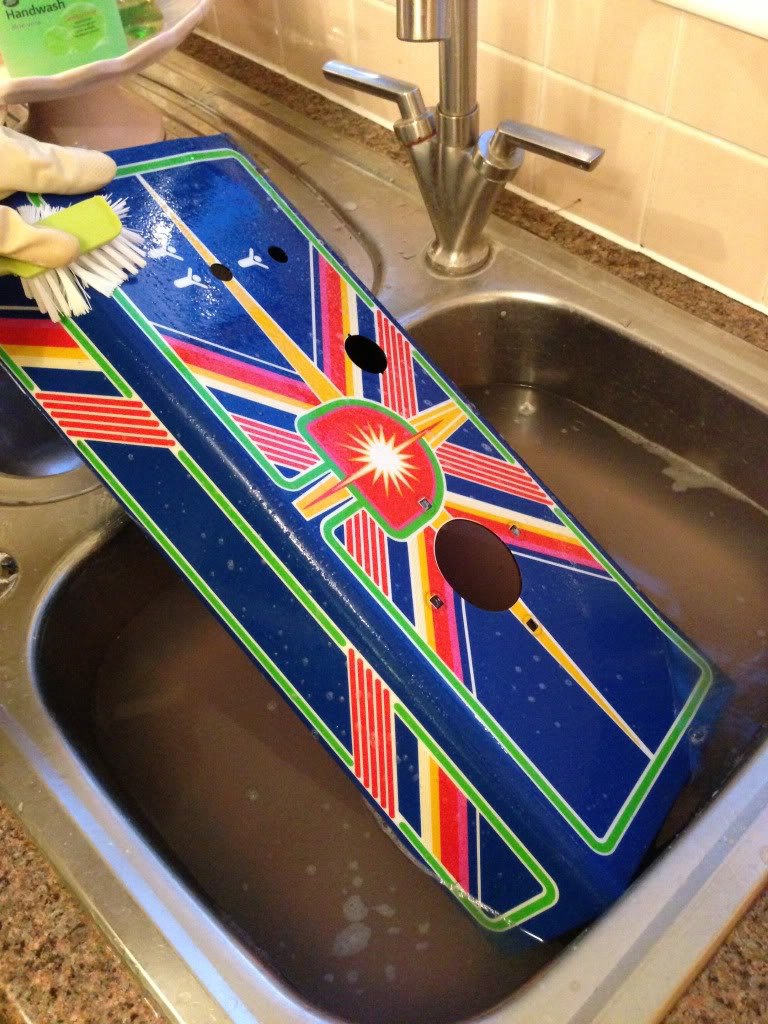
Fill the sink, scrubbing brush and a good dose of detergent and a bit of elbow grease was required. Look at the colour of that water!
So here’s a before/after:
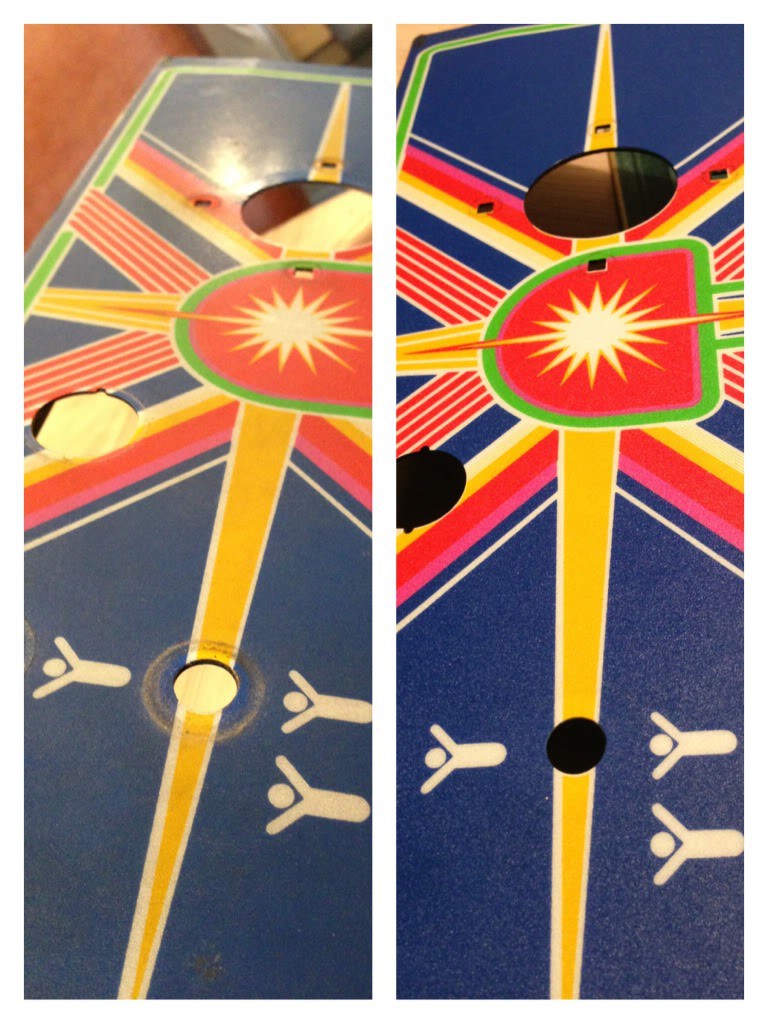
After a thin coat of baby oil to gloss things up a bit, here’s the finished article. Compared to the years and years of dirt that was grained into the artwork, you can see that the colours are really popping out now:
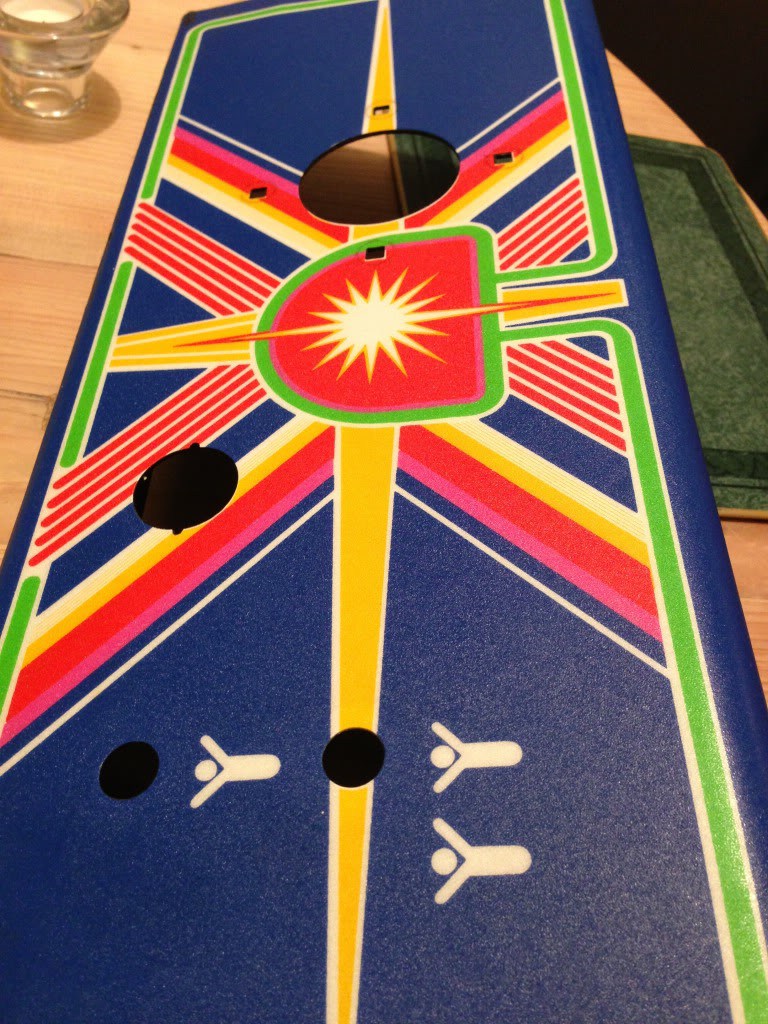
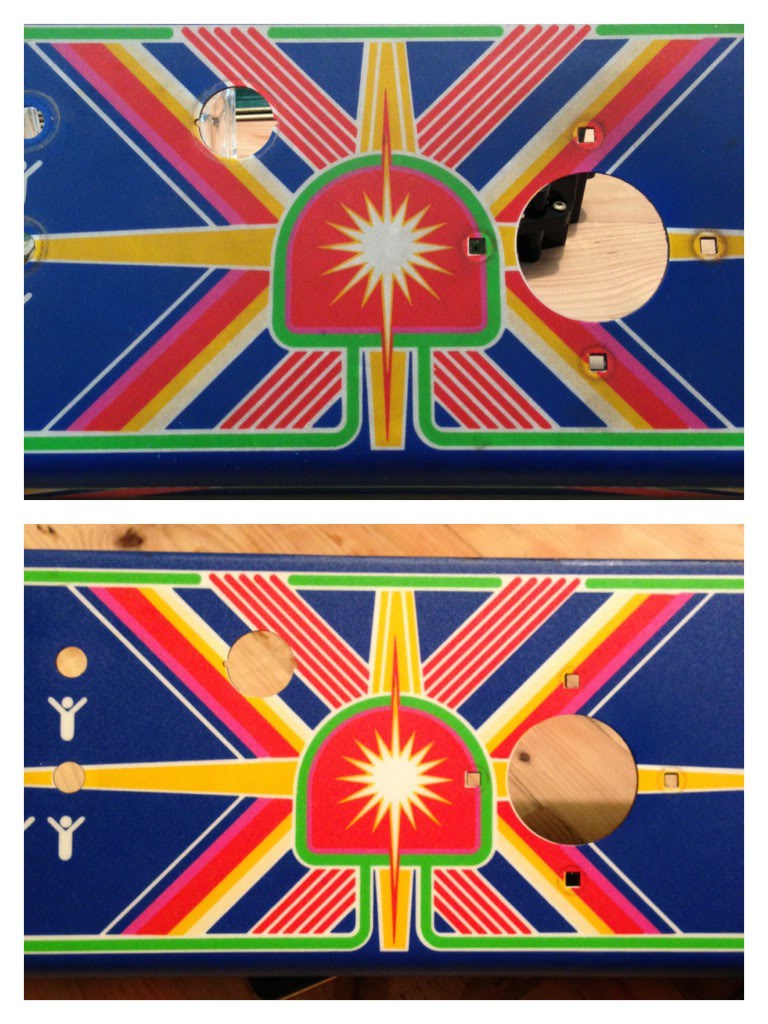
It’s very satisfying to be able to make original stuff like new without having to resort to reproduction artwork. In some cases of course, you have no choice. It’s not unusual to pick up machines with torn, faded or very worn out artwork. Google around and you’ll find plenty of places able that are able to supply repro artwork. Some sites even have the original scanned hi res files, that you can download and take to your local printers. But I’m pleased that wasn’t necessary here. Keeping some of that history of a cab retains some of it’s soul – cigarette burns and all.
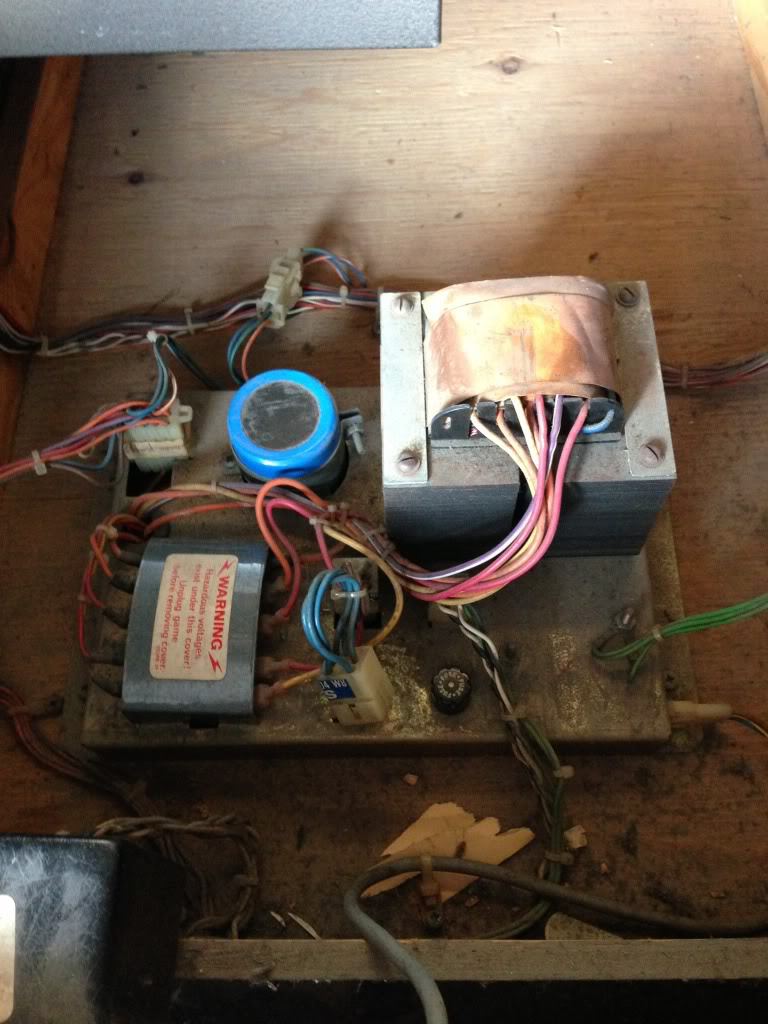
Next up was the PSU. This is the power block at the bottom of the cab that in simple terms takes the AC current from the wall plug, and regulates the power to the necessary voltages to power the monitor, the marquee light, and the main circuit board. It’s a pretty complex bit of kit – modern machines are powered using new “switching” power supplies, which are basically a little black box. But this is 80s technology, and we want to keep things original.
These things tend to get really filthy dirty, simply because they are at the bottom of the cab. Thankfully, unless your cab has been waterlogged at some point (creating rust), you should find that they clean up well. This was pretty much the case here.
So after a quick swizz around with a handheld vacuum cleaner, we started with this:
Then just grab an old paint brush and a can of pressurised air, and work around. It gets good results:
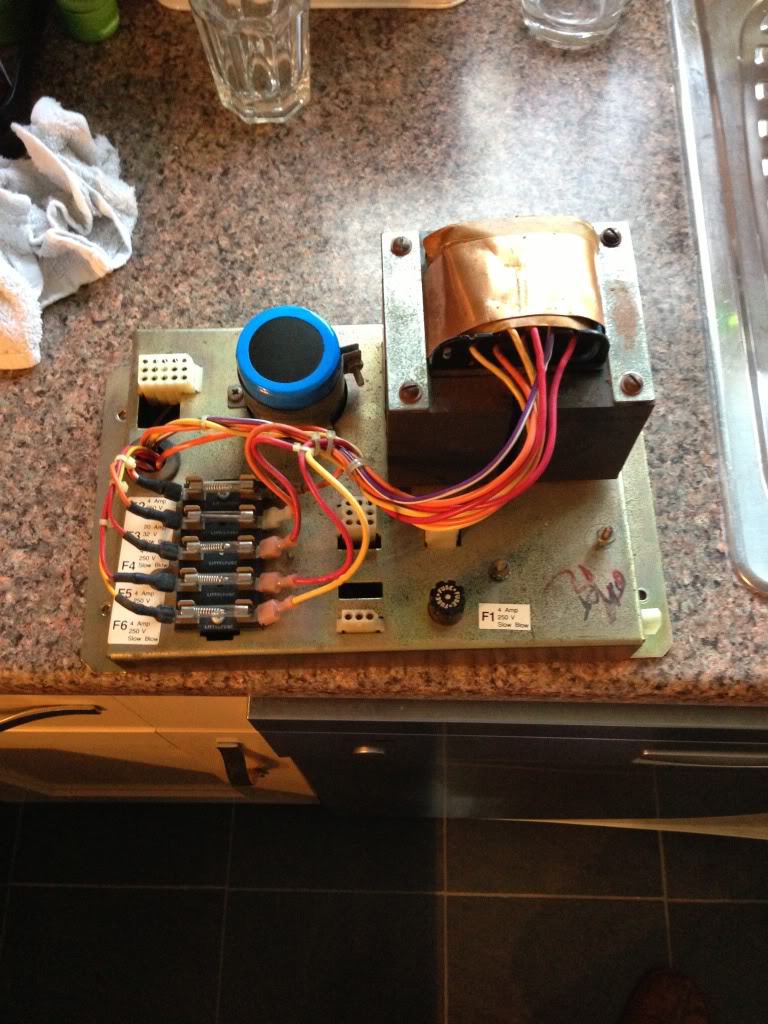
Comes up like new again.
While inside the cab, I removed the wiring loom.

The easiest way I find of cleaning these things is to simply dump it in a bucket of hot water with a dose of biological washing detergent.
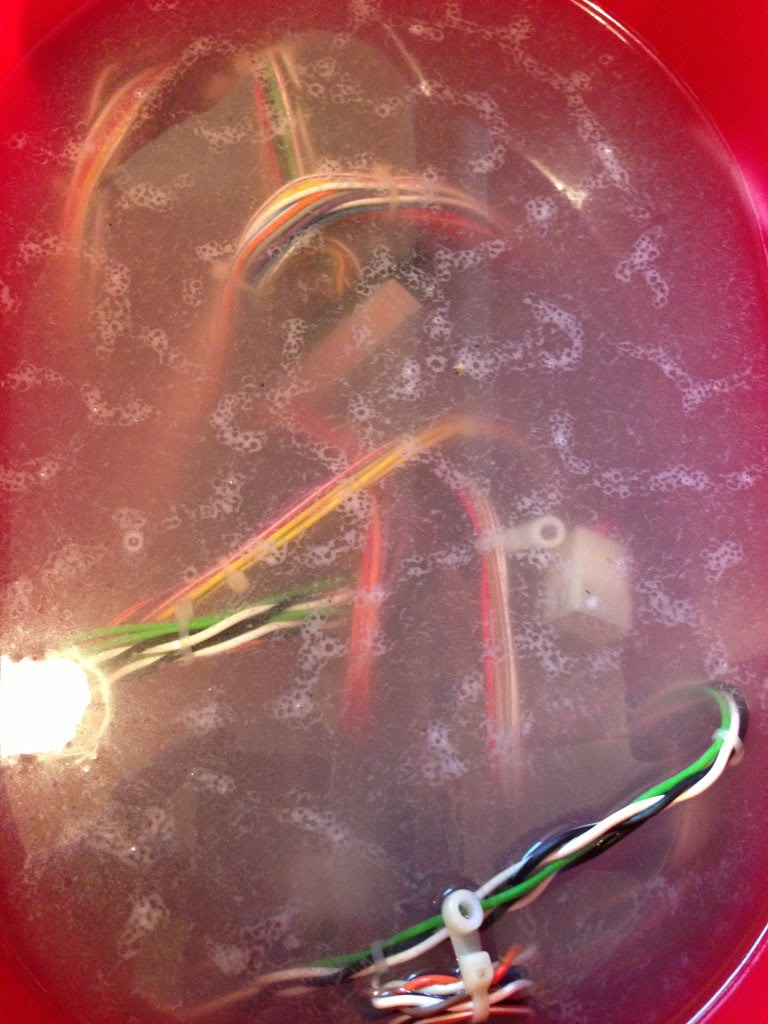
Leave for a couple of hours and you’ll end up with a nice clean loom again. Just make sure you dry it well in the sun or in the airing cupboard for several hours before using it again.
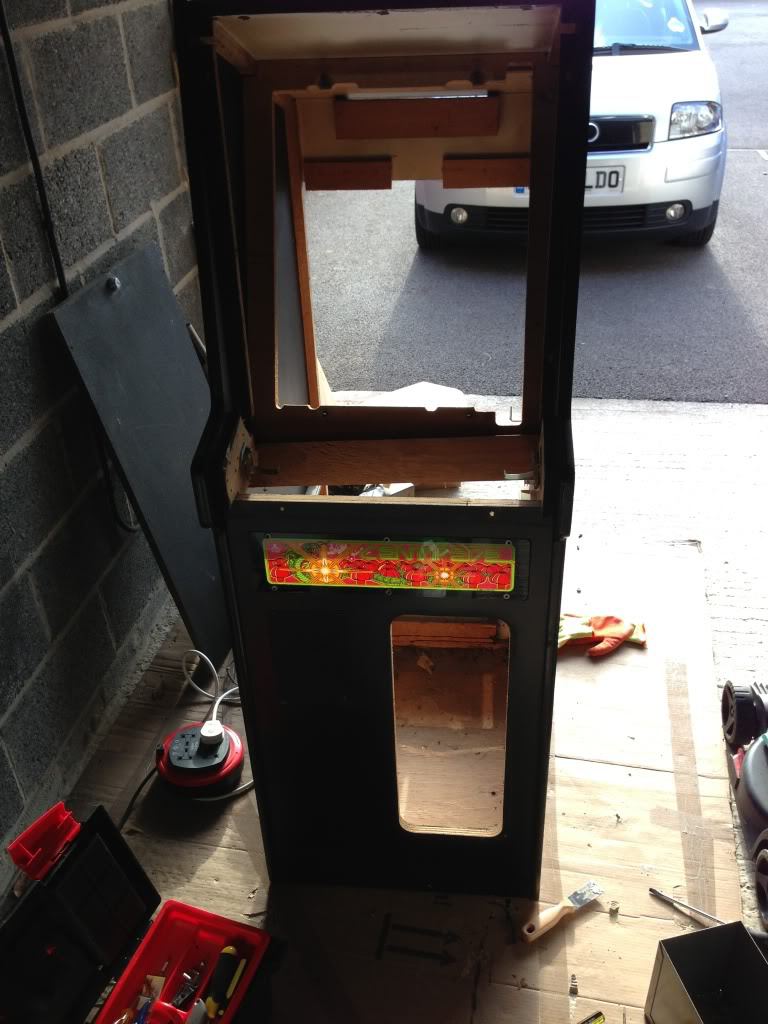
So that’s everything stripped out of the cab – the monitor, loom, hardware coin door, bezel, control panel. Left with the shell ready to clean down inside and out.
In Part 3 we start to strip down old paint and respray the coin doors and other hardware.
Thanks for reading this week!
Tony

