In Part 2, we stripped the cab down and got to work on some of the parts.
Here in part 3, we continue the work required to get the cab ship shape again. First job was the coin doors. I’ve detailed in previous blogs how I do this with paint stripper and metallic paint, so won’t bore you with the process again. Suffice to say, they needed doing. Here we are with the new paint applied and drying out in the garage:

The base of the cab presented some challenges. The feet were metal, and were broken off. In the end I decided to remove the old feet. No matter what I put on them, the bolts wouldn’t budge – wedged and rusted in there, so took the lot out. All that was left of the feet was the bolt themselves – don’t want those tearing up my carpets so they had to go. Then put some wood hardener on the base.
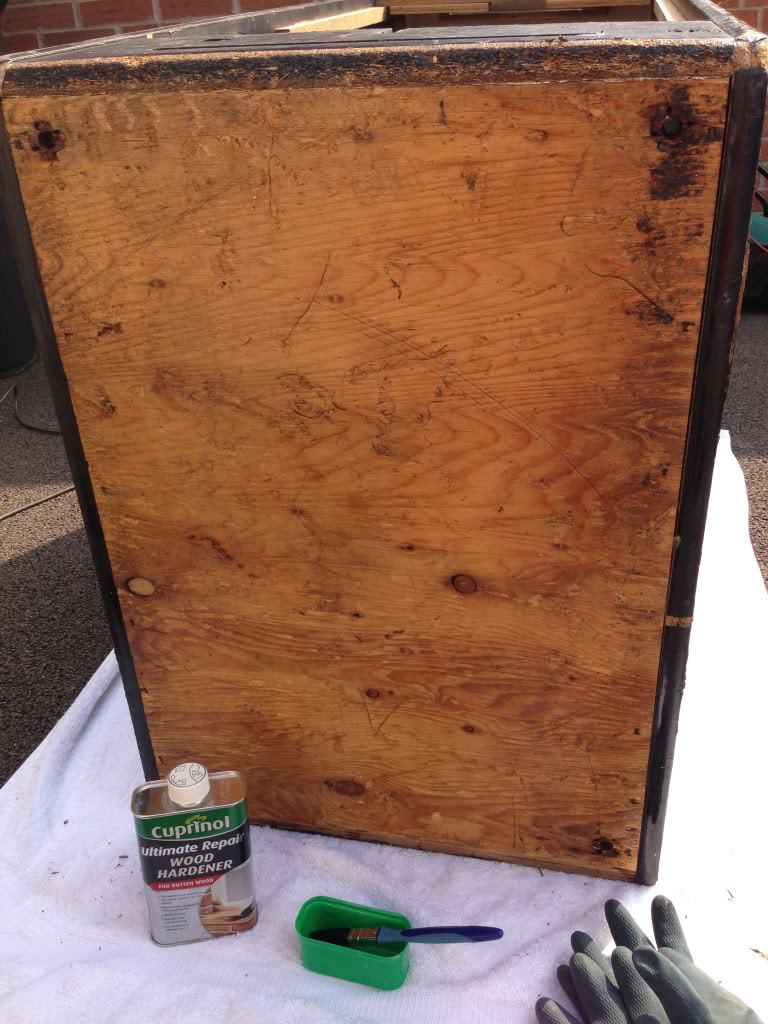
I replaced the feet with some circular metal slides in each corner. Not an ideal solution, but they are in there firm, so I’ll see how we go when it’s in the house.
Sprayed up the coin door decals:
Here’s how the workbench was looking at that point:

Cleaned up the old screws to keep the “soul” of the cab intact – left them to soak overnight in some old Wine vinegar I found at the back of the larder, lifted the rust right off:

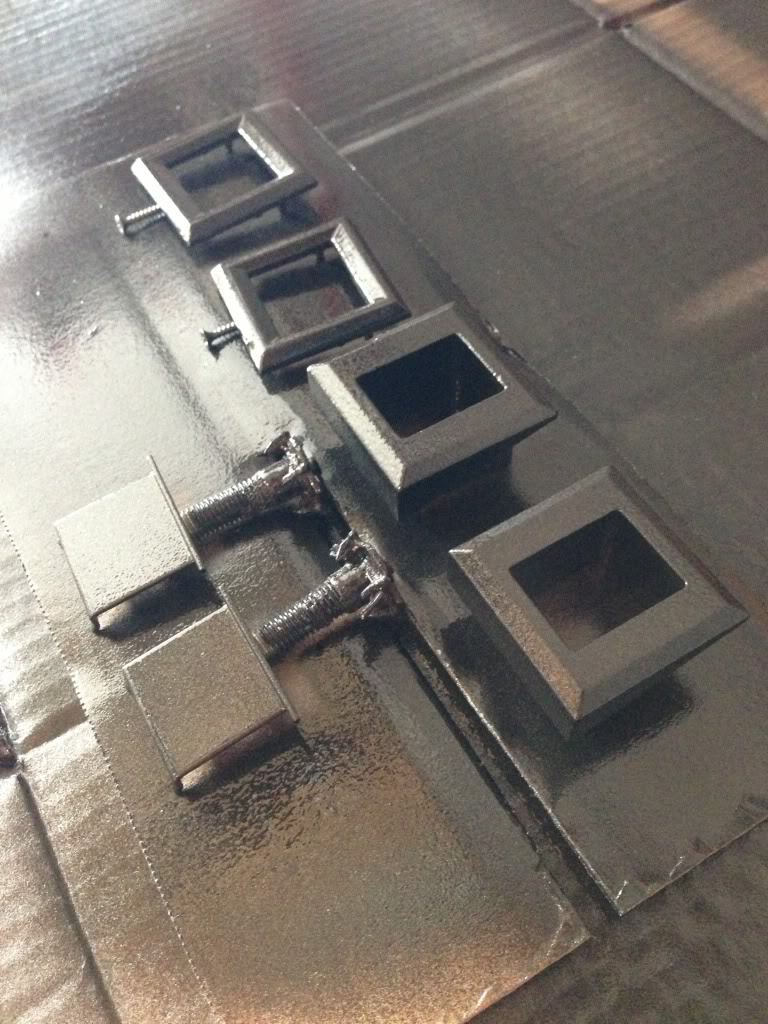
Next it was time to get the cashbox and the test switch/coin counter plate. This sits inside the cab. Now I know what you’re thinking: “no one is going to see it!”. But my view is, if you’re going to do the restoration, then you should do it properly. There’s no point restoring the outside of the cab and not the inside. So here’s what we started with:

Filthy, covered in muck and dust. There was quite a bit of rust too. So I stripped the whole lot down, cleaned up and resprayed both metal parts, and put it back together. Here’s how it ended up:

By the time that was sorted, the resprayed coin doors were fully dry, so I repopulated them with the cleaned up hardware and wiring loom:

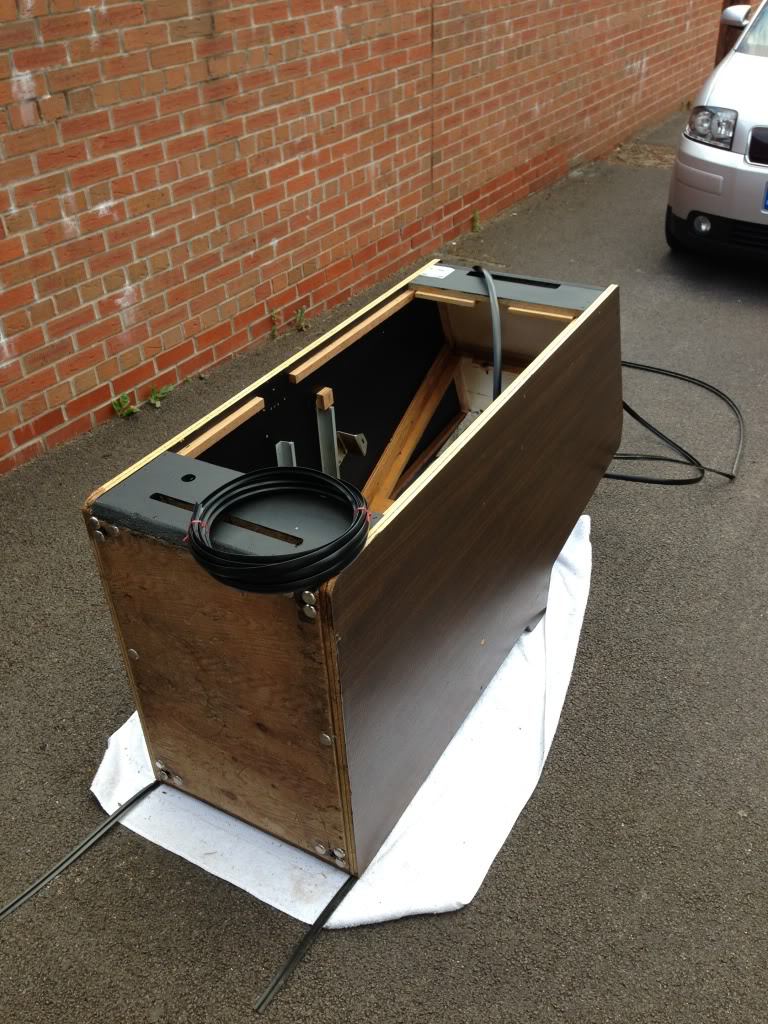
So we were now getting somewhere! Time to push onwards towards the finish line. The new t molding arrived from the guys at t-molding.com, so I got this applied out in the back yard. We’re now ready to bring the cab indoors ready to repopulate everything.
One of the key jobs was to replace the cardboard bezel that sits around the monitor. The original was very worn and was starting to fall apart. So using the old one as a template, I bought a large piece of blue card, and started to make a new one. This is pretty easy and just needs some patience and a steady craft knife!

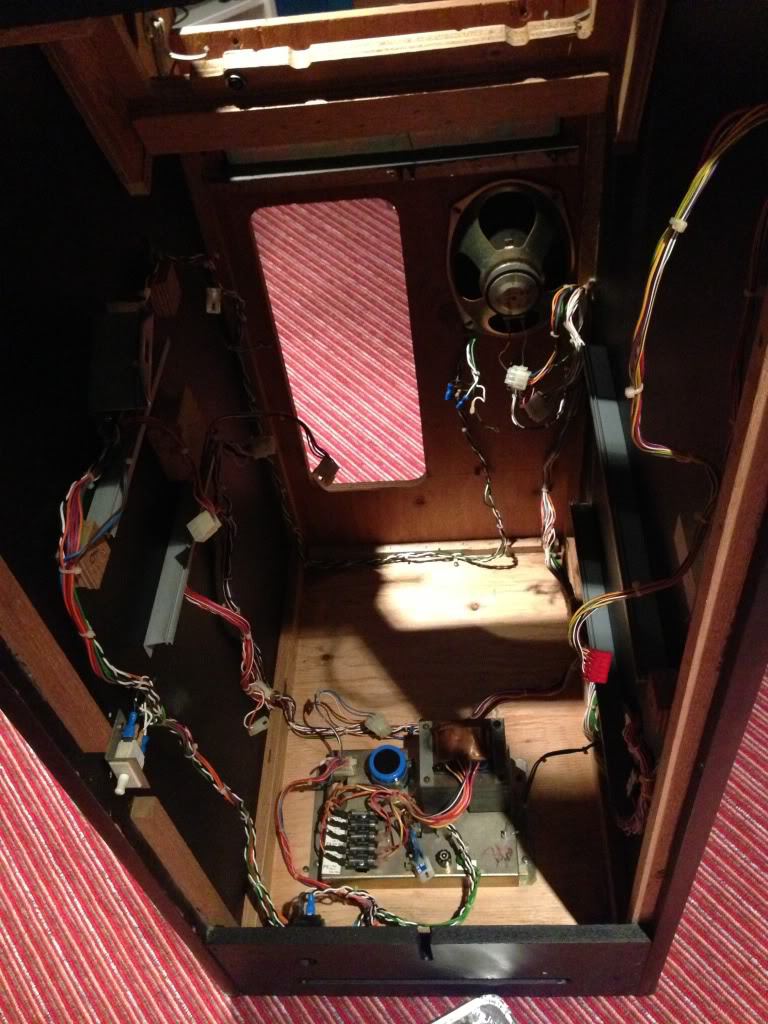
Next up, time to get the wiring loom and various part back into the cab. I re-used all the original cleaned up screws:
Here’s the new monitor bezel. It’s not perfect, but most of the creases you see are covered up by the artwork. Note also the cleaned up control panel and monitor.
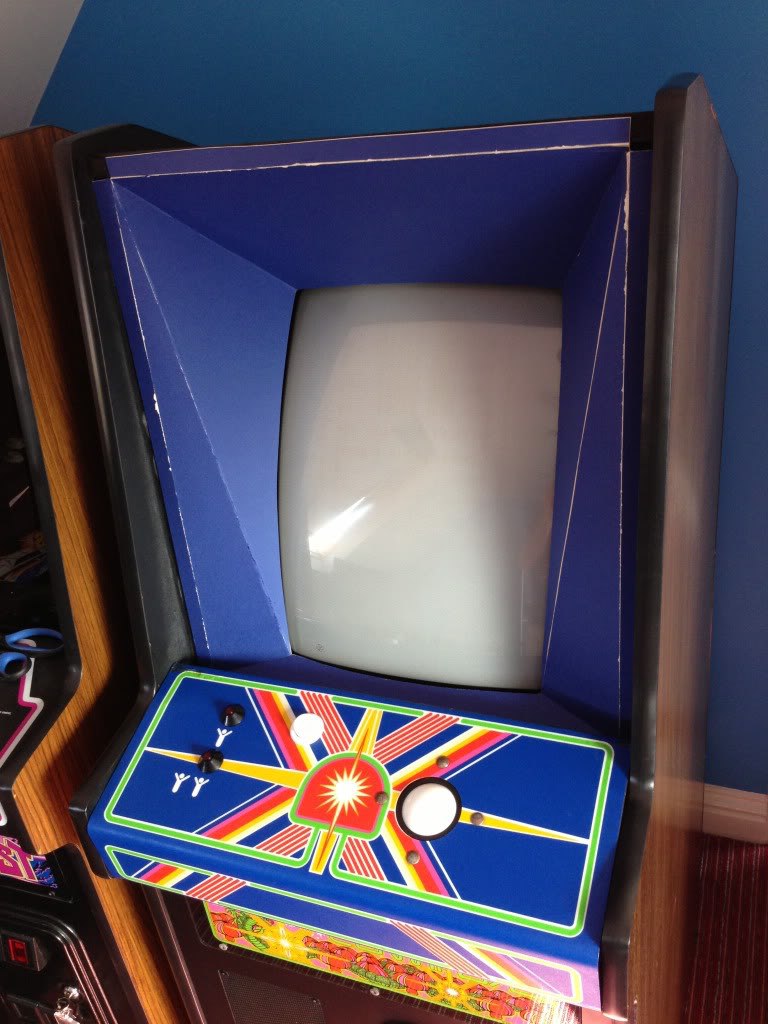
Drop in the main bezel screen, ***** in, check everything over once more and we can switch on!

The final part of the jigsaw was applying the correct sideart, which I acquired from Scott at Gameongrafix:
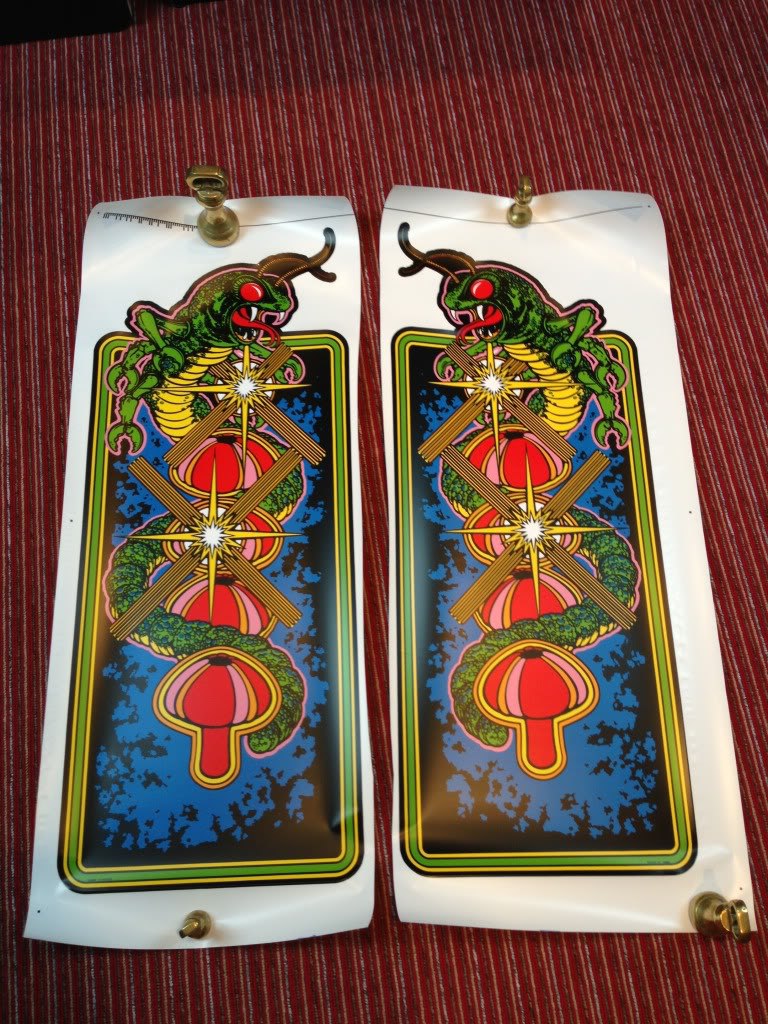
I love the Centipede artwork, it’s so eyecatching. Again, I’ve covered the application process elsewhere, so here is the finished cab with sideart applied.


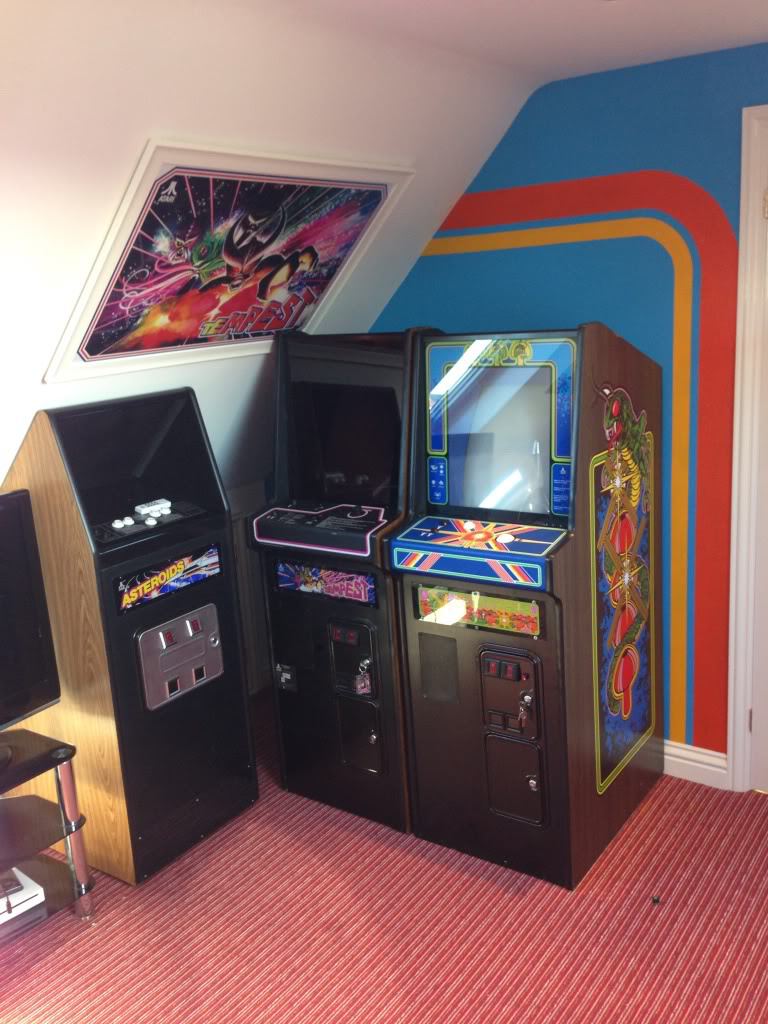
And here she is, next to the previously restored Tempest Cabaret:

So there you have it. A pretty simple restoration this one – everything worked and was in pretty good shape. It was really a case of stripping, cleaning, a few repairs and we were good to go.
Thanks for reading.
Tony

