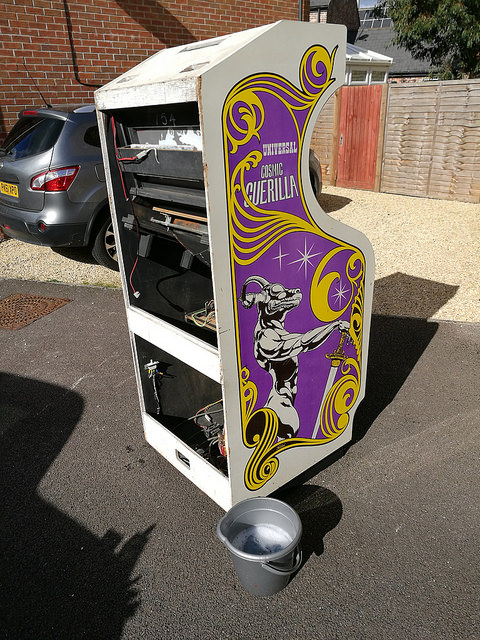
I picked up this glorious looking cabinet last year. It was an eBay purchase and I was surprised that I even won it. I threw in a bid that I was prepared to pay, and to my surprise, no one outbid me. You can read more about the pick up here.
As with most of my cabs that start their life in the garage, this one has sat unloved for over a year now, so I thought it would be good to challenge myself and see if I could complete the restore in double-quick time, so that I can move the machine on to another collector. I am out of space!
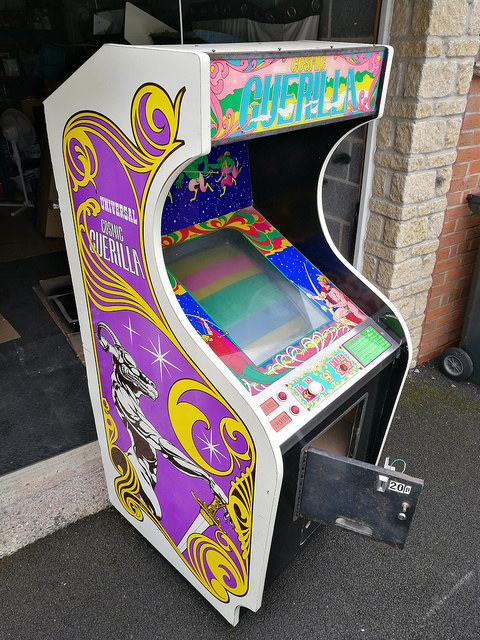
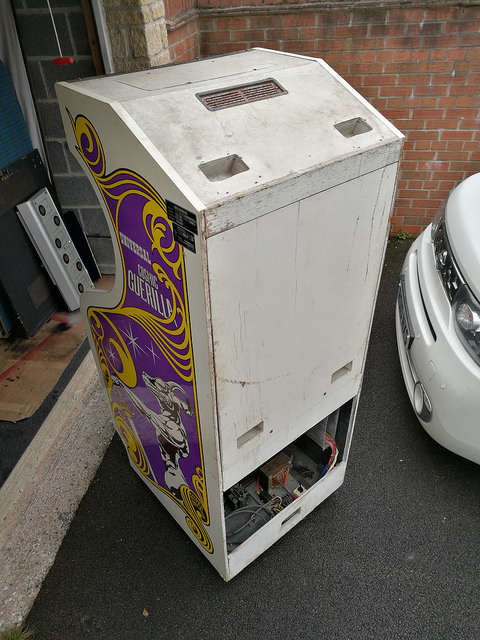
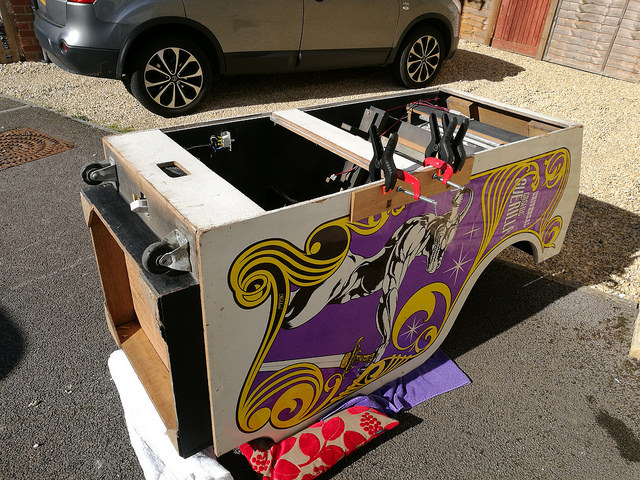
At first glance, there’s not much to do. The cabinet itself is complete and pretty solid, with no major damage, and the artwork really sells itself.
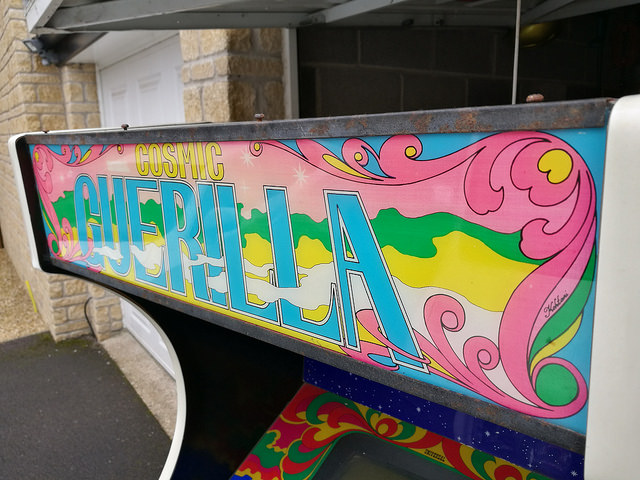
One point of note is the marquee. It’s got a nice fade to it, which really sets it off I think:
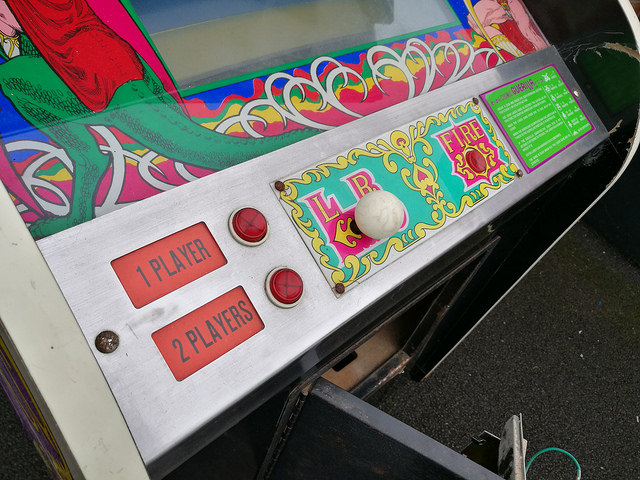
Control panel is pretty neat looking too:
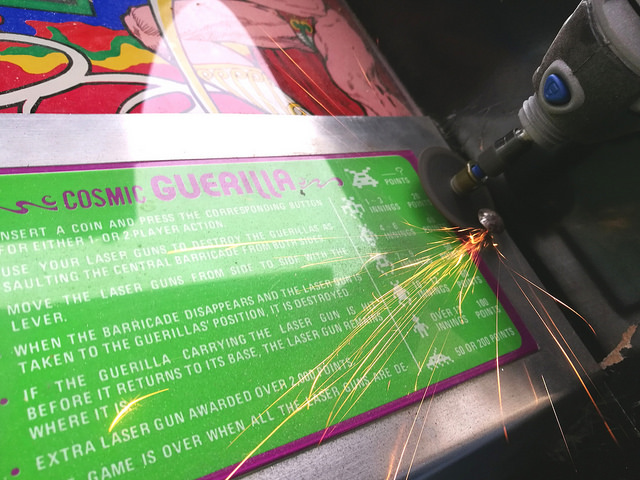
Here’s a close up of that amazing art:
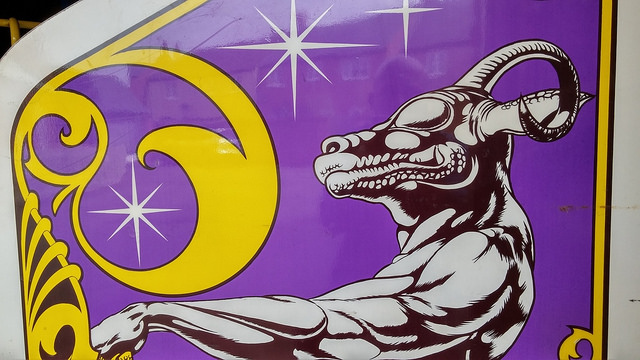
As you can see, it’s survived rather well considering it is now almost 40 years old. This is the early Black & White version released in 1979, and so came with an early version PCB game board. Plugging in, not much happened.

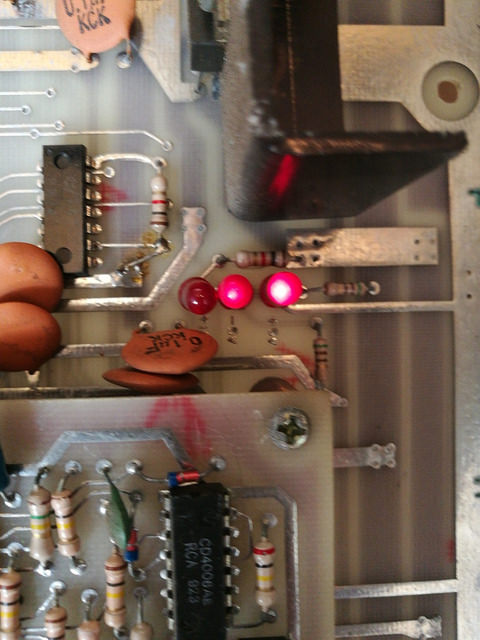
That unlit LED suggested that the PCB wasn’t getting +12V from the power supply. After consulting the schematics and replacing a dead transistor, I got the LED lit up, but still nothing on screen. After much tinkering around I admitted defeat and sent the board off for repair.
So with the job of getting the game running passed onto someone else, I was good to start work on the cabinet.
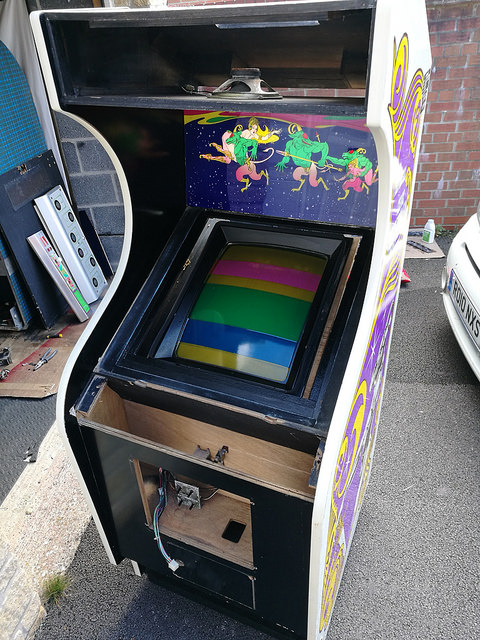
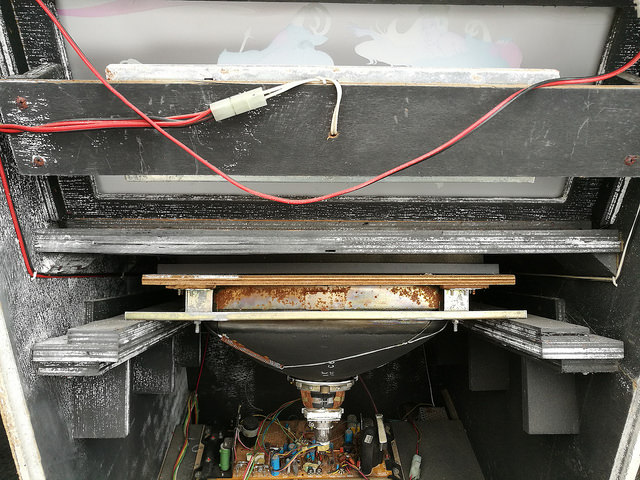
The first thing that needed my attention was the inside. Take a look at this:
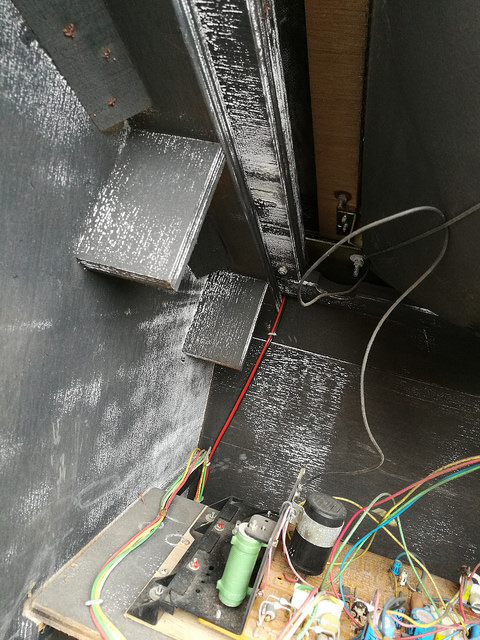
That wide powdery substance, was in fact mould. Only one thing for it – elbow grease. To remove it, I decided on a bucket of bleach, diluted with 10 parts boiling hot water. Using rubber gloves and an old cloth, this took the best part of two hours, but the results were worth it:
I gave the cab a good final dose of anti-bacterial spray to make sure the mould doesn’t come back.
Next was removing the bezel. To do that, the control panel had to come off. I discovered that the bolts were rusted solid, so only one thing for it:
Here we go:

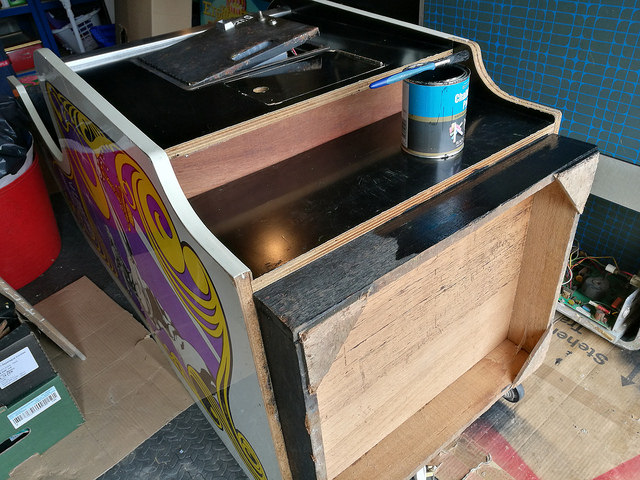
And here’s our stripped cab:
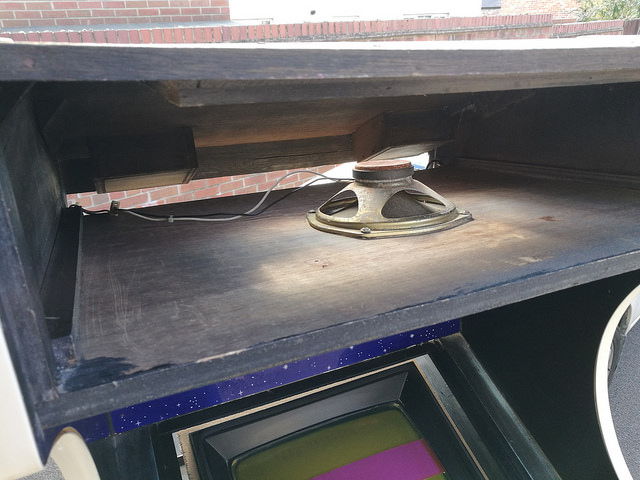
What is especially nice about the cabinet is that the artwork above the monitor is lit up with a strip light behind it, along with the marquee. Amazingly this bulb still worked fine, but I had to remove the upper light to clean the mould out of it:
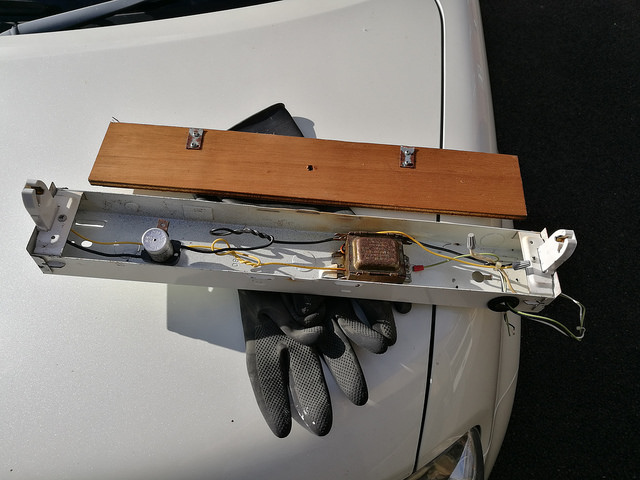
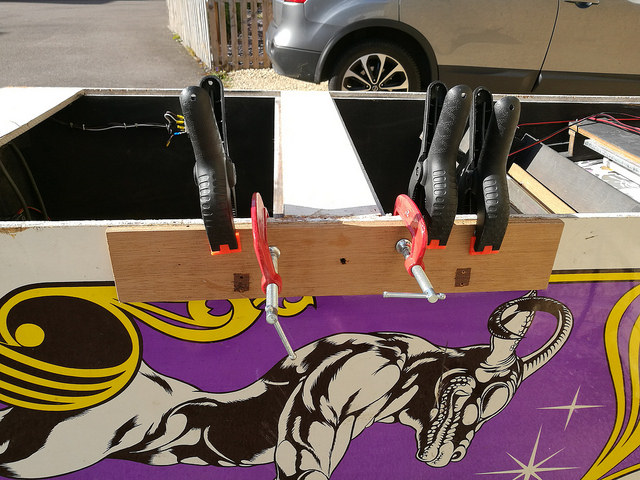
Couple more jobs here:
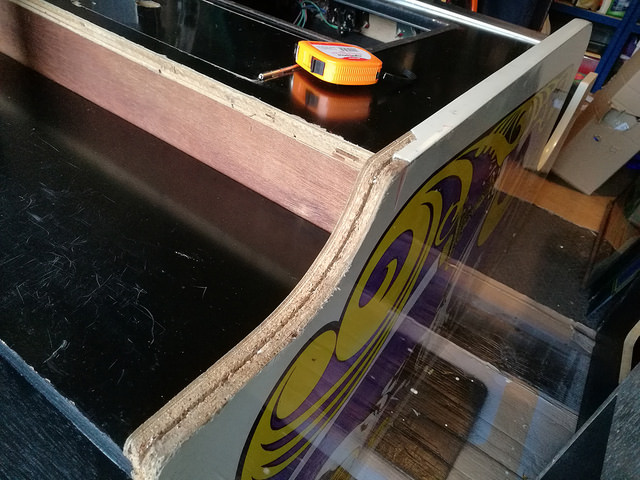
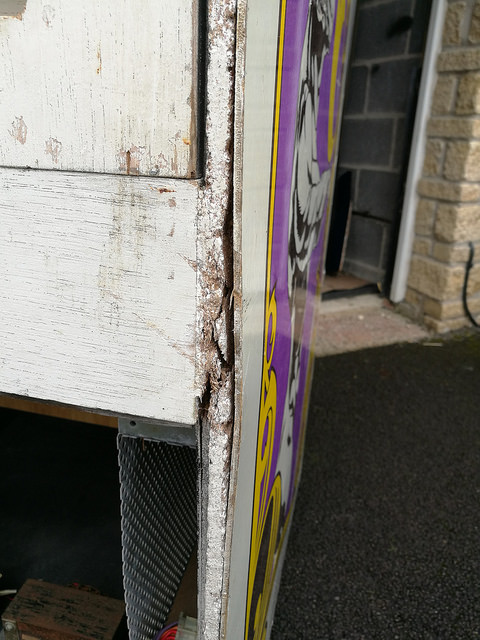
As I mentioned, the cab is generally very solid. That said, this one area at the back was coming away a bit:
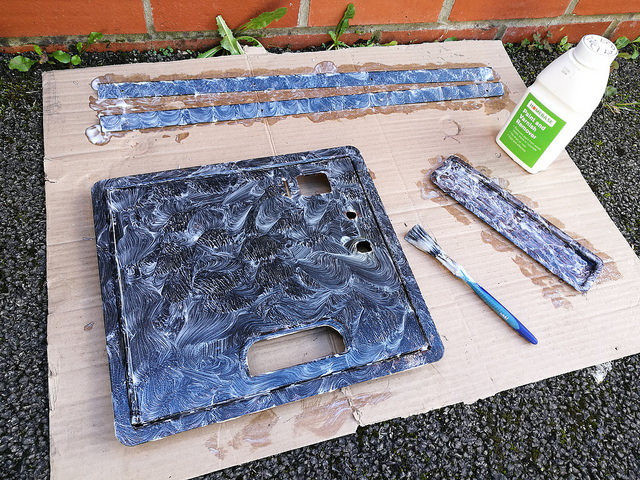
Next up, let’s take a look at the metal work. I had plans to try to keep the nice rusty patina that had developed on the coin door and marquee retainers:
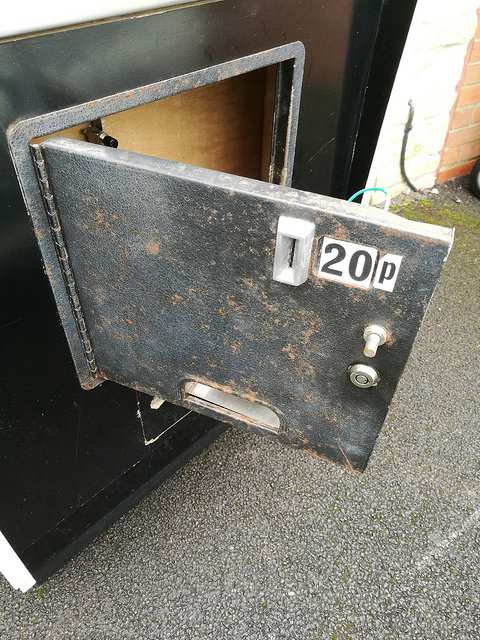
I played around with a few products, including T-Cut and a matt automotive lacquer but really couldn’t get a result that I was happy with. So in the end decided to just strip the old paint and rust off completely:
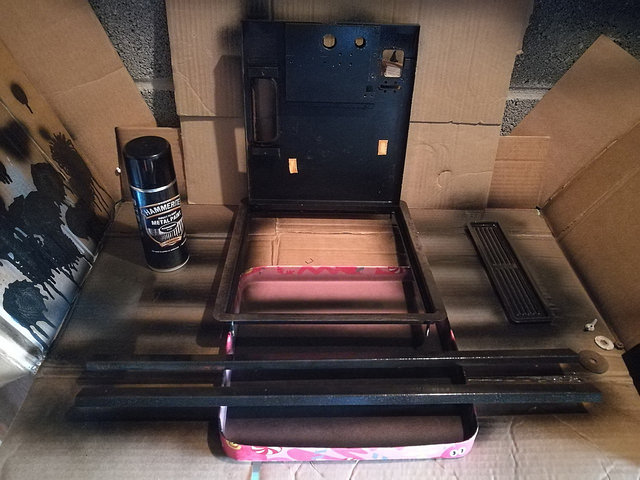
So while our new paint was drying, I got on eBay to order a few parts that I needed – replacement bulb lamps, a new strip light & ballast and a push switch button which I want to mount on the coin door so that credits can be added.
So there you go. Part 1 of just 2! (If only they were all like this!).
This Universal Cosmic Guerilla will soon be complete, and ready to move on to a new owner. Join me next time to see the completion of this project.
If you like what you see, check out the Restoration Archive Menu at the top of this page.
See you next week!
Tony


Looking good! Was the marquee originally that same pink color or did it start off red and has faded over time?
LikeLiked by 1 person
Pretty sure it faded over time. I think the original has a more purple hue about it rather than pink.
LikeLike
Really beautiful cab. Nice work. Looking forward to reading Part 2. Hopefully see you tomorrow at Arcade Club.
LikeLiked by 1 person
Great start Tony, love these restoration blogs
LikeLiked by 1 person
Always a sucker for resto blogs and with a cab as cool as this one, you are really spoiling me.
Also a game I’ve never played.
Looking forward to the end result.
LikeLiked by 1 person