So with all the spraying done, it was time to start getting this cab put back together again.
A knock at the door revealed a delivery from the postie this morning. Forty foot of smooth black t molding from t-molding.com – excellent price (much cheaper than the usual UK source) and quick delivery. Highly recommended. New t molding is one of the best things you can add to a cab to improve its looks.

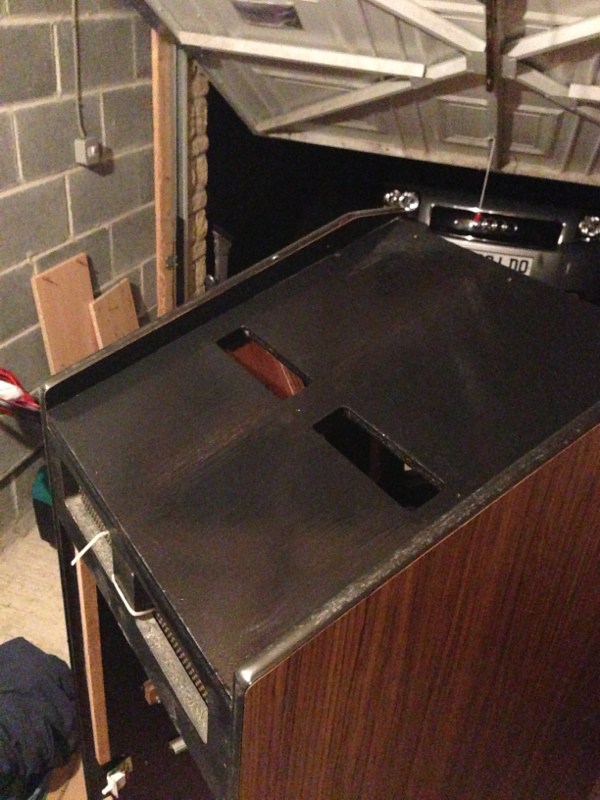
Next up, a small amount of repair work to the top of the cab with some wood filler, and a lick of paint:

After a small amount of soldering work on the loom to re-attach a few parts I removed for cleaning, I repopulated the test switch panel after it was resprayed. This sits on top of the coin box inside the cab and houses the coin counter as you can see, and switches for volume, and selecting “service mode” for testing.

Before/after:

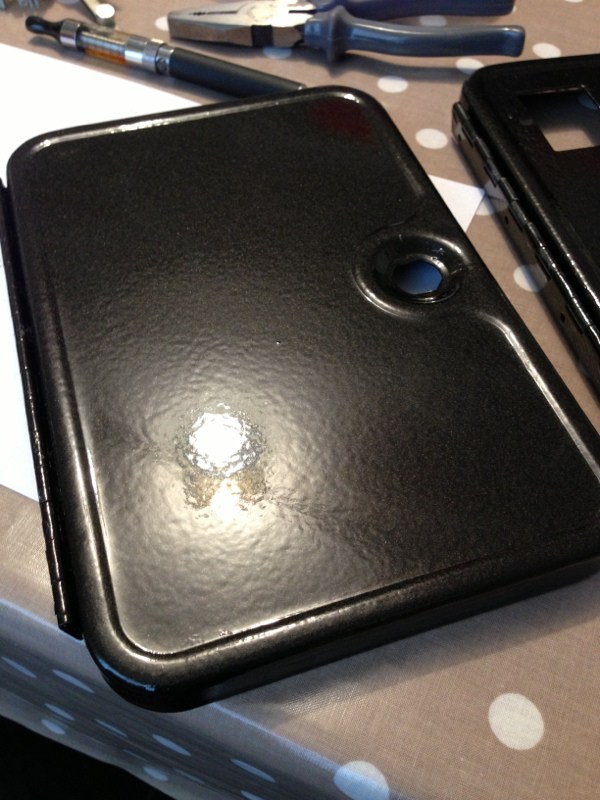
Remember the respray work I did on the coin doors in Part 4? Well here’s how they came out after four coats of paint:
Pretty nice. So time to repopulate the hardware and wiring. Take lots of photos when you dismantle things like this – makes it much easier to put things back together!

I then set about rewiring the cab with the main loom. I’ve managed to keep all the original plastic retainers, but decided to replace the screws as they were rusty and badly pitted:

And here’s the loom all screwed in and ready to rock:

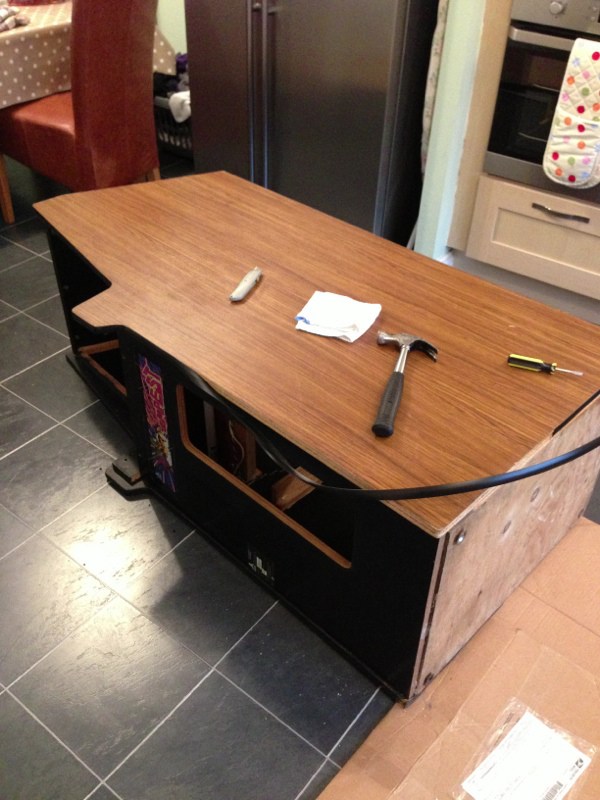
And of course, the new t-molding. Some of my previous restorations go into more detail on ways of doing this. Surprising how much these cabarets use – had to order 40ft of the stuff in total to be sure I had enough – remember you want one continuous piece to go around the entire two edges of the cab:
We are getting somewhere now. All that remains is to repopulate the cabinet once I’ve got it up three flights of stairs. Now where is the lady of the house when I need her?
The final part of this restoration is up next.
Tony

