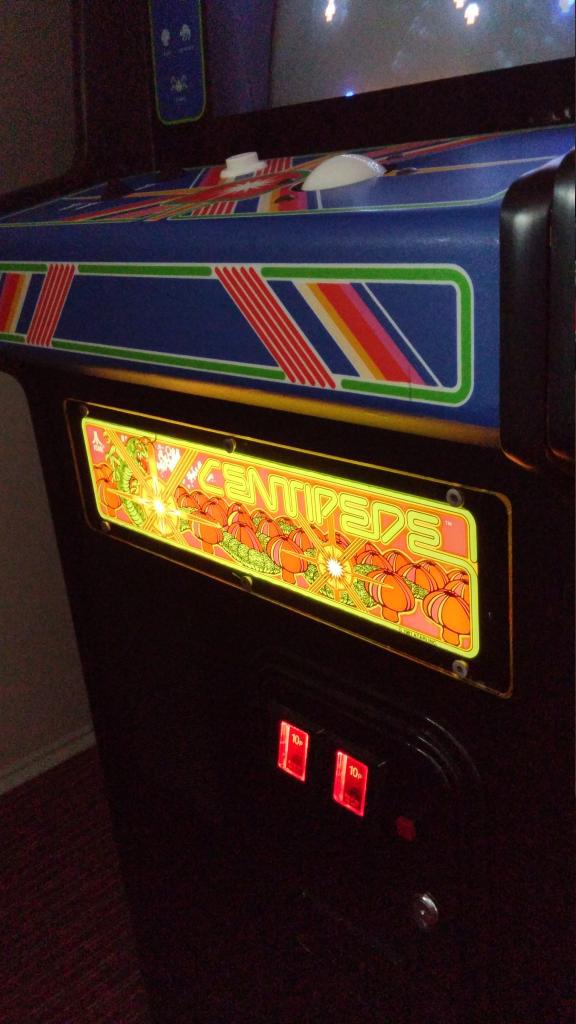
Sharp eyed readers may have noticed that the Centipede cabaret I restored came without a marquee light from the factory – it appears this is a common thing. Atari put the light housing in some cabs (like the Tempest cabaret previously documented in my blog) but not others.
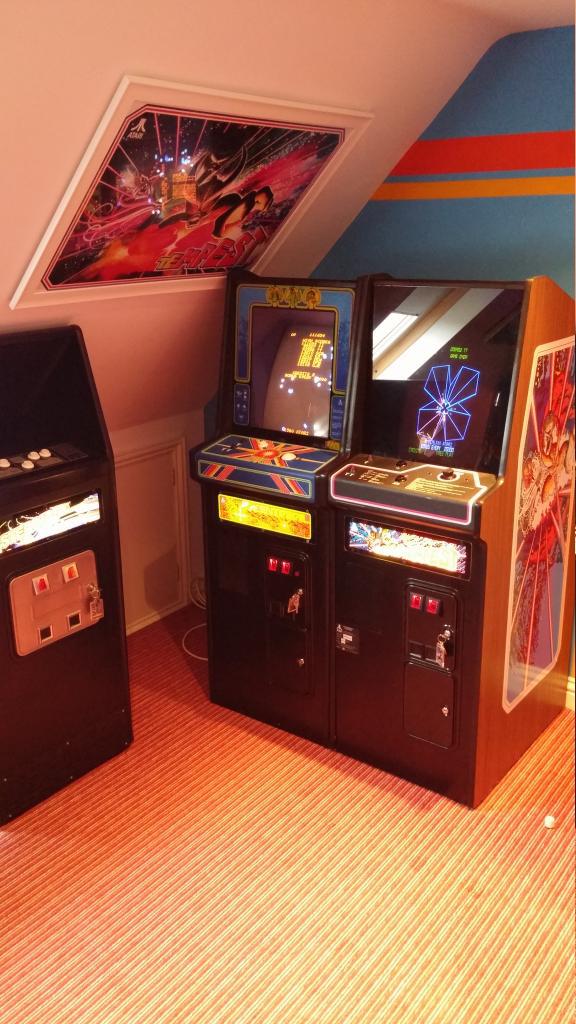
Here’s the completed cab. With no marquee light:

It had been bugging me for a while, (my collector OCD started kicking in as it was the only cab I had without a marquee light). So I decided last week to do something about it.
To get the marquee lit up, requires a power source to power the light unit to be used. I decided to use the 12vDC pin from the AR2 PCB board to power the light, as this would require minimal hacks to implement. In layman’s terms, the Atari AR2 unit is a pretty standard PCB found in many Atari cabs of the time – it essentially regulates the power received by the machine, changes the voltages around through a series of components, and allows these various voltages to be fed around the cabinet as required by the main PCB, the monitor etc, etc.
So after a bit of research, I settled on one of these. It’s a simple LED strip light with brackets for 12 GBP. I’m sure similar units are available worldwide.

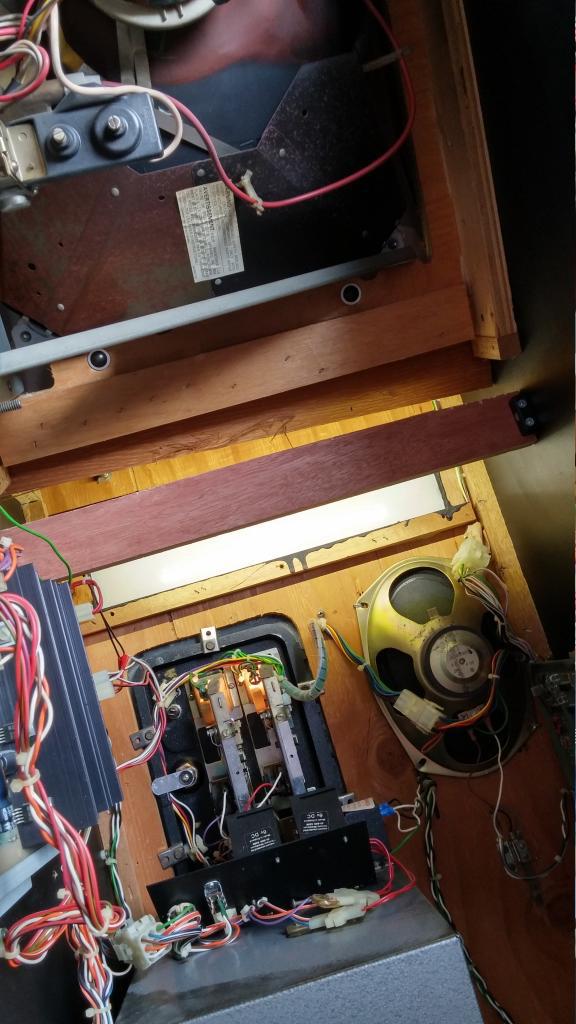
I put together a small length of wood and fitted it so I could mount the LED strip behind the marquee. It’s screwed in about 20cm behind the marquee itself, and secured to both sides of the inside of the cab:
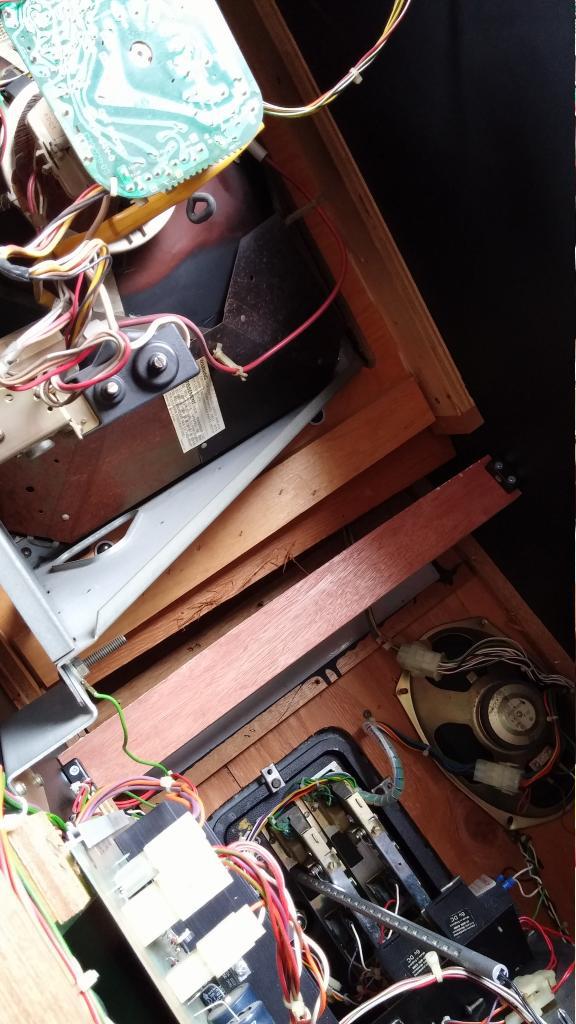
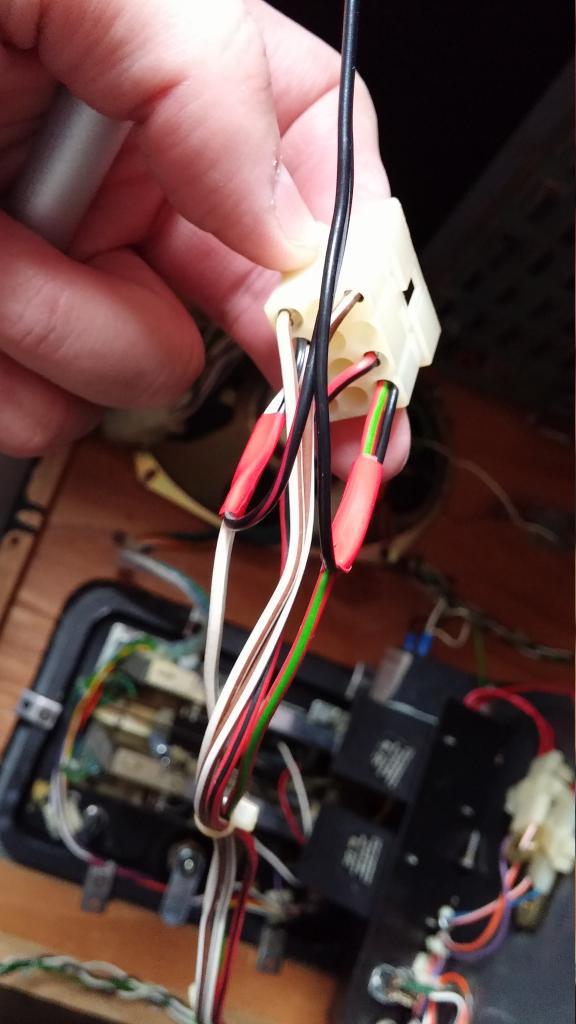
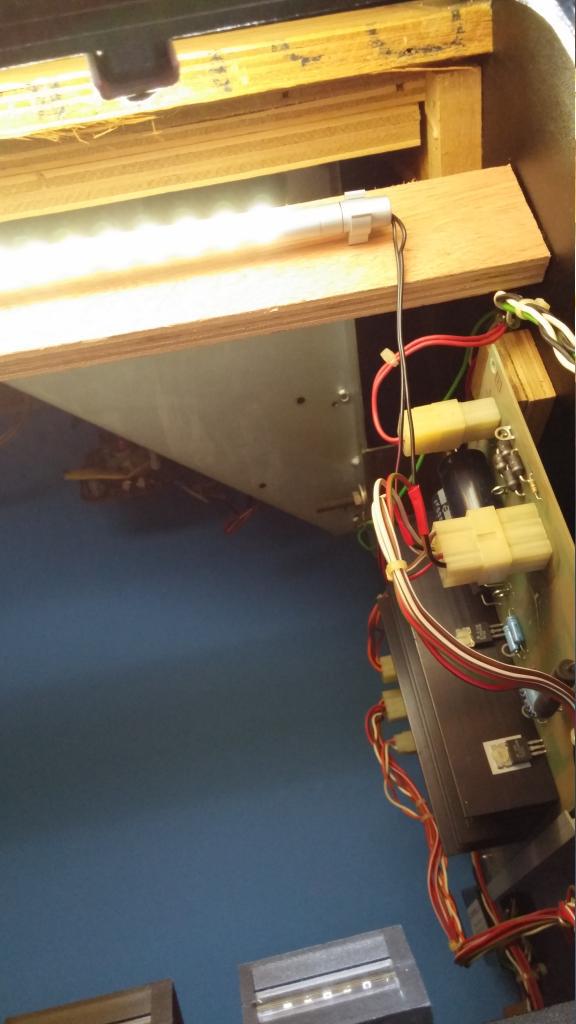
To get power from the AR2, you need to hack into the P10 block. Pin 4 of the block is 12v and Pin 12 is GND – just what we need to power our little LED light strip. I removed those pins, and dropped the relevant + and – wires from the LED strip into the back of the pins and taped the wires secure:
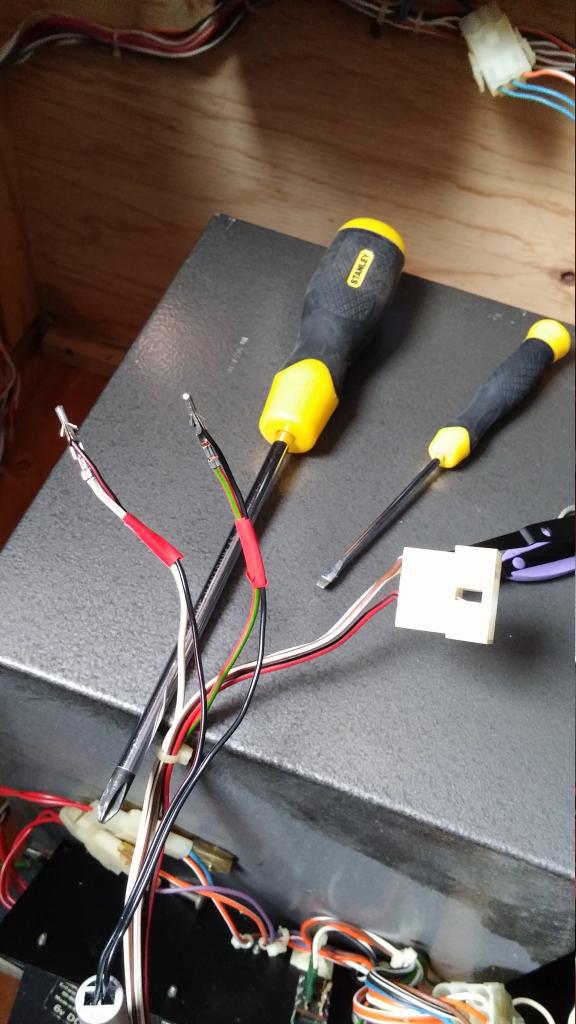
Then popped the pins back into the block, being careful to ensure that they snapped back in securely:
Secured the LED strip into the mini brackets, switched on and voila:
Here’s the view looking up through the coin door:
And all lit up:
Took about an hour from start to finish, without having to hack the existing wiring loom which is always good arcade karma.
I’m going to call this cab complete. For now.
Thanks for reading!
Tony

