Regular readers of this blog will have noticed a common theme in the cabs I’ve been restoring: I have a penchant for the smaller “cabaret” versions of arcade machines. This is partly out of necessity – my games room us up three flights of stairs at the top of the house, and being in the loft area, there isn’t a great deal of space up there. Add into the mix the slope of the roof, some compromises have to be made. There is a finite number of cabs that will fit, and the height issue is one that needs careful planning.
In a future blog post, I’ll share some pictures of the loft arcade which will give you a better idea. In the meantime, we’ve got an Atari Asteroids cabaret machine to restore.
These cabinets were built in Tipperary, Ireland, which was Atari’s European manufacturing headquarters. Amazingly, the factory originally manufactured kitchen cabinets, before being bought by Atari and adapted to make arcade cabinets.
This small factory, in a small Irish town, managed to churn out around 150 cabinets every single day during its peak to satisfy the demand from the European market. This picture shows the production line in the factory:
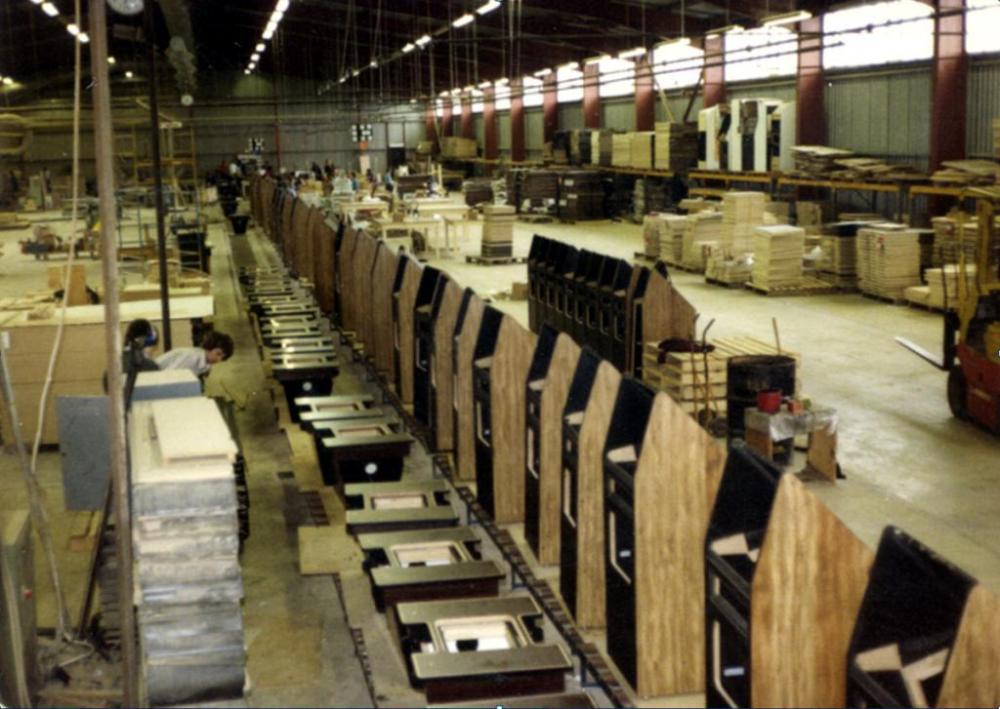
(Photo: James Riordan)
What you see there is a line of Asteroids cabaret cabinets in the original Tipperary factory ready to be populated with hardware. It’s possible that the cabinet I’ll be detailing in this post is pictured above. Atari produced several designs of “cabarets”. The Asteroids shape was shared with Missile Command, another style became Battlezone and Asteroids Deluxe, and a third design became DigDug, Tempest and Centipede. All shared common themes and benefits. All had generic “wood grain” laminate sides, all had a smaller footprint than their full dedicated upright cousins and all were shorter in height. The net effect of this was reduced production costs for Atari; this made them more attractive to operators, who in theory could squeeze more machines into their arcades at a better price which of course meant maximising profits – which was the name of the game.
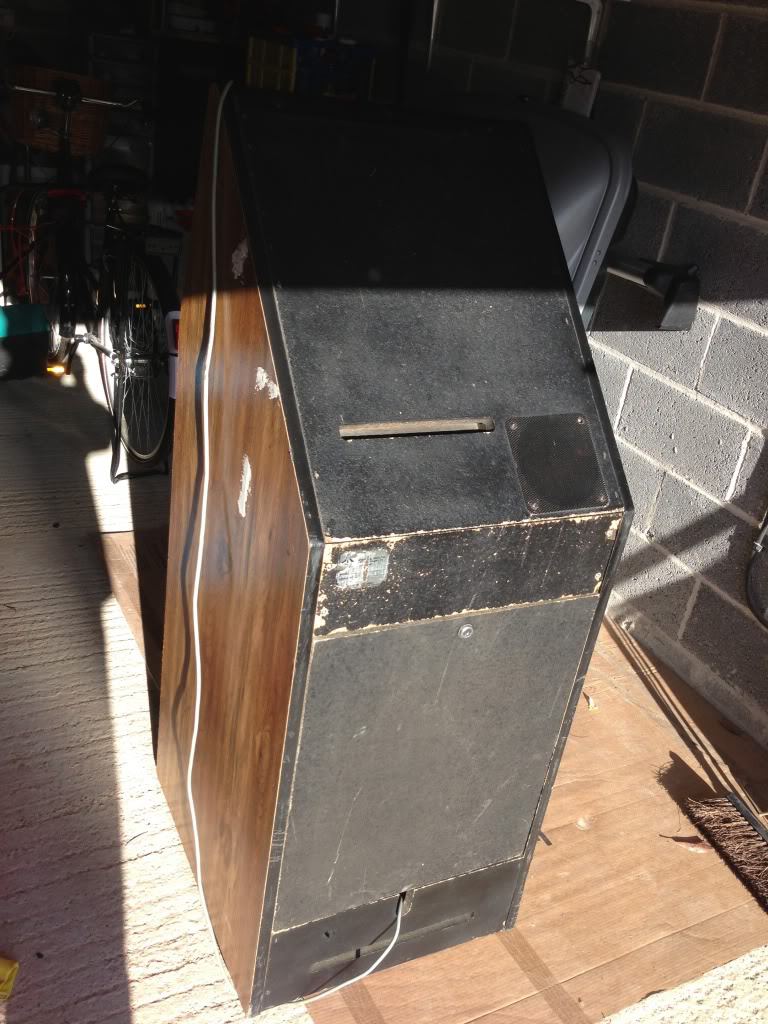
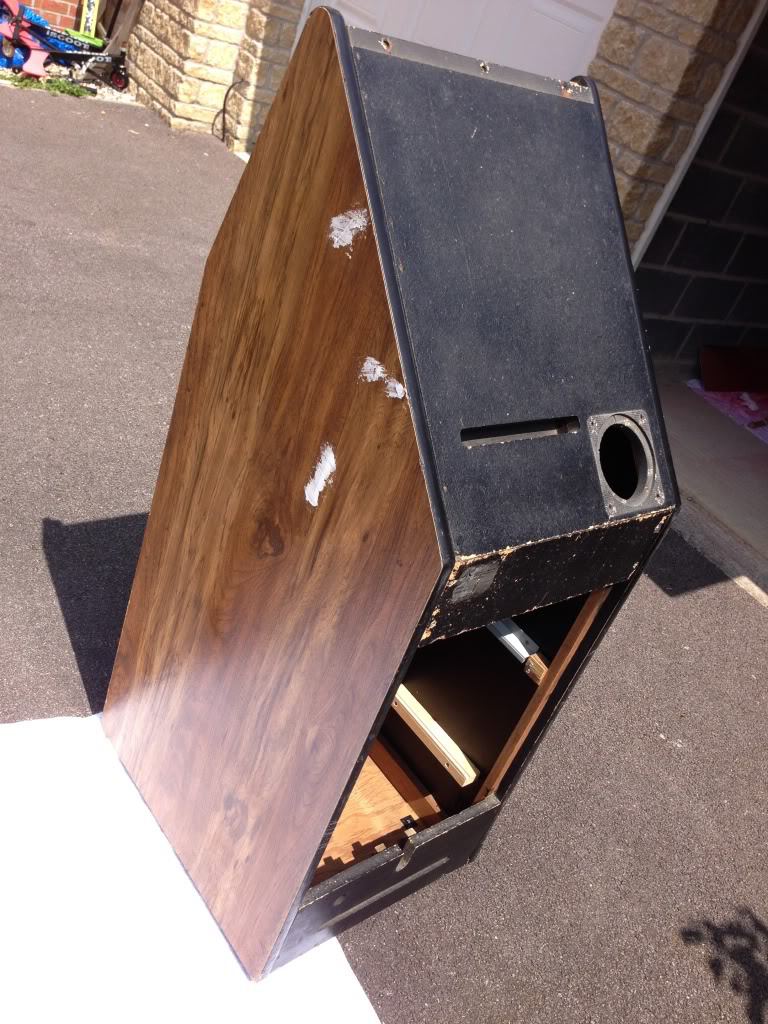
The cab in question here was purchased from a fellow collector here in the UK. Described as working, but in tatty condition, it looked like a prime candidate for restoration, without too much effort required. I jumped in the car, drive the 200 mile round trip to pick it up and got it home:
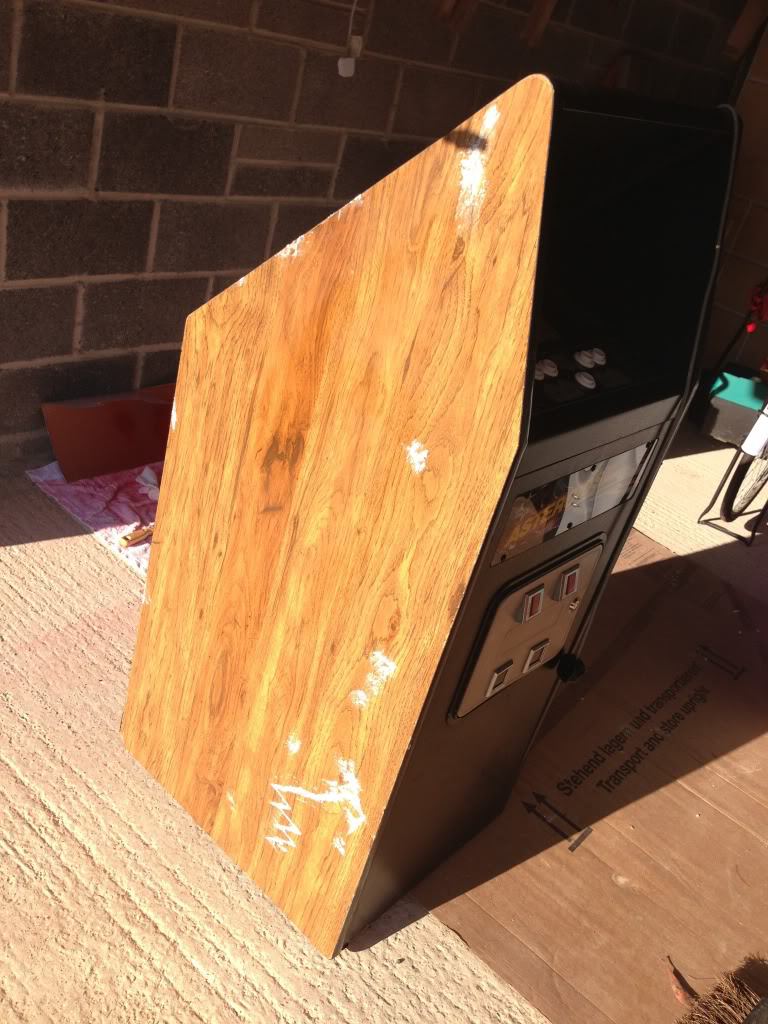
The cabinet was in pretty good shape. A few nicks and scuffs here and there, some damage to the bottom – but overall, not too bad. Here’s the worst of it:
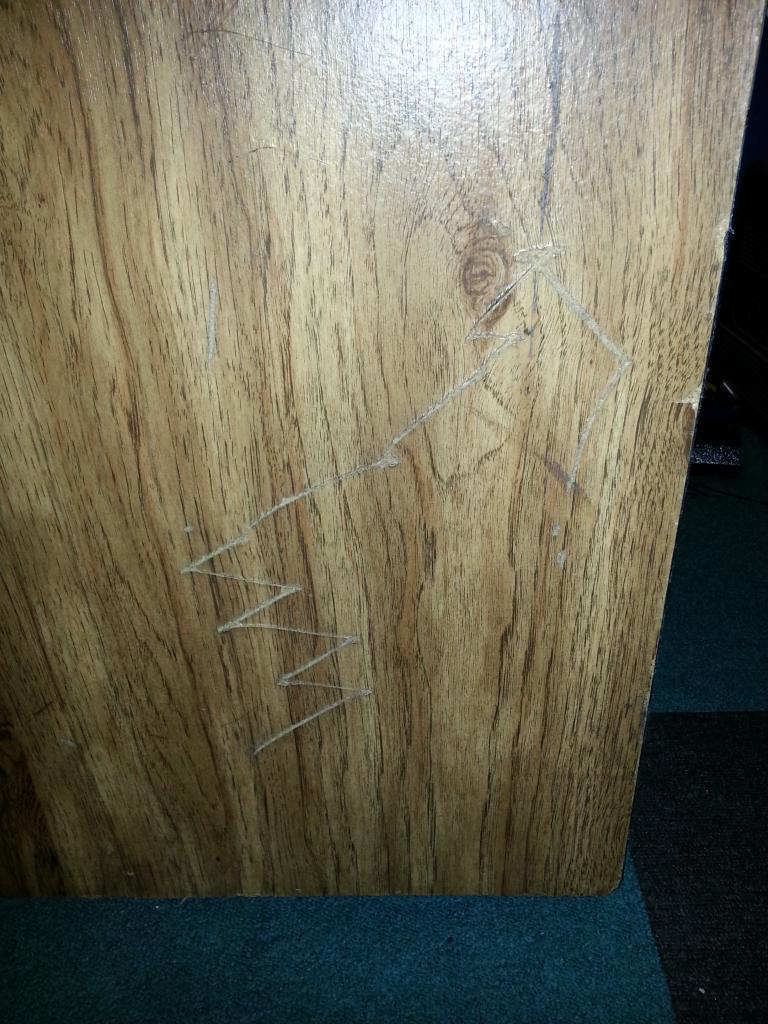
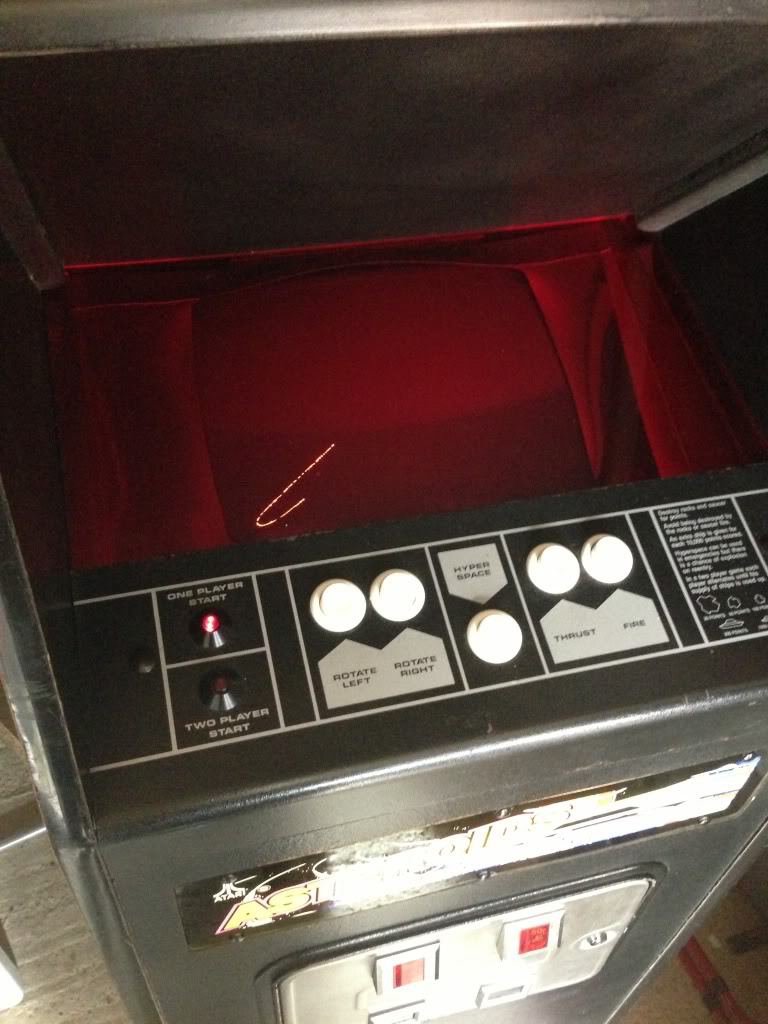
That would need repair for sure if it was going to live in my humble arcade. There were a number of other oddities too, including a red plexi that someone had installed at some point – it looked awful but was an easy fix; I immediately ordered a cut piece of black smoked plexi as a replacement.
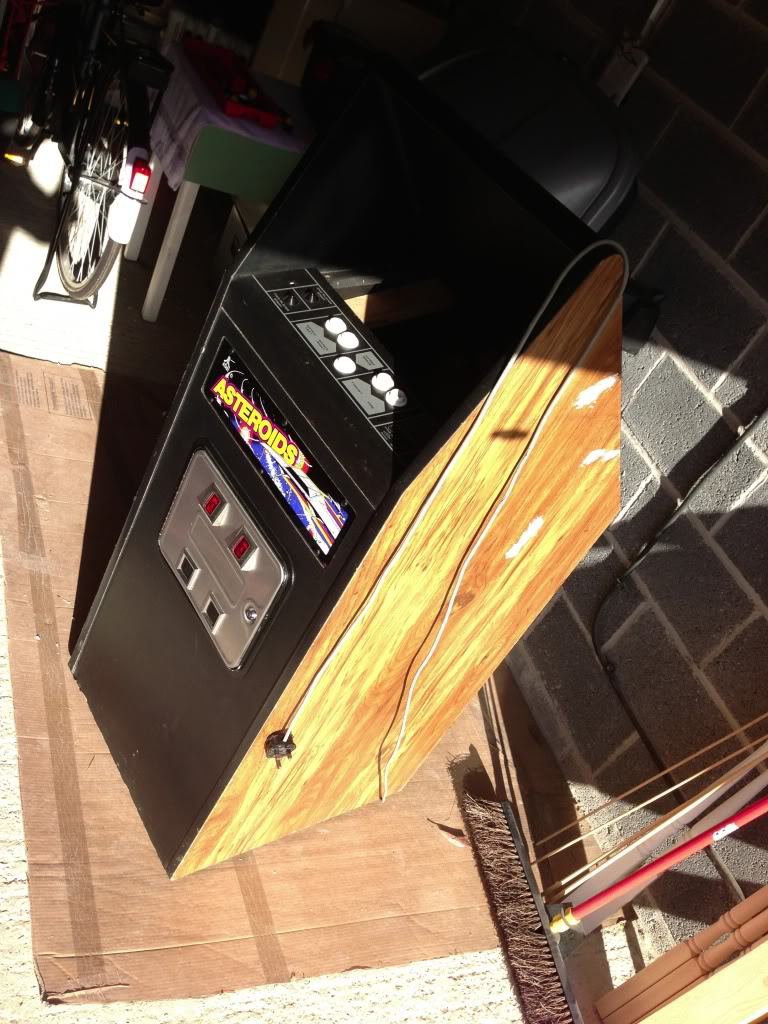
When I viewed the machine it worked perfectly. As is always the case with this hobby that wouldn’t last long. Plugging the machine in at home for the first time revealed this:
That’s not Asteroids dear reader. That is in fact arcade voodoo 101, which states: “assume nothing: it will probably break”. These cabinets hate being moved, and sure enough, the trip back home in the car was just too much for the old girl. You’ve got to love this hobby. So the PCB was removed and sent off for repair.
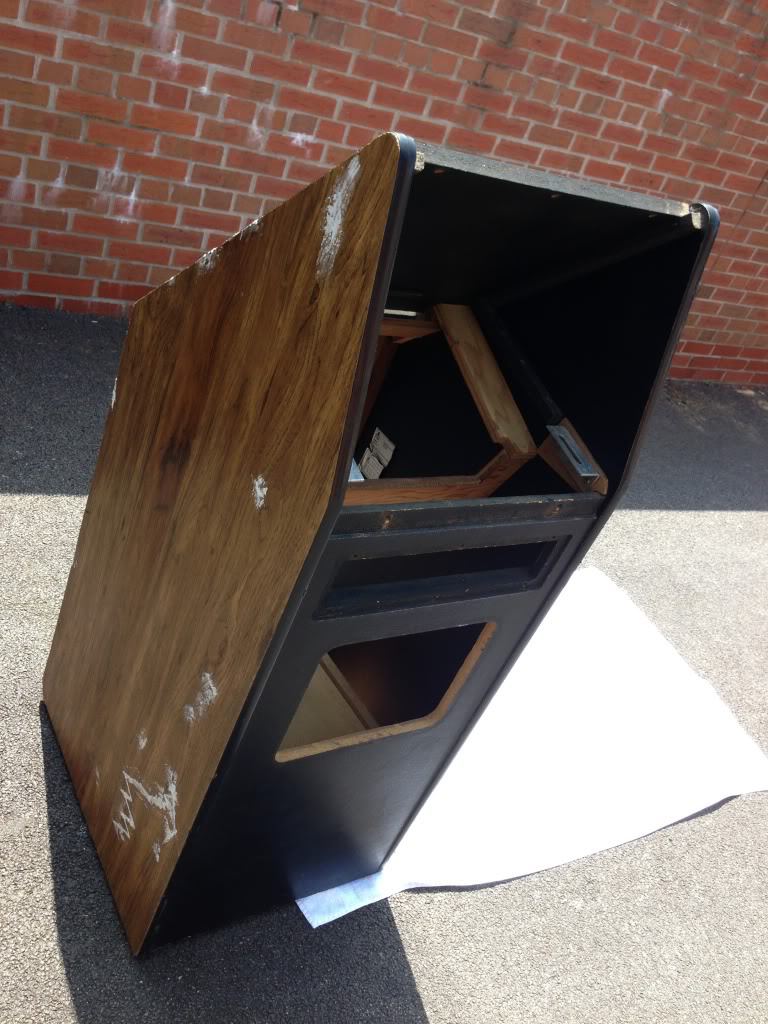
The inside of the cabinet wasn’t too bad:
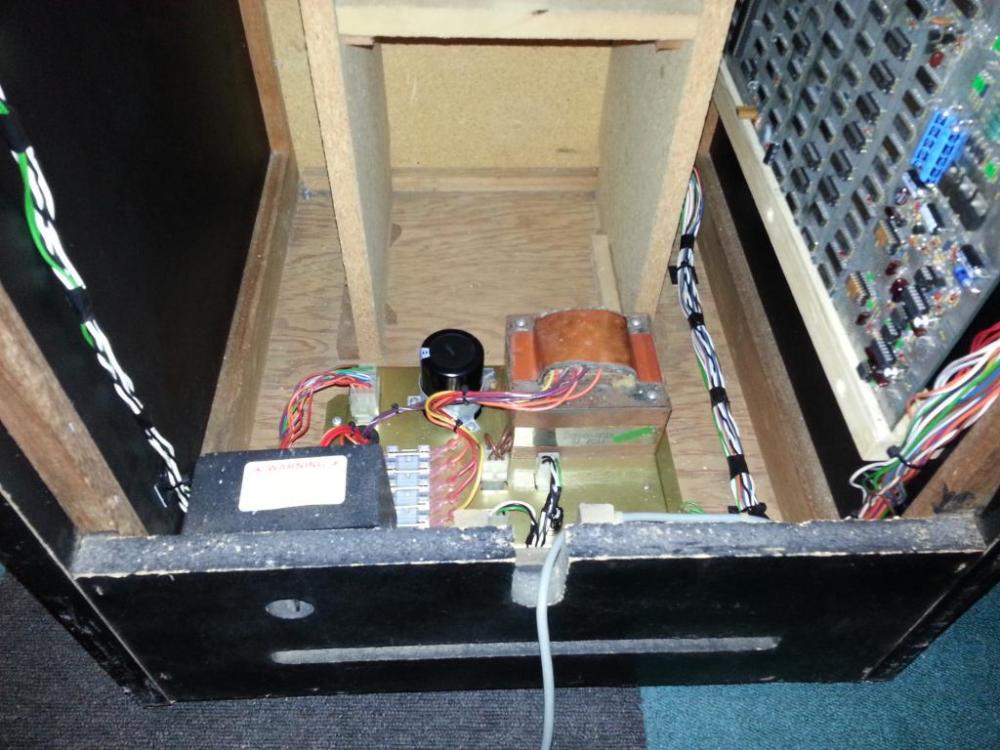
And here’s the rest:
So after a bit of thought, I decided to go the whole hog and replace the wood-effect sides, and give the black another coat of paint. The plan is to strip the insides, rework and clean the harness and give everything a deep clean.
To replace the wood grain on the sides, I picked up some DC-Fix “Wild Oak” sheeting, which is a pretty good replacement for what’s on there now. DC-Fix is a vinyl product that you can buy in rolls in a multitude of colours and designs.
First job was to strip everything out to leave a bare shell:
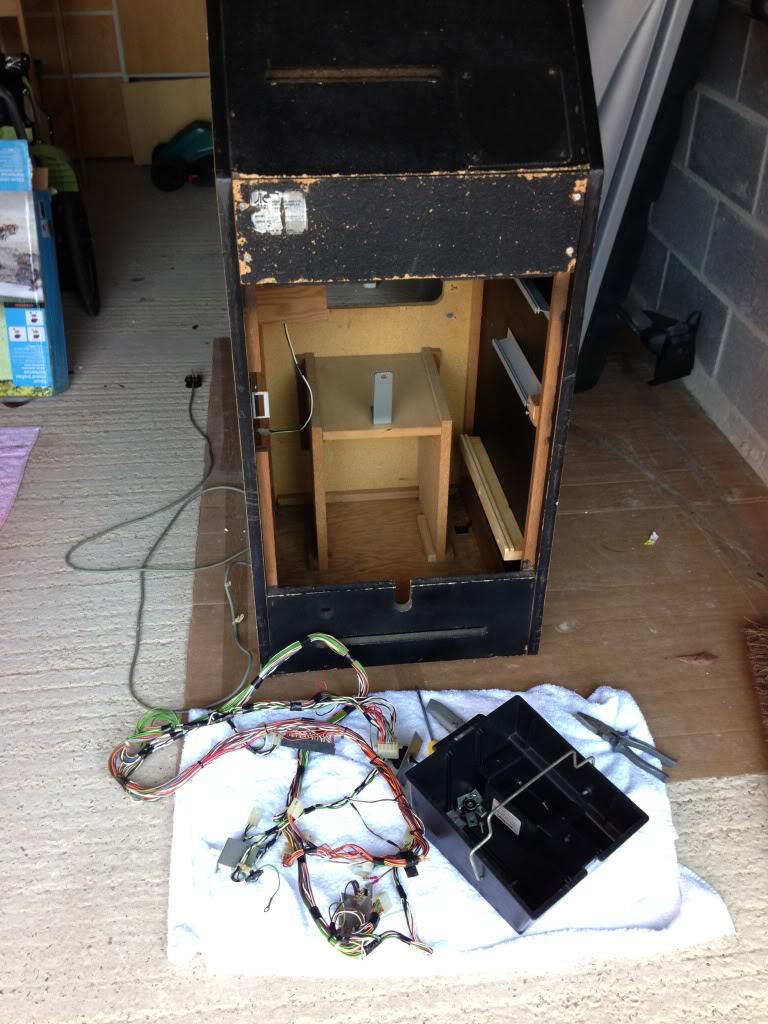
And then get to work with wood filler to get the worst of the damage repaired:
Time to scare the neighbours’ kids with my party gear:
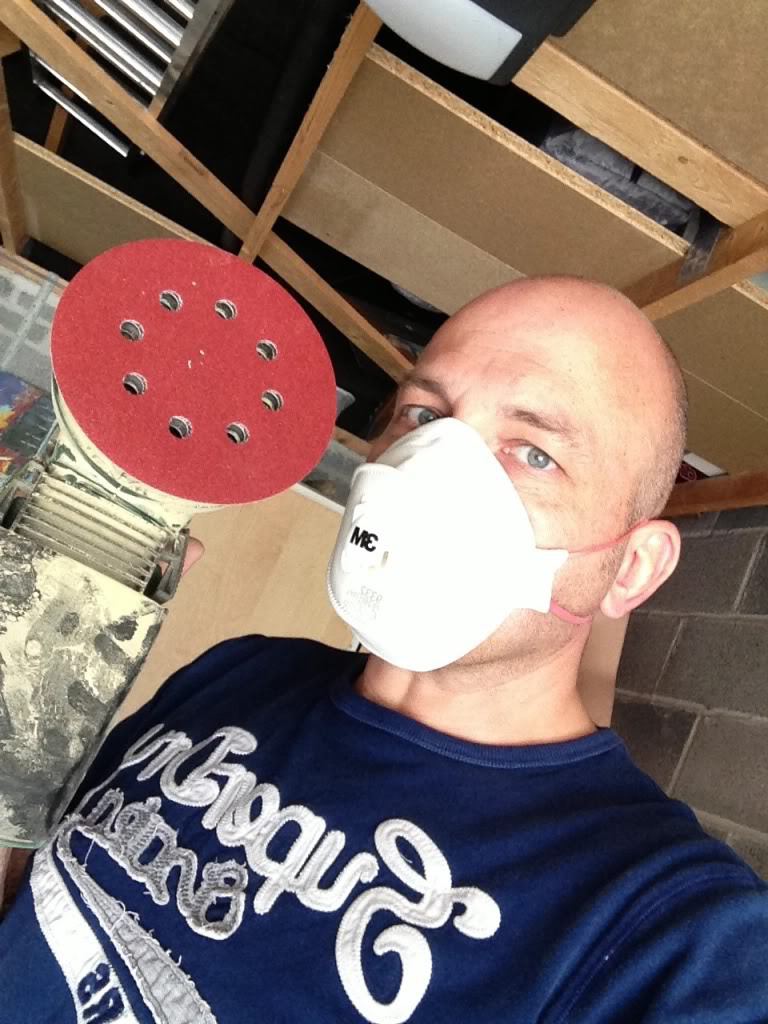
And start sanding down both sides, ready for the wood grain DC-Fix to be applied:
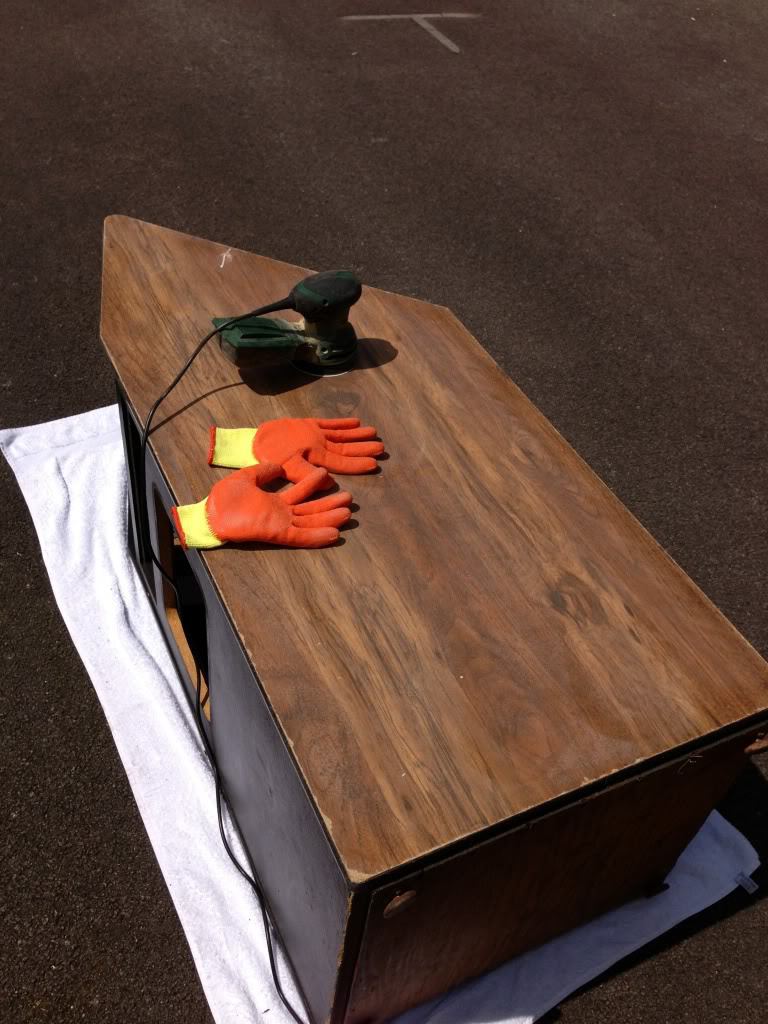
We are in good shape – do check out part 2 for more on this restoration.
Thanks for visiting this week!
Tony


Thank you for the information you provided.
LikeLike