So with the main cabinet sanded down at the end of part 1, I moved onto the wiring loom. For some reason the loom was taped up with electrical tape. A previous owner probably thought it was a good idea at the time, but now it was all sticky and collecting dust:
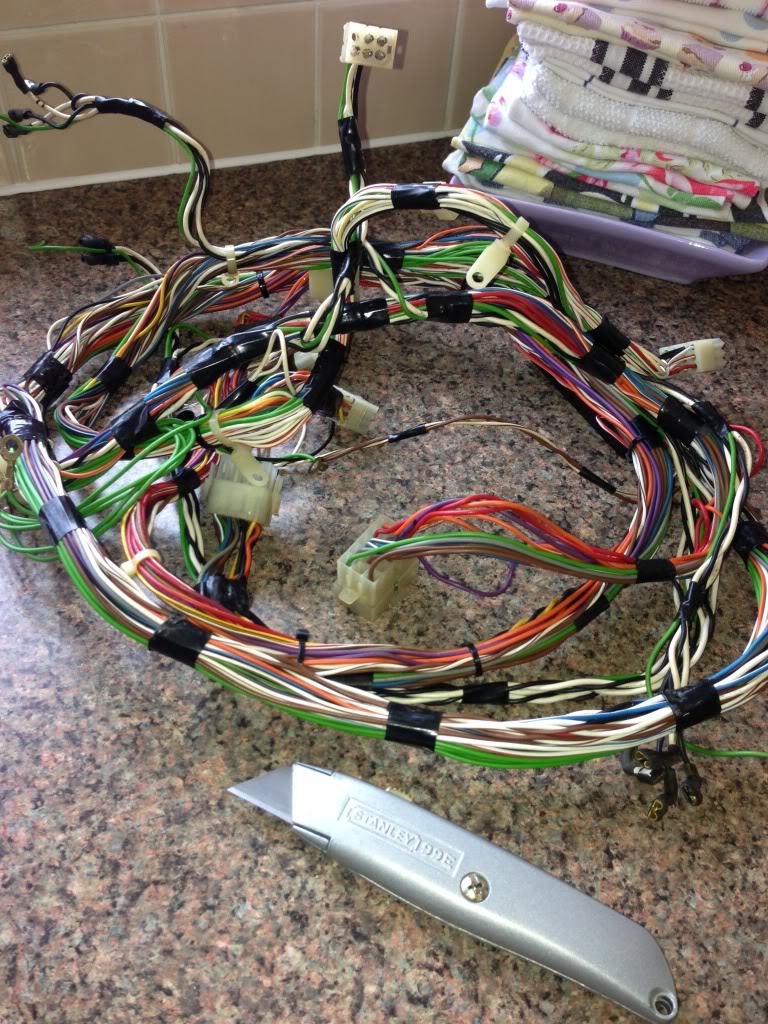
That had to go. With all the tape removed, into the sink it went for a long soak to get the dust, muck and sticky residue off the wires:
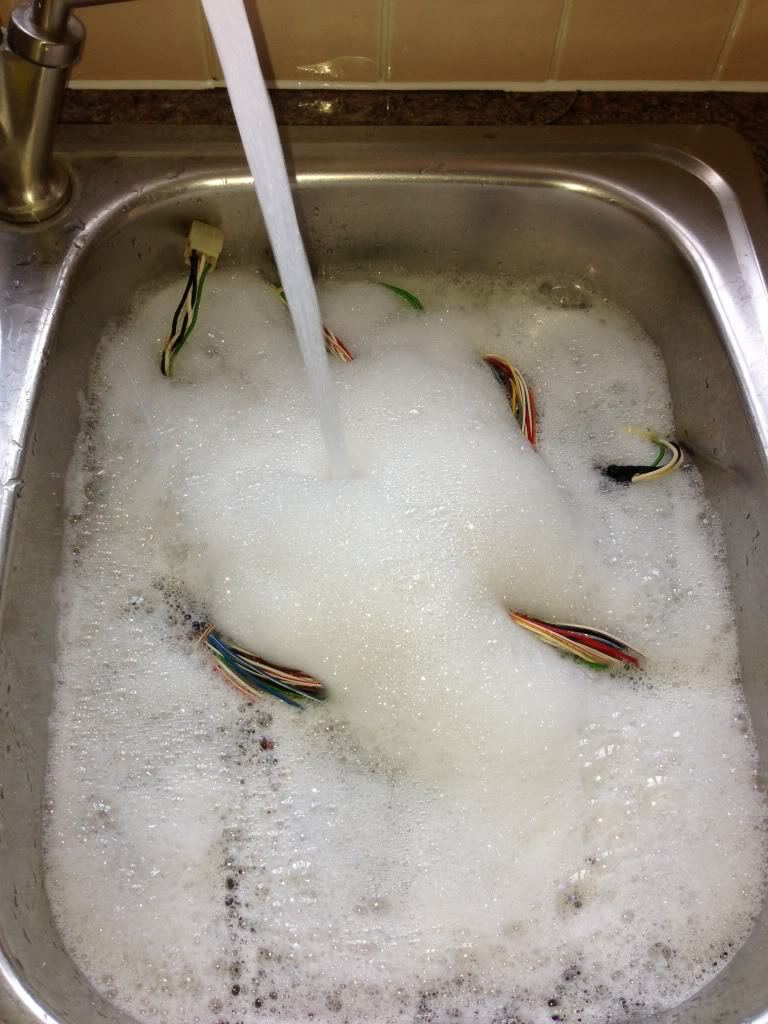
I get asked a lot about putting “electrical” things into water. I’ve never had a problem with it – of course water and electricity don’t mix. But you clearly wouldn’t put ‘live” parts anywhere near water. So long as the item is removed, discharged of any current, thoroughly dried (and by that I mean at least 24 hours in a dry environment, you aren’t going to have any problems (disclaimer: at least I haven’t!).
Once dry, I replaced the tape with proper cable ties:
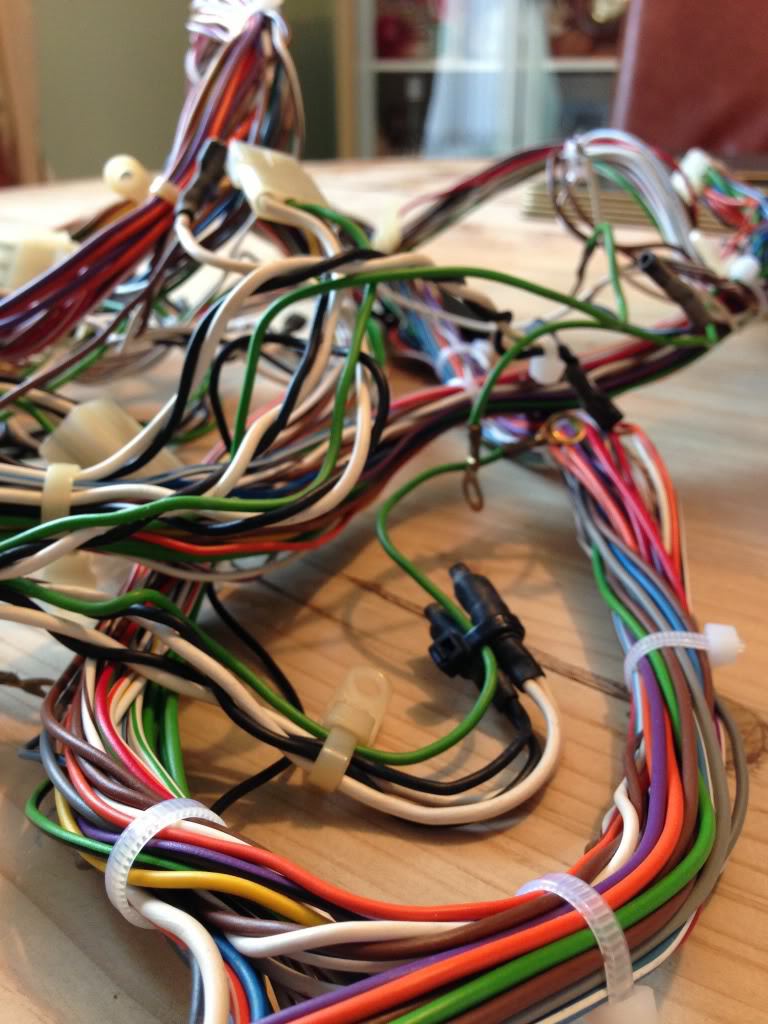
A small job but a huge improvement. With that done, I moved onto the metalwork. First job was to strip the old black paint from the speaker grille, coin door surround and top flash. Our old friend Nitromors was on hand to get the job done:

A few hours later, here’s the result:

With the prep done, Hammerite direct to metal black spray was applied in four coats, to get the hardware looking like new again:

Leave that to dry for 24 hours.
Moving on to the cab itself, a fresh coat of blackboard paint was in order to the rear of the cab. I love this stuff – it covers a multitude of sins, and looks neat even if applied by a cack handed painter like me:

Once dry, the blackboard paint leaves a nice smooth finish.
Next up was probably the trickiest part of the this restoration, and that was the sides. As mentioned in part 1, I decided to use a vinyl product with a wood grain pattern. The nearest match I found was “Wild Oak” in the DC-Fix range.
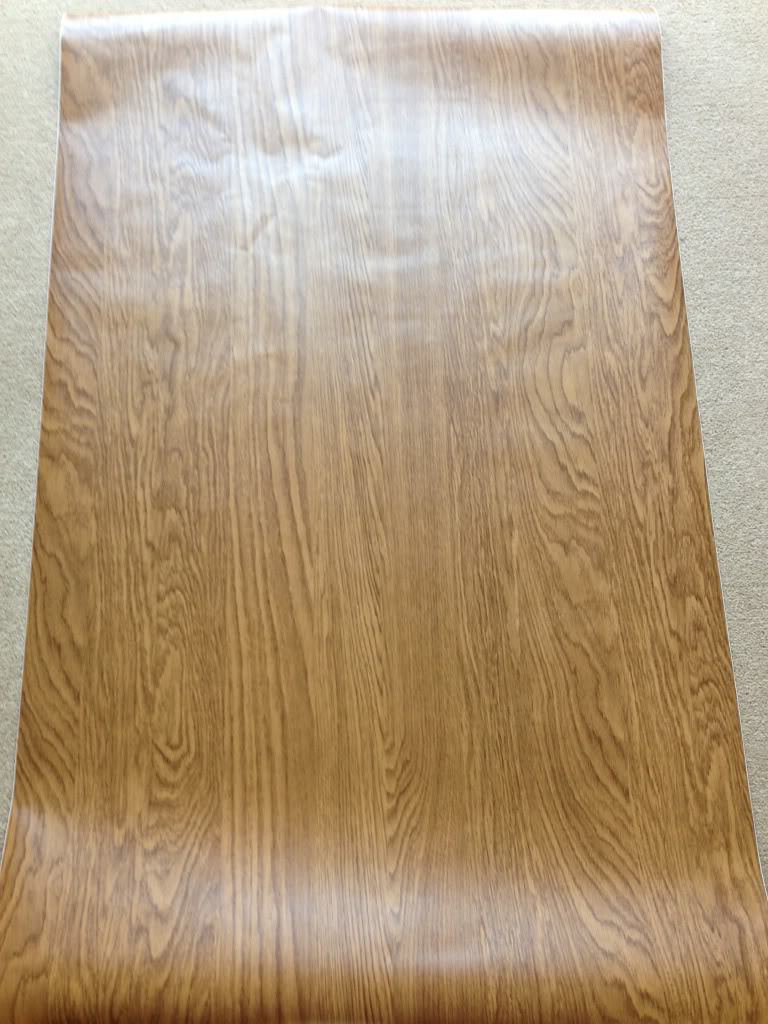
I put the cab on its side, and made a start with applying the vinyl:
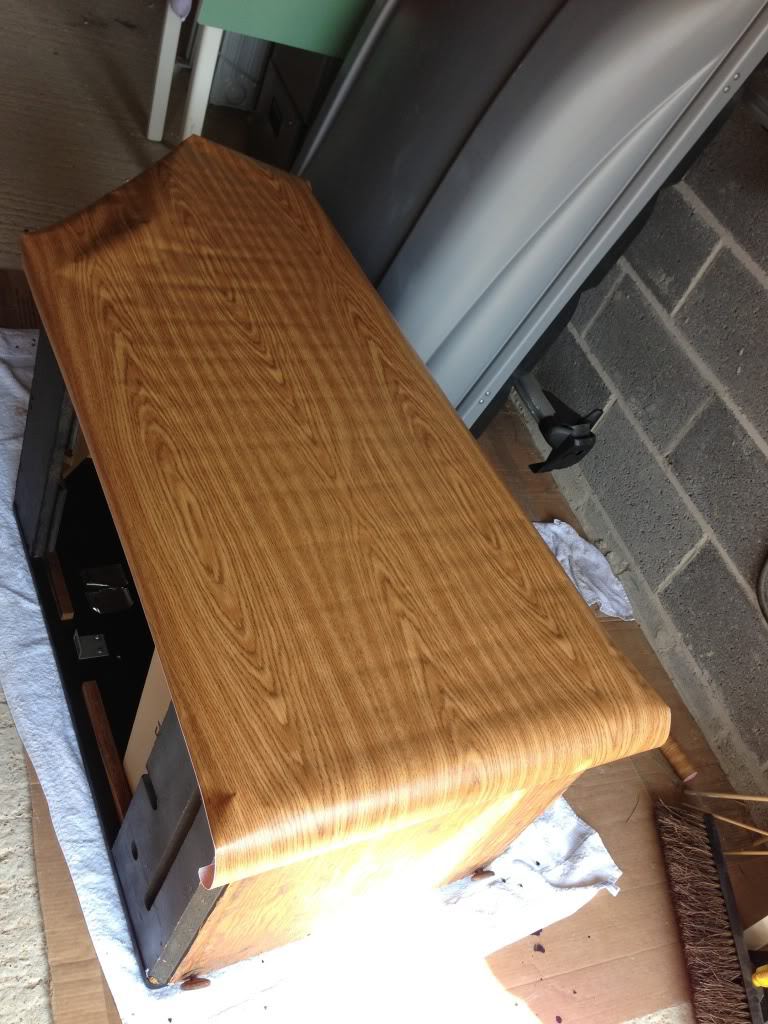
To get this on correctly, you need a bit of patience and a steady hand. Cut round the shape of the cab, leaving about a centimetre to play with around the edge. Then remove the paper backing and start with a squeegee to get it on there nice and flat.

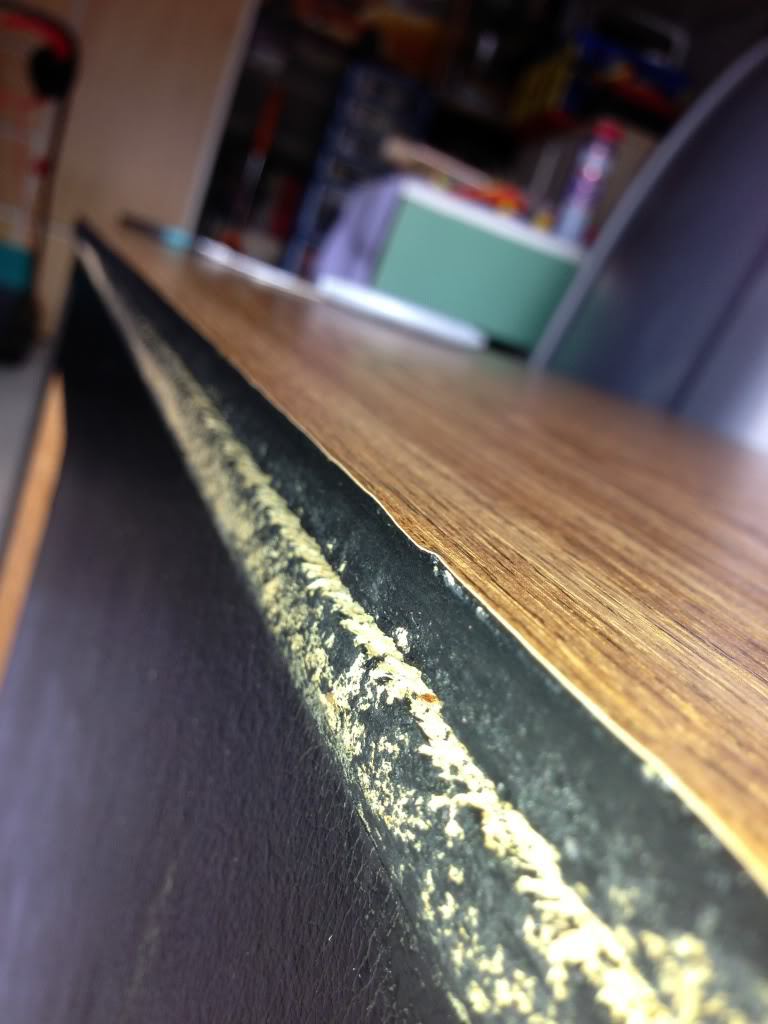
Had to do a quick repair to the bottom rear of the cab. This was done with a wood rasp and wood hardener:

With the vinyl applied and squeegeed on, I ran round the edge with a sharp craft knife:
A good tip when applying patterned vinyl like this is to have a pin handy. You can use it to remove any stubborn bubbles which won’t smooth out. Just pierce the bubble, squeeze the air out and smooth flat again – the pin hole will be unnoticeable.
New t-molding next ordered from www.t-molding.com:
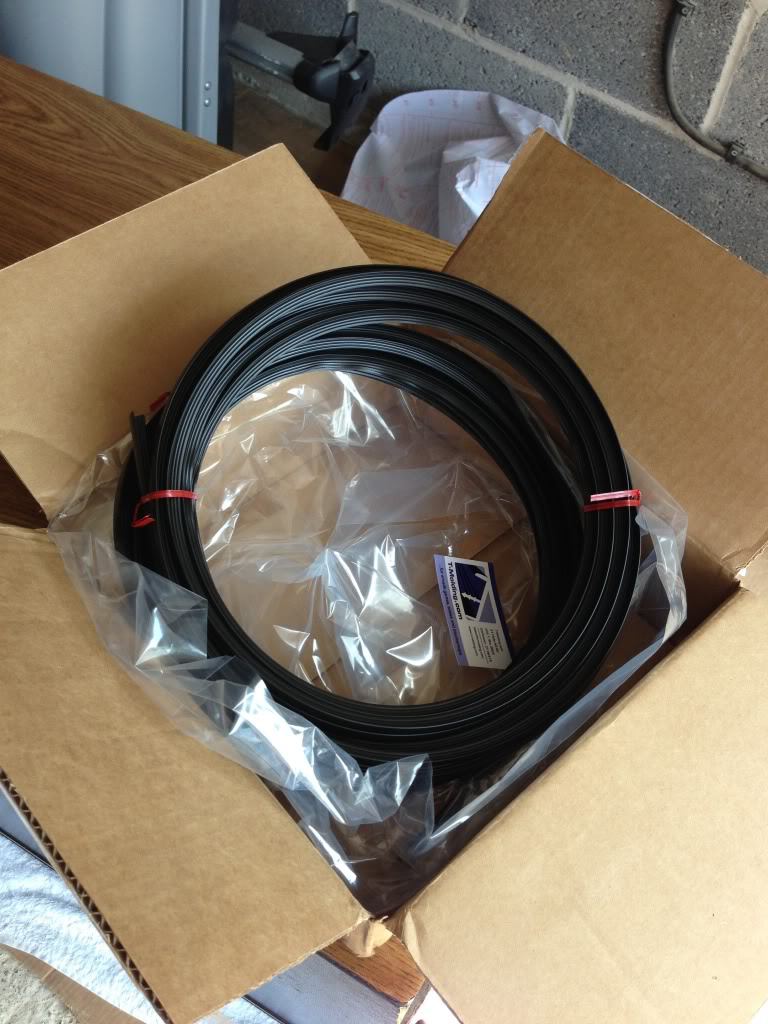
Get it applied and tapped in all the way round. Looking neat:

And here is how she looks now:


Looking pin sharp, but there’s still plenty of additional jobs to do. I’ll cover those off in part 3. Keep an eye out!
Tony

