So having got the Sega Dino King stripped and cleaned out in part one, we had a PC installed happily running GroovyMAME. A stable picture was showing on the monitor, and it was time to take a look at how the controls might work on this tiny cab.
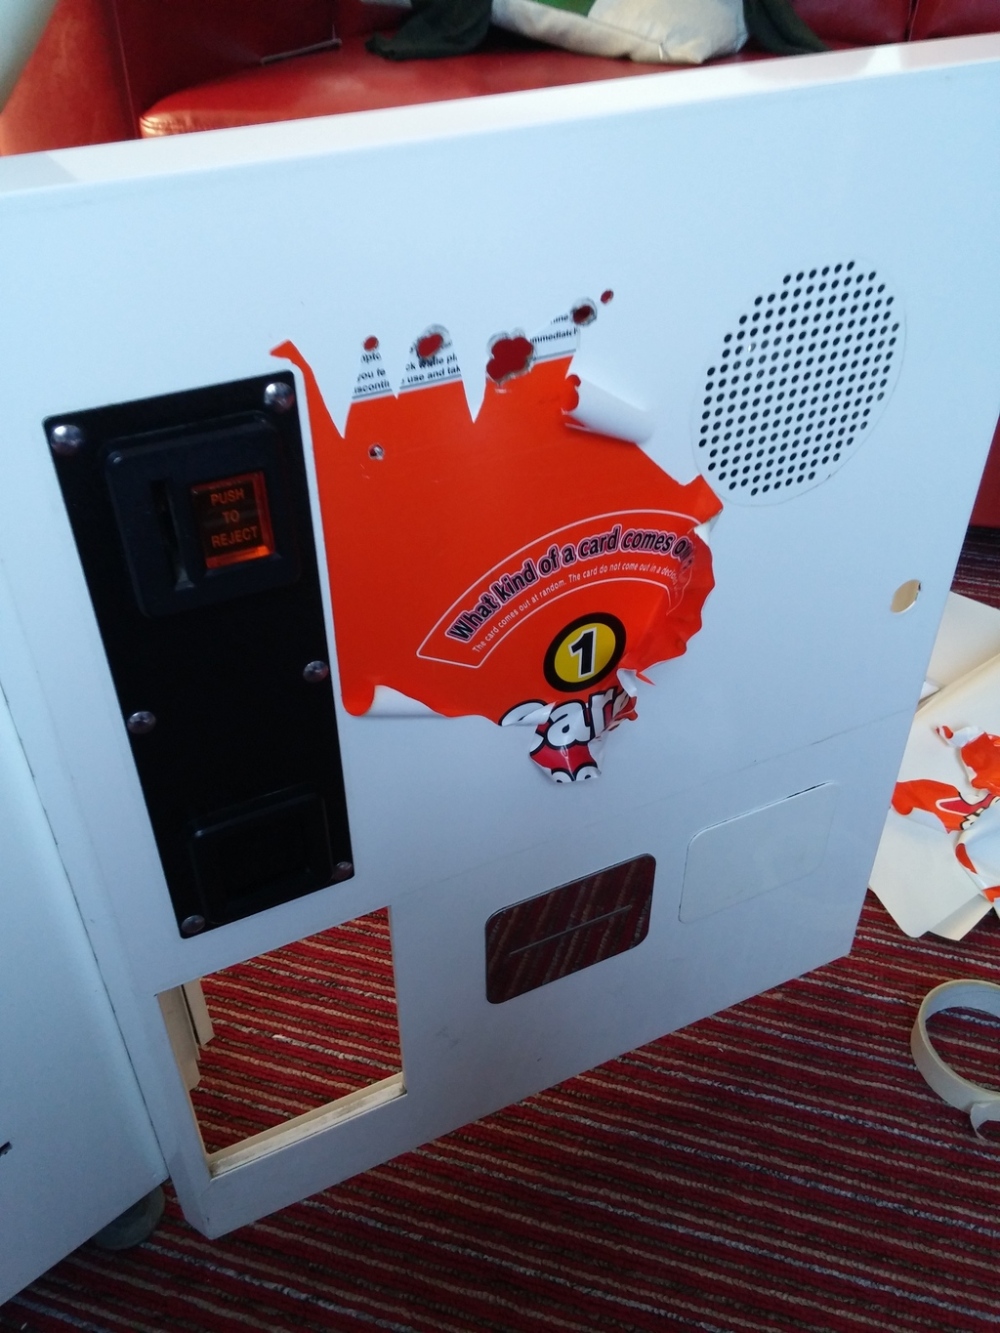
There wasn’t a great deal I could with the control panel that came with the cab, not to mention the large card reader installed on it:

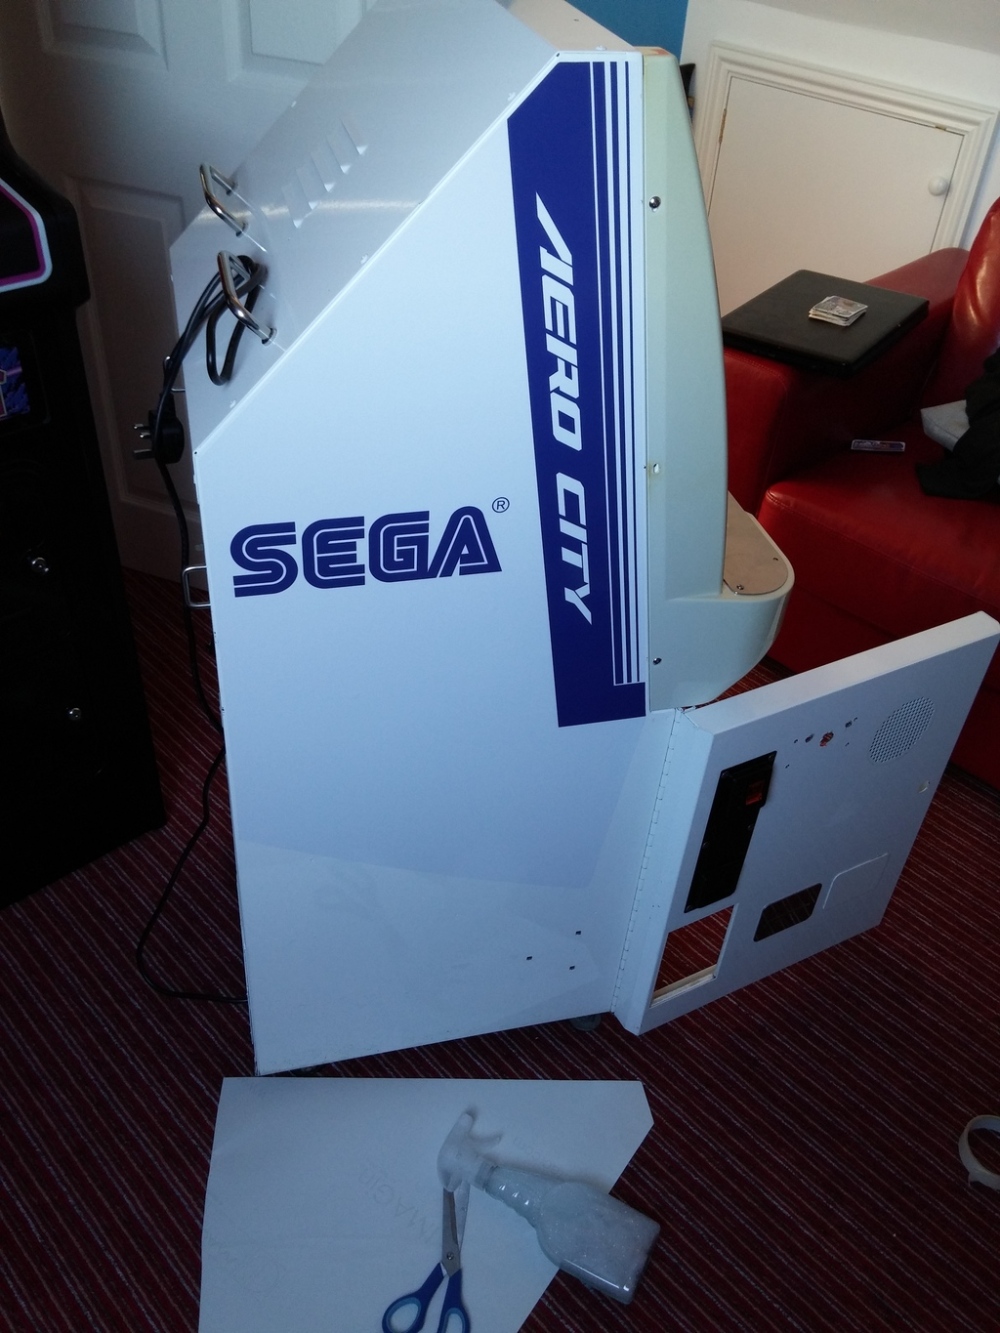
It had to go. But replacing it could have been an issue – that’s a bespoke shaped panel designed to fit flush to the cabinet. It wouldn’t be impossible to trace around it, cut out a new panel from metal or plastic, and cut holes to drop in joysticks and buttons. Luckily for me, what made this an easy conversion was an opportunity to grab a dedicated replacement control panel. My timing was perfect – a fellow collector managed to get a local metal sheeting company to make up templates to the exact shape of the original. He got a group buy going just after I bought the cab, so I got on board and went for a 1 Player panel with six buttons. It was fabricated from metal, cut to size with ready made holes for buttons and joysticks – A really well made quality piece this, which made life much easier:

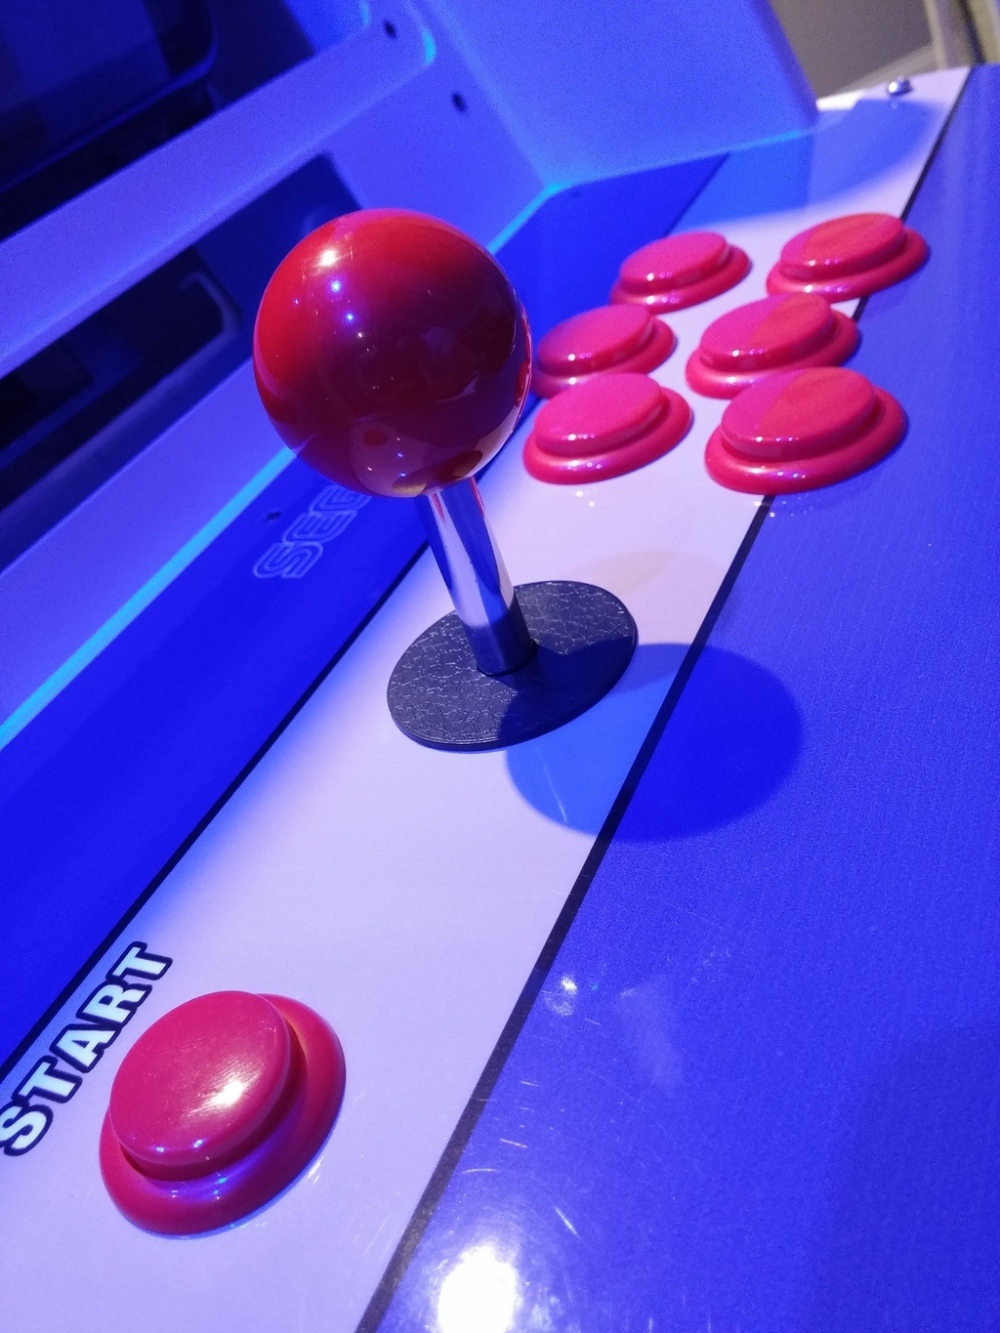
I purchased some arcade buttons suitable for the job and a Sanwa style joystick from Ebay for a few quid, and got things populated using a mini ipac, again from Ultimarc. The ipac is a very clever bit of kit. It allows you to program keyboard presses to the PC you have running your arcade games, and assigns those to your arcade buttons and joystick. So here we are wiring things up:
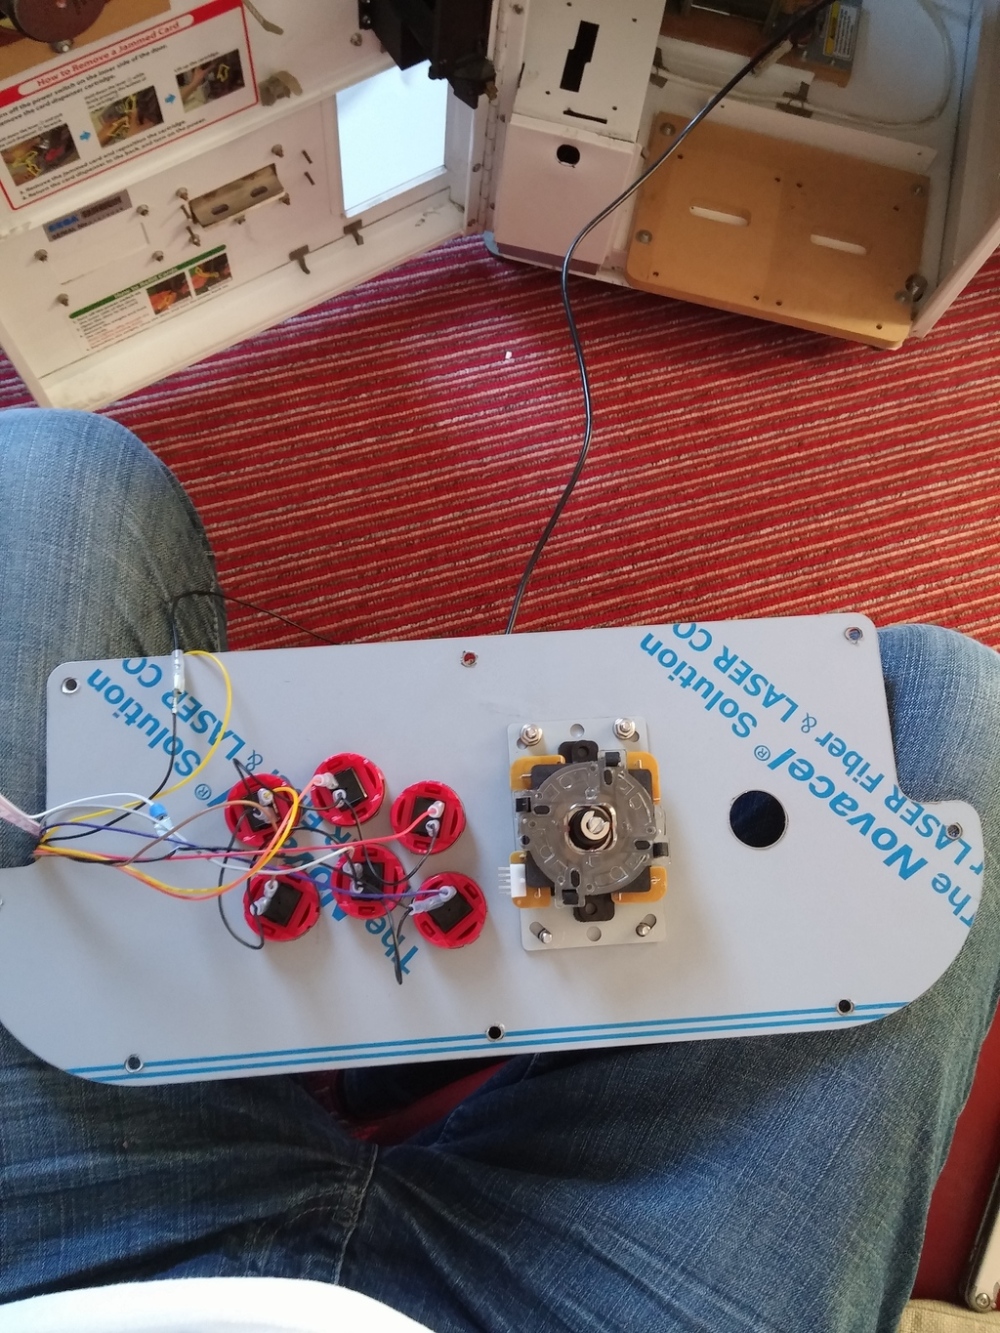
Threw everything together, programmed the buttons correctly which was nice and easy, double checked my wiring and switched on:
Bingo. We have signs of life – the monitor is running alongside the PC. The buttons and stick are all allocated correctly. So I returned to the inside of the cab and got things tidied up – the cabling is great to work on as you can use the old grips and get things nice and tidy. Sound was going to be supplied by a pair of cheap USB powered speakers, which I mounted on the second shelf using sticky pads:
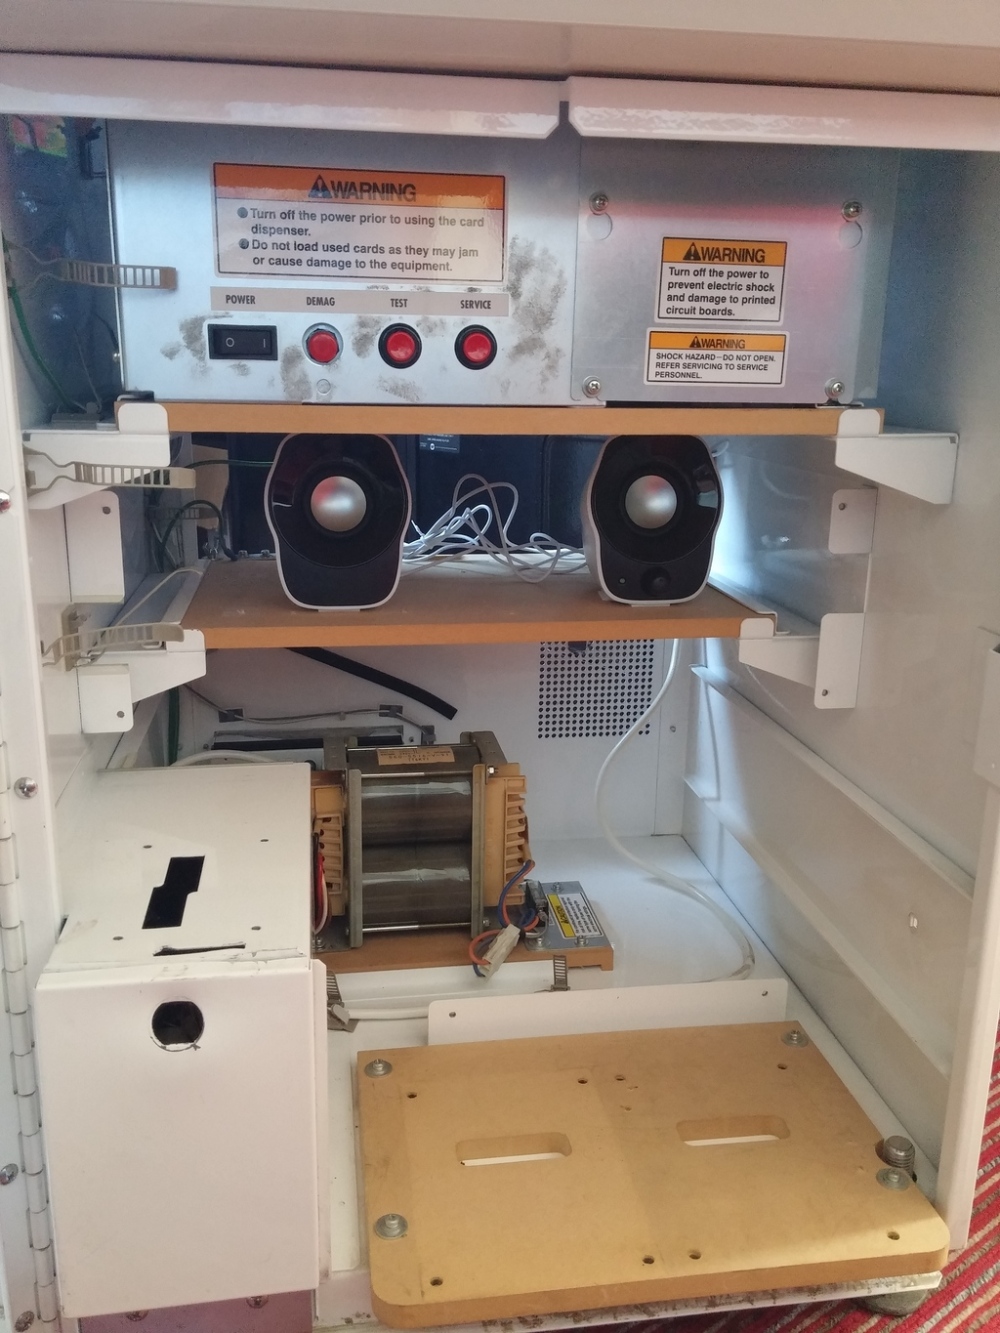
I will connect the original speaker up at some point, but for now, this works great. So with the guts of the machine in place and working, it was time to think about cosmetics. First job was to remove the artwork. What was on there wasn’t a total mess, but it was pretty tatty. The original art is quite striking. If it was in better condition I probably would have left it. This was going to be one of those crappy annoying jobs, but a heat gun and old credit card make the job easier than it could have otherwise been:

Here’s a tip. Don’t place a heat gun on your carpet, even after you’ve switched it off. My smoke detectors alerted me to the fact that I was singing my carpet. Collateral damage, it’s all part of the cause.
So a bare white metal cab is one way of doing things, but we need some design and colour to complete the look of the cab if it was to sit in the games room alongside my dedicated 80s cabinets.
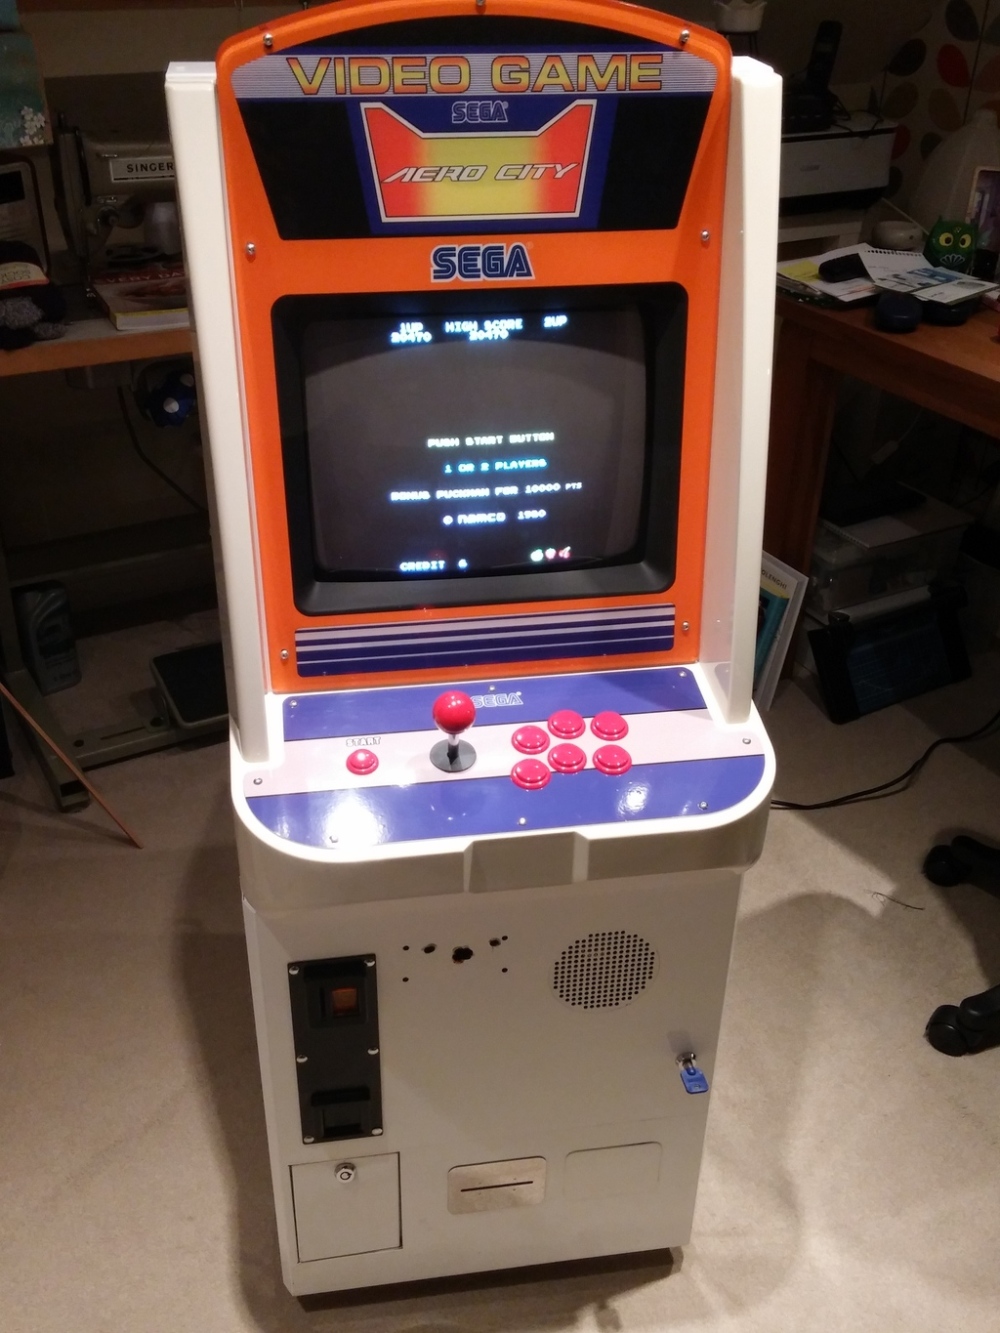
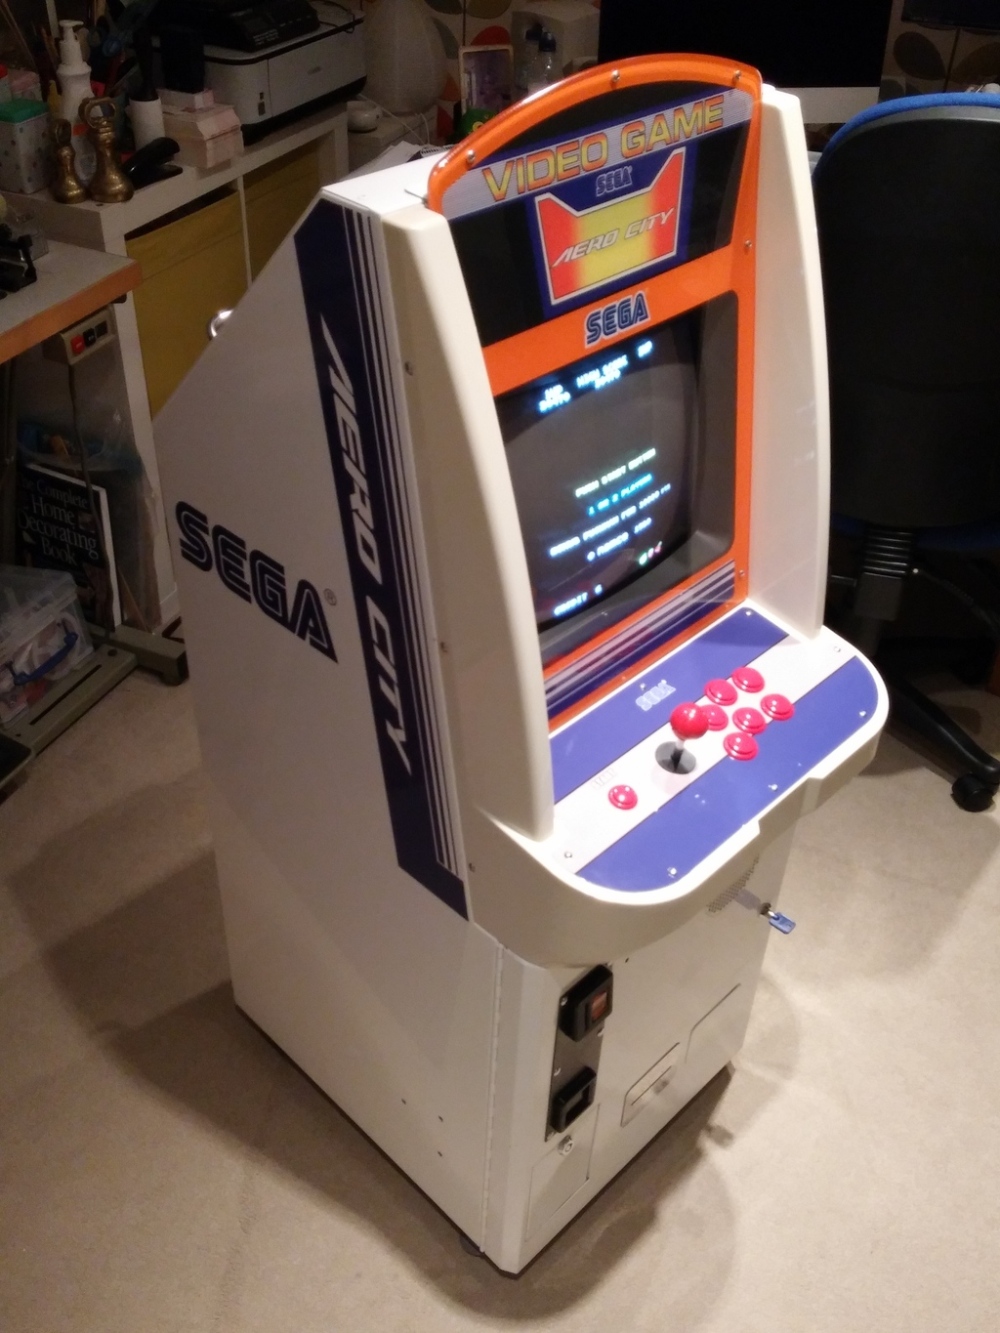
Step up Arcade Art Shop, who produced me some custom artwork to replace the orange stuff I’d just removed, along with a control panel overlay to go over the metal replacement control panel. After discussing my requirements, we agreed on a homage to the classic Aero City Candy cabs that Sega produced in the late 80s. It wasn’t cheap, but given the overall costs so far, I thought it a worthwhile investment. On arrival, I untubed it and left overnight to straighten out:

Side art first. I found this really tricky compared to previous side art I’ve used, mainly because the surface is so straight and flat (being all metal), that every bubble showed up. I didn’t do a perfect job on the first side, but its more than acceptable:

Same technique as usual. Top half first, then bottom. Et voilà! Looks sharp!
Control panel next. A bit fiddly this, as it needed to be cut to size, and the relevant holes made to accommodate joystick and buttons. Make sure you’re using a brand new, sharp craft knife for this, otherwise the vinyl will tear up. You don’t want that.

Once the overlay was applied, I put the buttons and joystick back on.
Finally the bezel. Again pretty tricky, but I took my time and made sure I removed the Dino King artwork that was on there with care. Some “Sticky Stuff Remover” helped get the remaining stubborn 10 year old mounting glue off the perspex. Once the old stuff was off and in the bin, it was simply a case of lining up the new design, peeling off the backing and sticking it on, smoothing out any air bubble with a squeegee.

Final touch was to replace all the M4 bolts with new shiny ones and we were good to go:


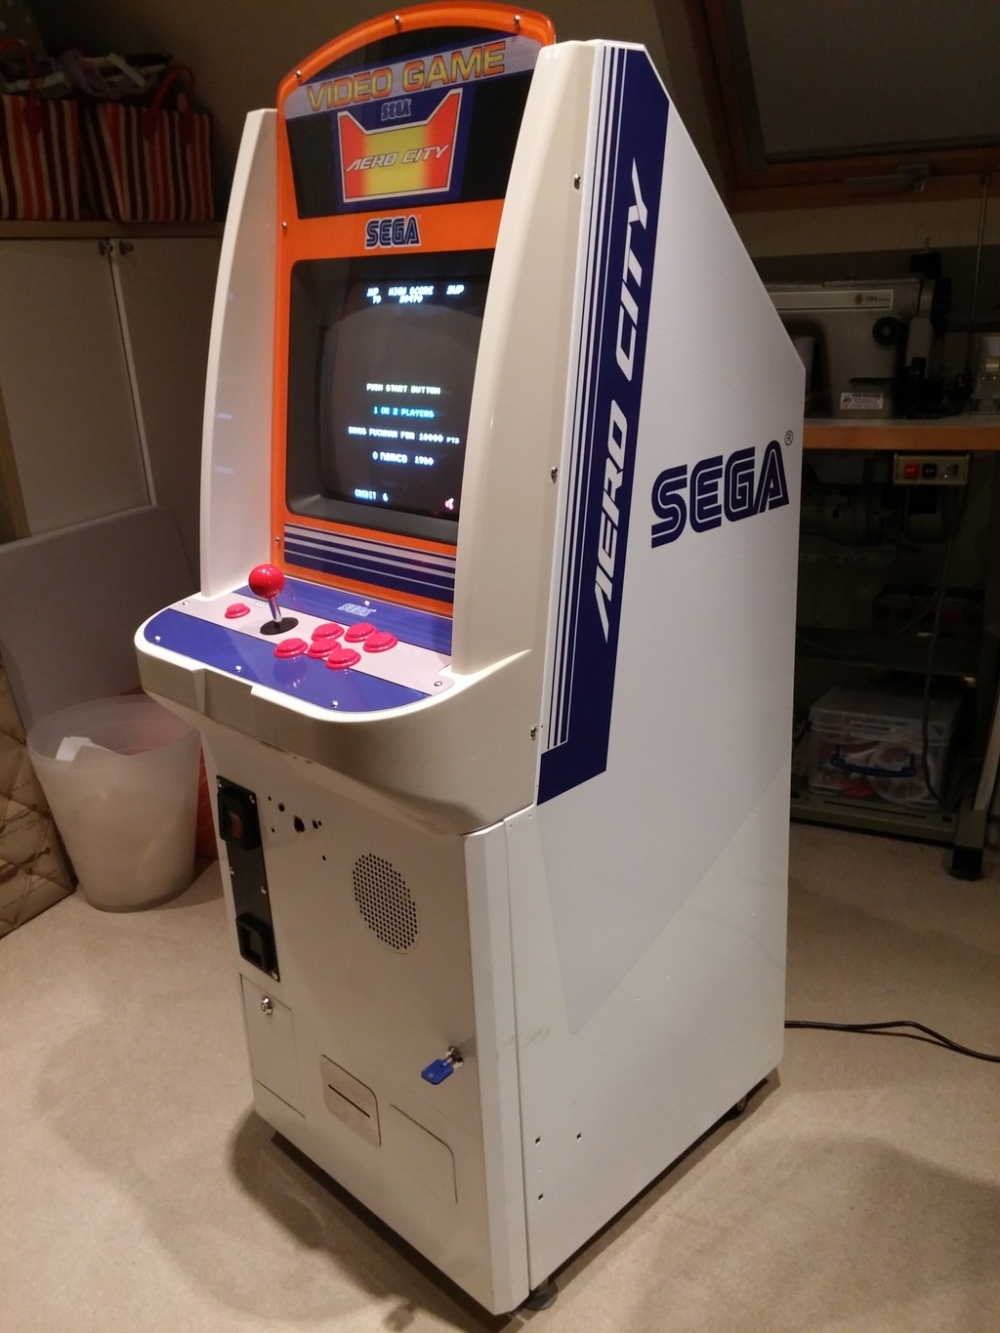
I mentioned in part 1 about the scale of the cab being its main appeal. To give you an idea of just how small these things are, here it is next to a Donkey Kong arcade cabinet, which is of a more traditional size:
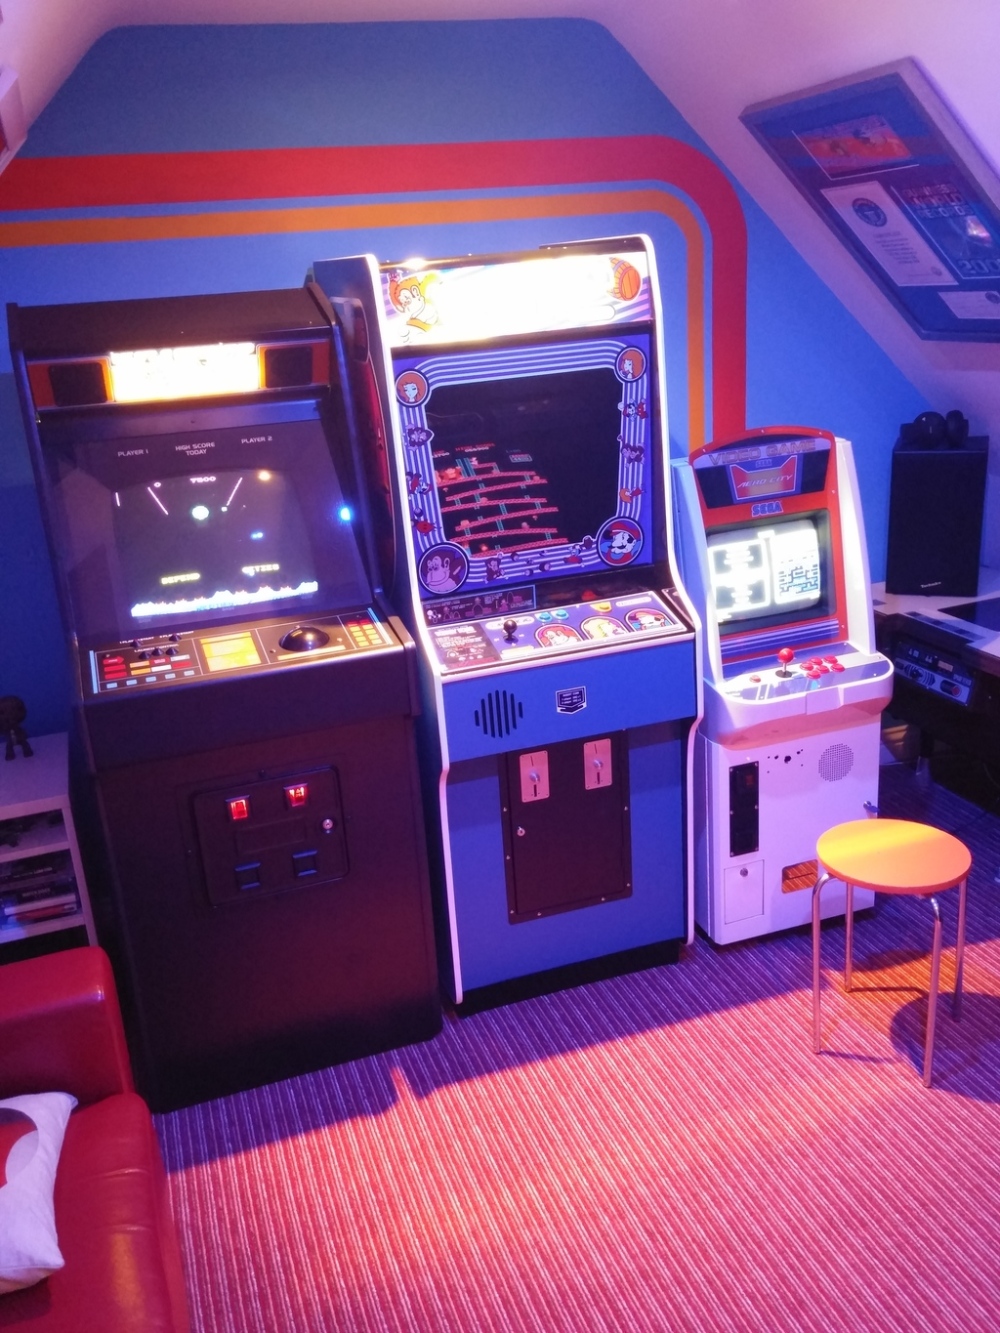
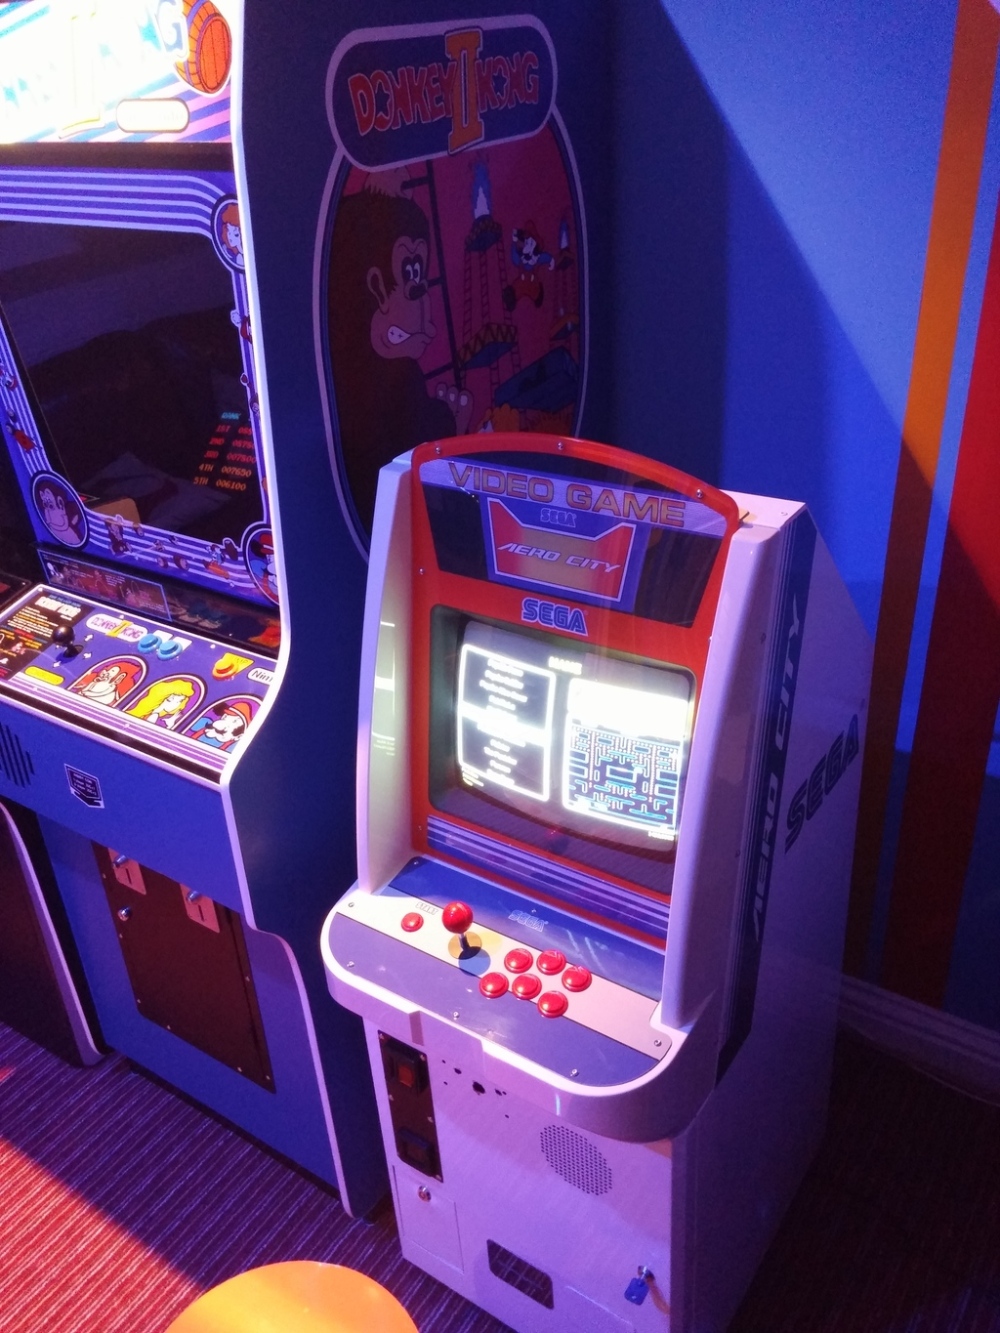
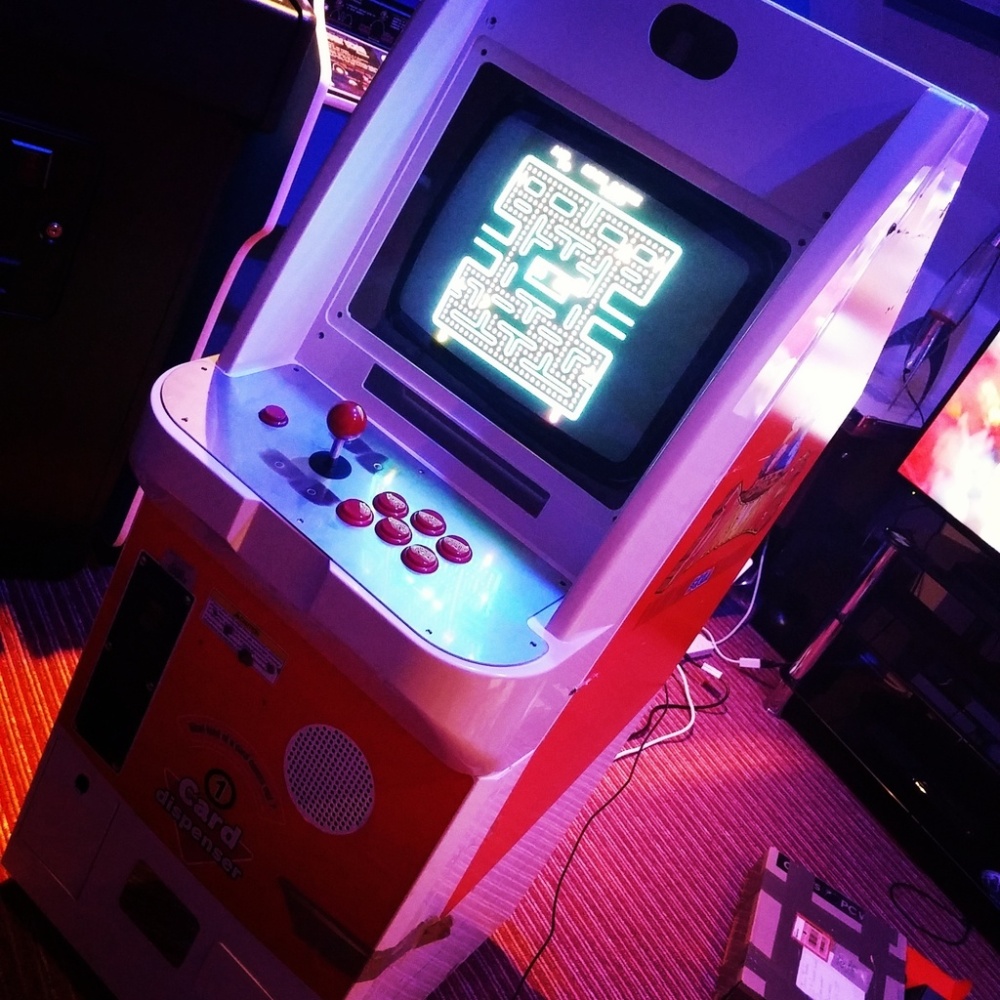
As you can see, this thing is tiny, and needs a small stool for an adult to play comfortably. One thing I wasn’t happy about was the button colour. To my eyes, the red clashed with the orange of the bezel, so I decided to swap out the buttons and joystick for orange instead.
So there you have it. The ultimate compact arcade cabinet, with a tiny footprint, running thousands of arcade games. What’s not to like? Here’s my finished cab:

There’s been a few of these coversions done in recent months. Here’s a few of the better ones I’ve spotted:


Thanks for reading.


Hi Tony, just a quick query on stripping the art from the side of the Dino King cab! Did you fire up the heat gun while the monitor + internals were present in the cab? I’m at the same point with a fully functioning cabinet, and just starting the ‘pretty’ phase! Cheers!
LikeLike
I honestly can’t remember, and looking again at my pics doesn’t help – I think everything was inside the cab. I see no reason to remove them for safety’s sake – in reality things don’t get hot enough to cause any damage – I found the art came off quick with minimal heat applied. Good luck!
LikeLike
Brilliant thanks! I’ll take it gentle and easy … and fingers crossed! 🙂
LikeLiked by 1 person
Mine came off without any need for heat, just used a blade carefully to lift the edges and slowly peel it off then
LikeLiked by 1 person
Very nice write up, thanks. I’m about to get one of these. Would you happen to have the control panel file or know where to source it?
LikeLiked by 1 person
Hey Ron. Register at ukvac.com and do a search – guys there have repro’d the panel.
LikeLike
You have such excellent taste. beautiful work, all of your restores are done so well.
LikeLiked by 1 person