Great as it is owning an original dedicated classic arcade machine, there will come a time when you are rather jaded at playing the same game again and again. Consider your modern-day console – you might purchase the launch killer-app game to go with it, but chances are after six months, you are no longer playing that same game.
Trading in your old disk-based console games isn’t such a problem. But wheeling in your 300lb Frogger upright machine into your local GameStop store for trade-in, is unlikely to yield you the result you are looking for. Trades amongst collectors do happen of course, and if you are part of the arcade collecting community, selling on your arcade cabinets is of course more than do-able. But are there any alternatives to the hassle?
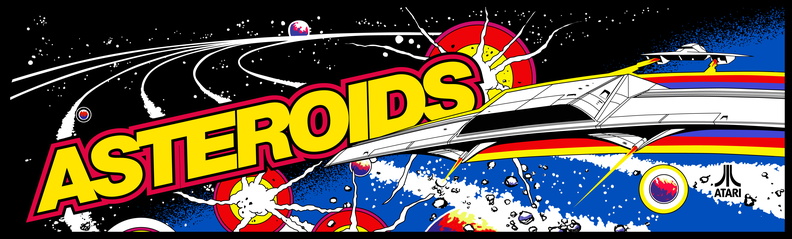
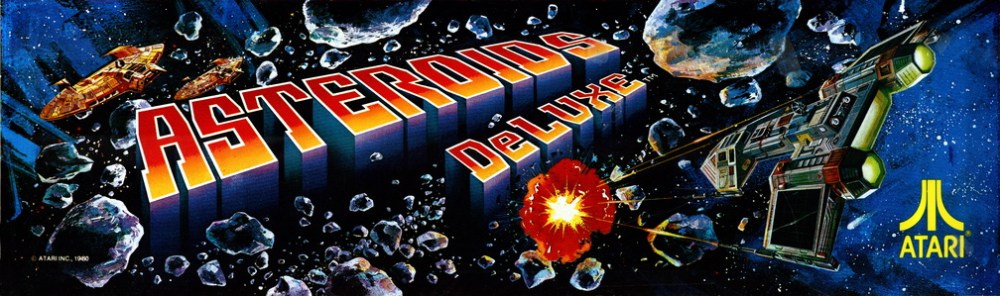
Step forward Braze Technologies. Scott Brasington has been developing high score save and multi-game kits for some time now. When the Asteroids Multigame Kit was announced many moons ago, the community got pretty excited. The kit promised the ability to play Asteroids, Asteroids Deluxe and Lunar Lander, by simply plugging in a small daughter board to your existing Asteroids or Asteroids Deluxe PCB.
The kit has been beset with delays for some time, but earlier this year, finally a decent amount of stock has been made available, and I was first in line with my dollars ready to purchase one of these amazing boards. I wanted a way of freshening up my Asteroids cabaret with some new things to play, and this seemed like the ideal solution.
So ordering online was simple enough, and a week later a parcel arrived from the USA. The nice people at her Majesty’s customs service stung me for another 30 GBP before it got to me (thanks as always guys!), such are the joys of being a UK based classic arcade enthusiast. The quality of packaging was excellent:
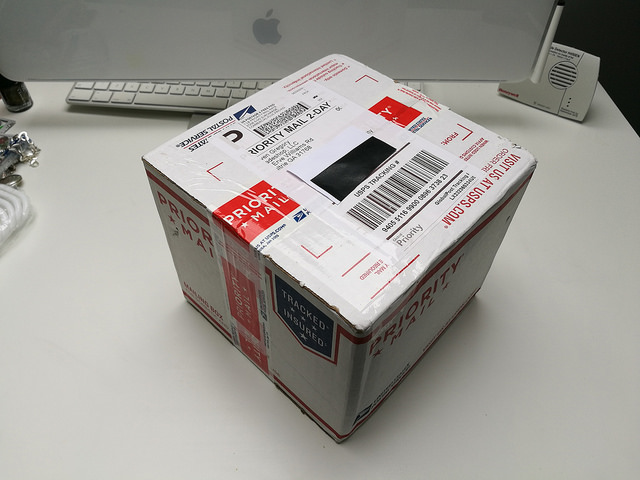
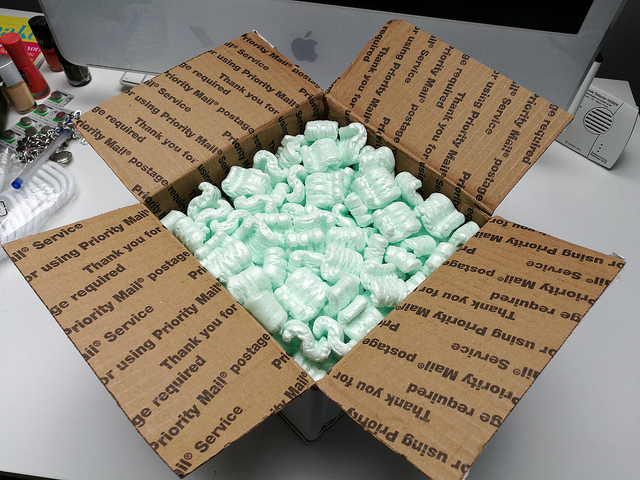
No complaints there at all. This is what you get for your money:
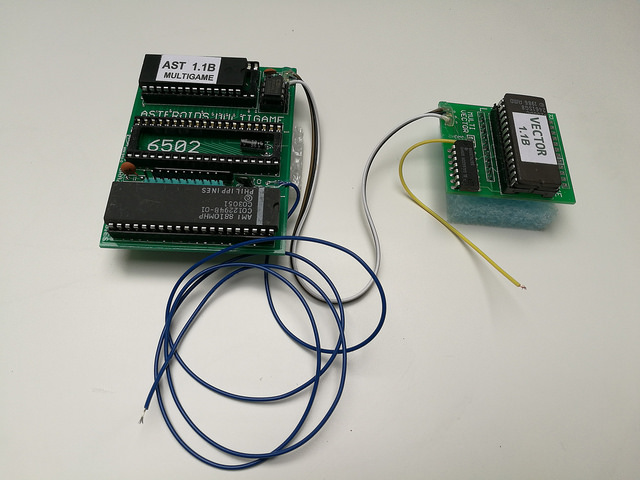
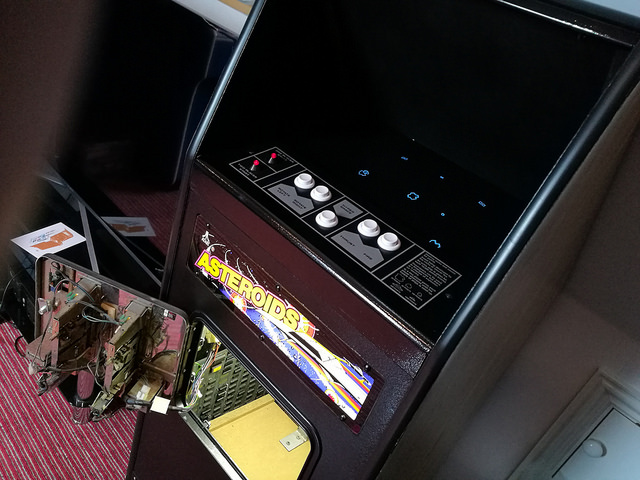
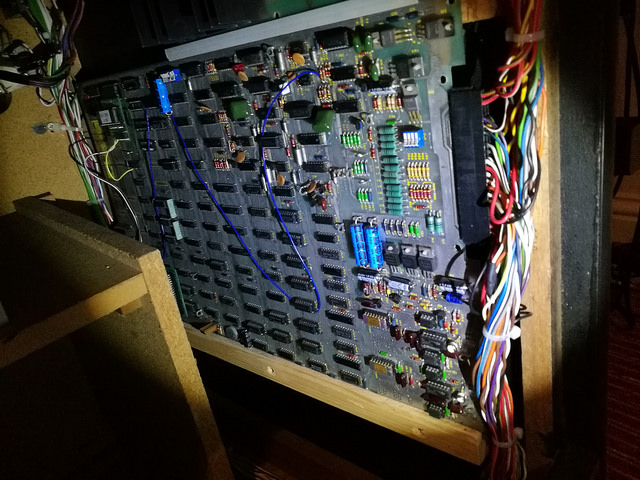
It’s not much to look at, but it does pack a game play punch! Installation is shown with very clear instructions. It’s a pretty simple job that requires a small amount of soldering, and the removal of two IC Chips from your Asteroids PCB. So time to get started. So let’s get to work and pull my Asteroids PCB from its cabinet:
Worth noting that it is essential that you are running an un-hacked, un-modified Asteroids PCB in order to use this kit without issues (more on this at the foot of the article). I actually own two boards and the Multigame refused to work in one of them as it had been modified at some point in its past.
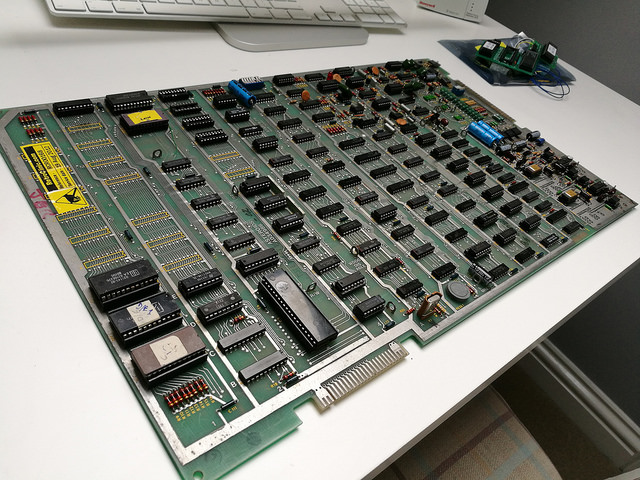
First job is to remove the 6502 chip from the PCB. That’s the large one you see bottom left of the board:
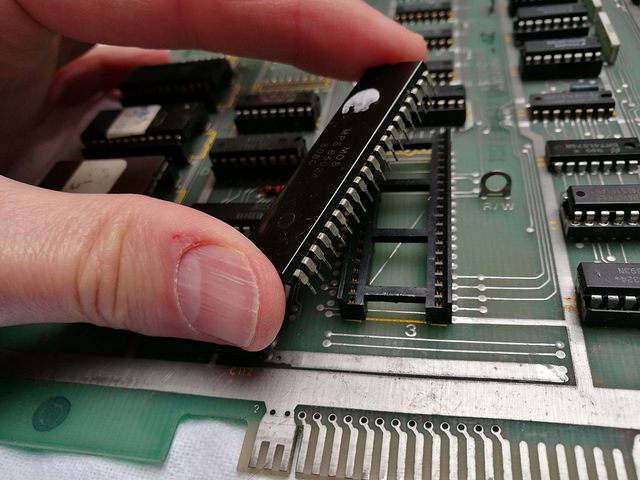
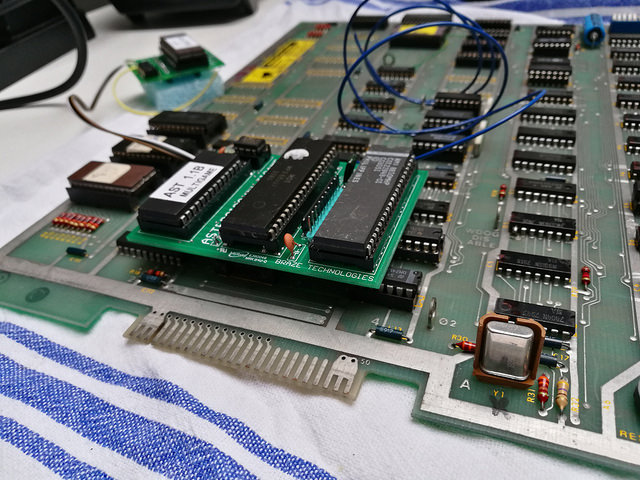
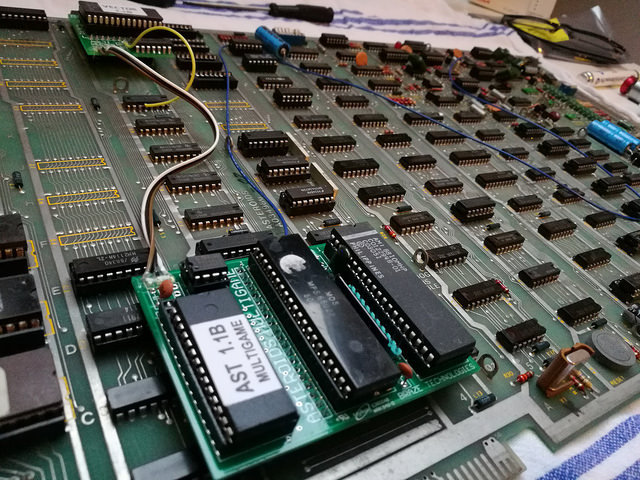
Then drop that chip into your larger daughter board, and plug that daughter board into the same socket. So it now looks like this:
Then locate and remove the Asteroids vector ROM chip on the board set. The vector ROM is located at grid location N/P3 and is a 24 pin chip usually on the same column as the 6502 CPU. On some earlier revisions this chip is located in column 2. Be careful when removing these chips as it’s very easy to damage or bend the pins:
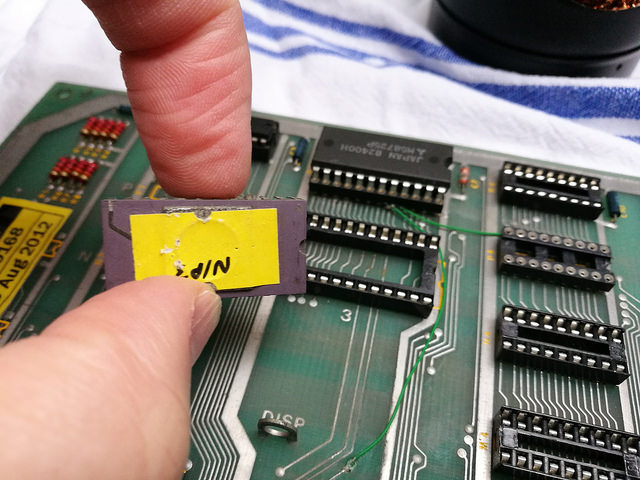
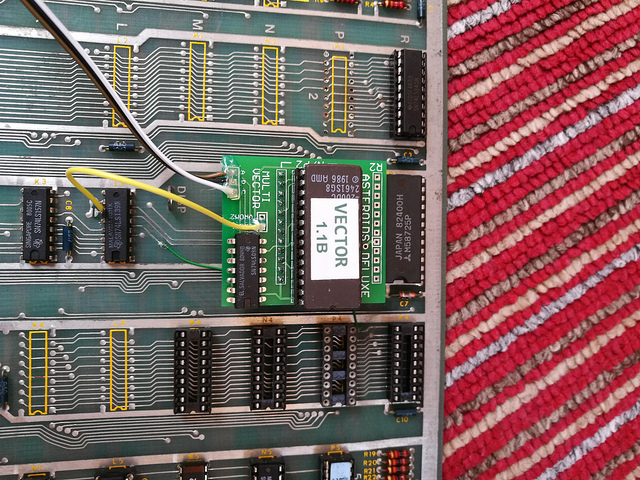
Put that chip to one side and store it somewhere. Then plug the smaller daughter board into that socket like so:
Now to solder the two required wires. First the audio wire. This needs to connect to the cluster of 6 resistors that are connected to pin-9 of the LM324 at the other side of the PCB. Select one of those resistors and attach the long audio wire from the Asteroids Multigame to the common end shared by this group of resistors:
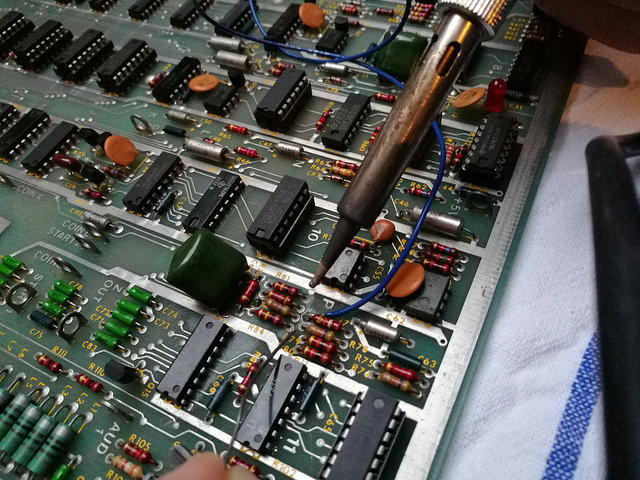
Then connect up the yellow wire from the small vector board to your PCB. There’s a couple of places you can do this. For reasons that will become clear when you read the instructions, I chose to attach it directly to pin-11 of the 74LS139 chip at L3. Note the position of the yellow wire in this pic:
And that’s all there is to it. Double check your work. Then check again. It is very easy to make a mistake, or to inadvertently bend a pin!
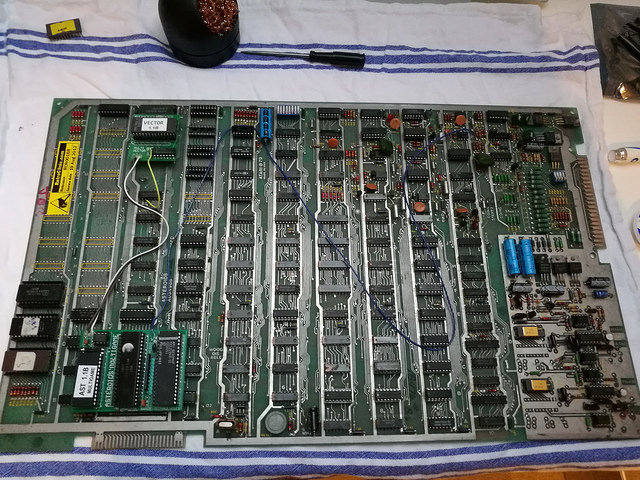
It’s a good idea to feed the blue wire around some components on the way to the audio section, as it’s pretty long and you don’t want it flapping around snagging on things in your cab once installed:
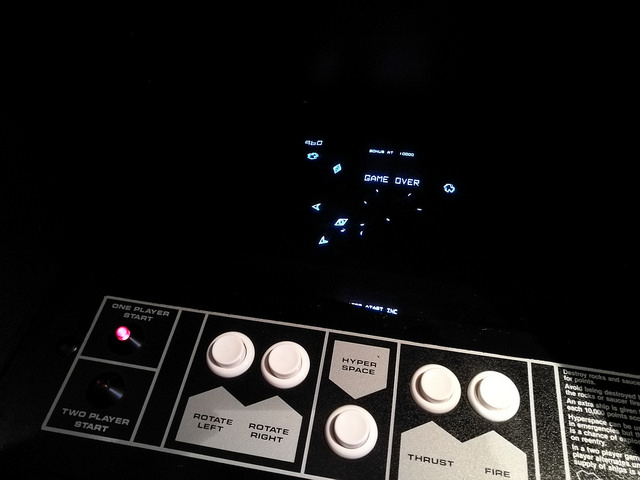
Fingers crossed, it’s time to switch on:

Well, that looks good to me.
Selecting a different game is as simple as pressing P1 and P2 start buttons at the same time. Here’s Asteroids Deluxe:
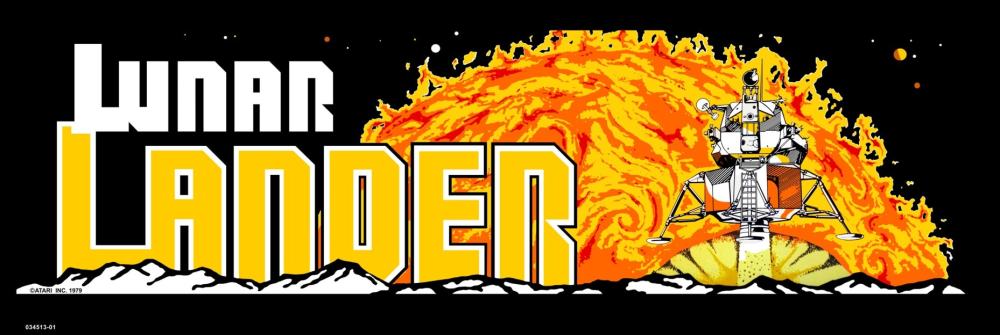
And Lunar Lander:
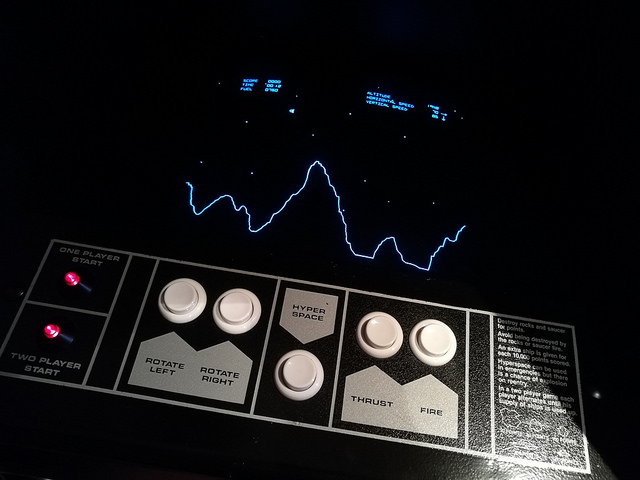
Everything works great, and the emulation is near-perfect. There’s a comprehensive set of options that can be adjusted from the screen, using a simple to navigate menu for each game. For example, Lunar Lander has a variety of button options to operate the thruster controls – just choose the one that suits you. As an added bonus – all high scores are now saved on Asteroids and Asteroids Deluxe, even when you switch off your machine.
As I mentioned, all you Asteroids Deluxe owners aren’t left out either, there is a separate kit available for you to buy also.
Overall, I highly recommend this Multigame kit. It isn’t particularly cheap at $115, but what it gives you is two new games to play on your Asteroids cabinet for a fraction of the cost of buying two new cabinets. Given the modern technology used in the kit, you won’t have any of the usual reliability issues associated with these old vector boards either.
Collector Sam Verlander posted this demo video back in 2011 of an early version of the kit. It gives you a good idea of how it plays:
You can grab your own Multigame kit from either Arcade Shop or High Score Saves. I have no affiliation with either seller, but in my experience both provide great service and fast international shipping.
Right, I’m off to play some more Lunar Lander – enjoy your kit!
See you next week.
Tony
Footnote: For the sake of making this article accessible to the casual visitor, I thought I’d add this for the more technically minded amongst you:
One of my Asteroids boards had two issues that I never really addressed over the years:
1. It had a speed up hack done at some point, involving pins 3, 4 and 5 at location C5.
2. Test mode never worked.
But the Asteroids game always played fine. The Multigame instructions suggest that it should only be installed on a working, non-hacked board. (So of course like any curious idiot, I went ahead and installed it on my partially working and hacked board to see what would happen).
On installing the kit, it refused to work, reporting bad ram at D2 and N4. My concern was that the speed up hack meant I could never run the kit on the board.
I replaced D2 and N4 with good 2114 ram chips, (which fixed test mode on the PCB) and the Multigame ran fine, but everything was running faster than it should (sped up Asteroids Deluxe is fun).
So I decided to deconvert the speed up hack, desoldered the tied pins at C5, bent pin 4 back down, added a dab of solder, and now everything is working as it should. My repair isn’t particularly pretty so at some point I’ll replace the chip at C5 altogether.
Anyway, my point being, your Asteroids might be working OK, but the kit does seem sensitive to ram that has failed, or is about to fail. This is almost certainly an issue with your Asteroids PCB rather than a fault with the kit. So in my case, a nice side benefit of installing this Multigame kit, is I also solved the issues with my PCB. The kit now runs perfectly on both boards!


So interesting to read
LikeLiked by 1 person