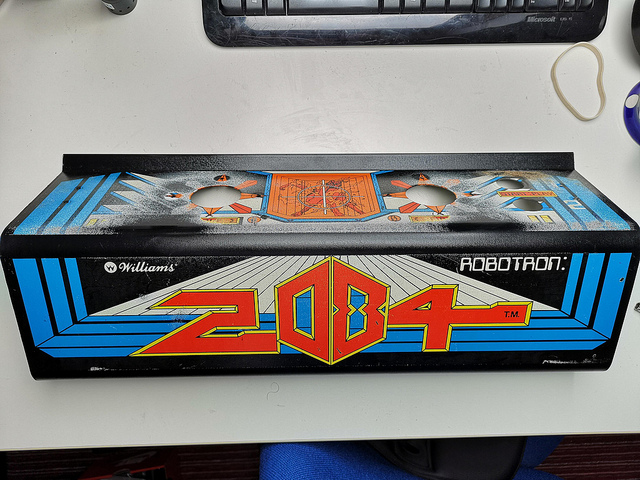
You might recall I picked this cabinet up last year. It was in unrestored condition having been bought from an operator some 20 years ago, then stored. A good honest cab overall. If you missed the post I made at the time, do take a look here.
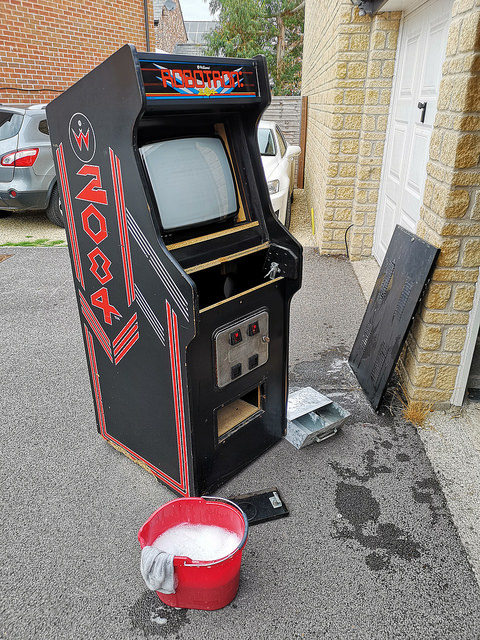
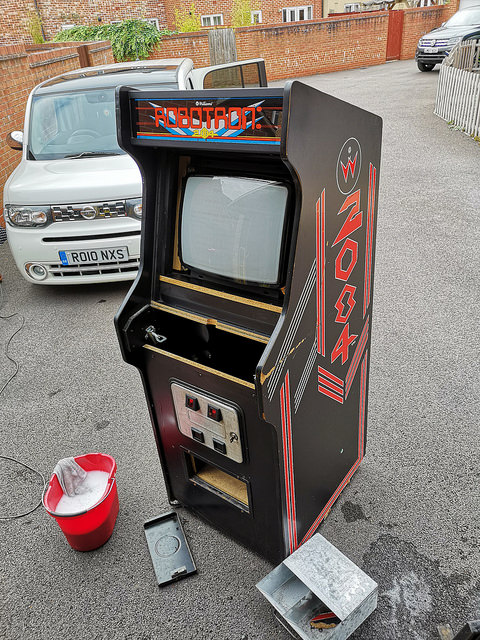
It was an opportunity simply too good to pass by. What made this particular cabinet so attractive to me, was that it is the original European upright version of Robotron. It differs to the US built cabinet in many ways – the obvious one being the artwork on the sides is predominantly black rather than silver. They don’t turn up often – probably because there aren’t many of them about – and this one was saved in the nick of time from a seaside resort arcade here in the UK – it was about to be trashed!
Well it has been sat safely in my garage for over 12 months now, so I thought it really was time to make a start on the restoration. The cabinet was pretty much complete, but dirty:

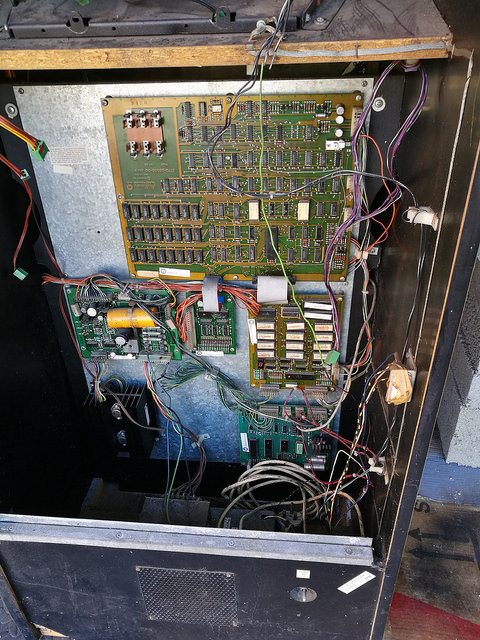
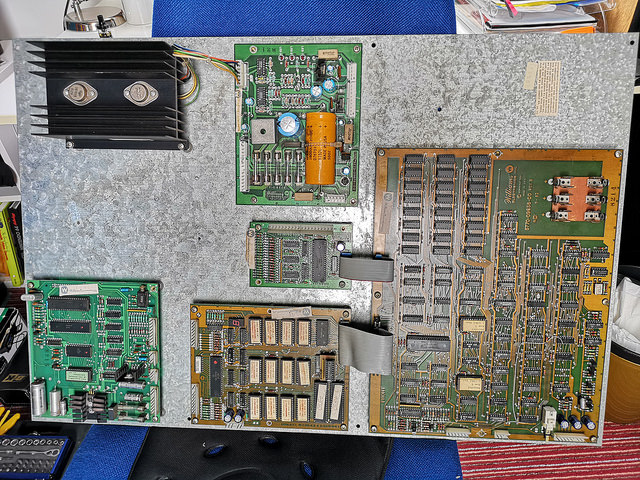
First things first. The electronics! Things weren’t looking good in that department. Although complete at first glance, it was clear that some over-voltage had occurred at some point – several connectors were burnt, and there’d been a few operator short cuts made over the years in an attempt presumably to keep things running:

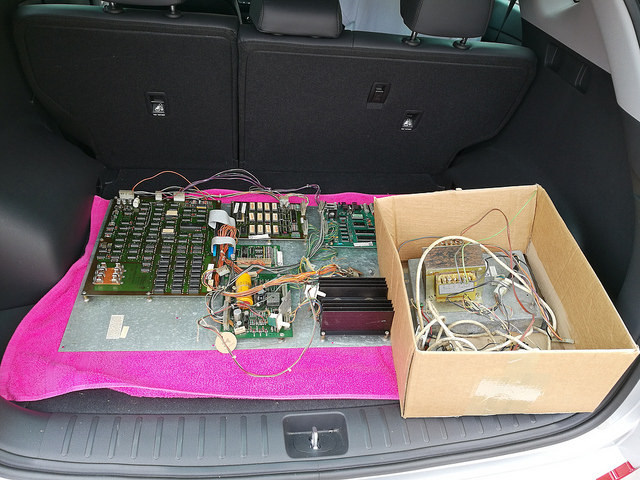
I made the assumption that nothing was likely to work, so had no plans to plug anything in before getting the PCBs fully checked out. A collector friend who knows his way around Williams boards far better than I do offered to take a look at everything for me. So I stripped out the lot and got it over to him:
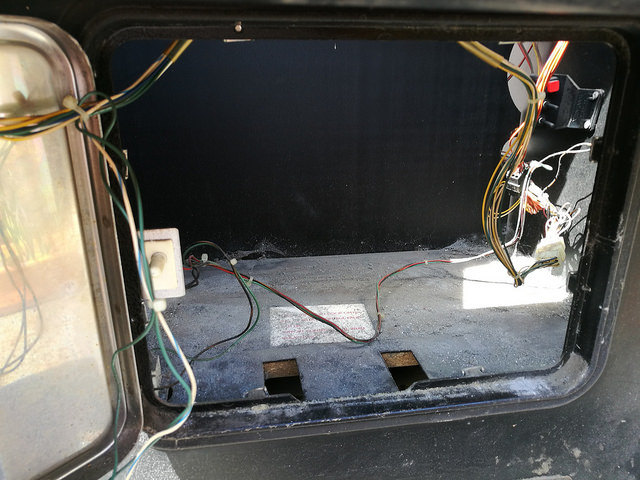
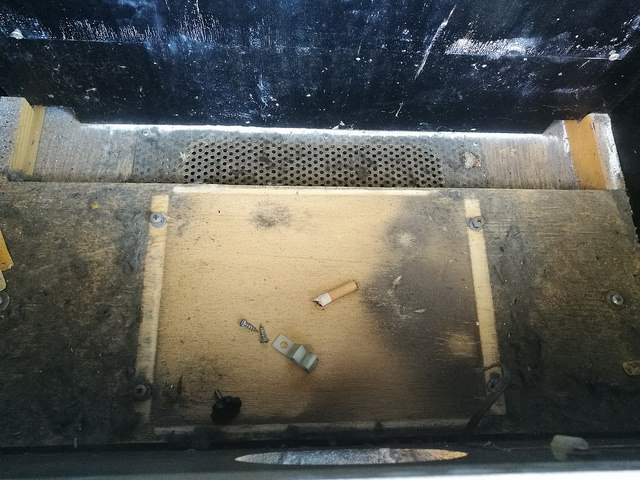
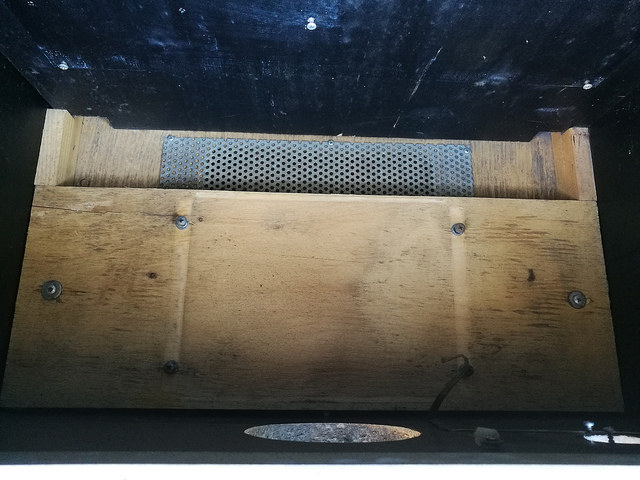
With the PCBs and Power Supply now in safe hands, I decided to give the cabinet a good clean. After stripping everything out, I started with the vacuum to get the worst of the dust and cigarette ash out. The thing was absolutely full of muck:
So with the insides clean, it was time to give the outside a wash.


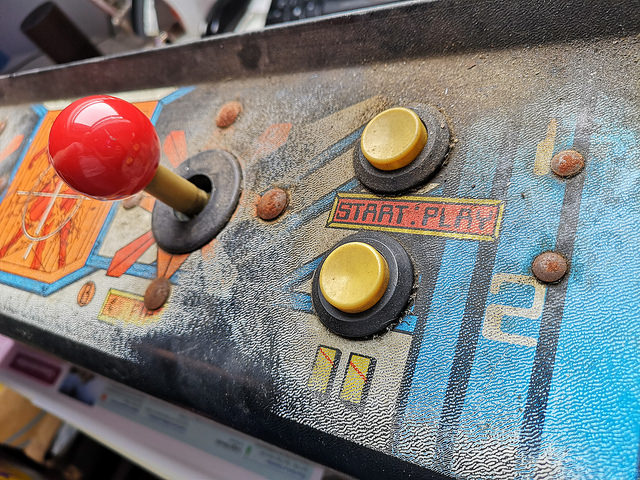
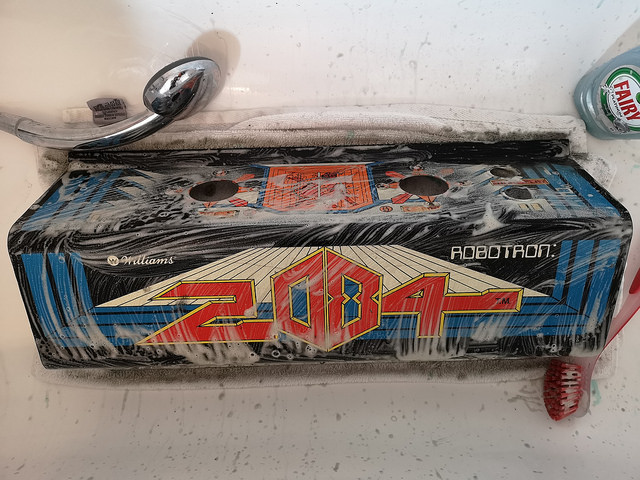
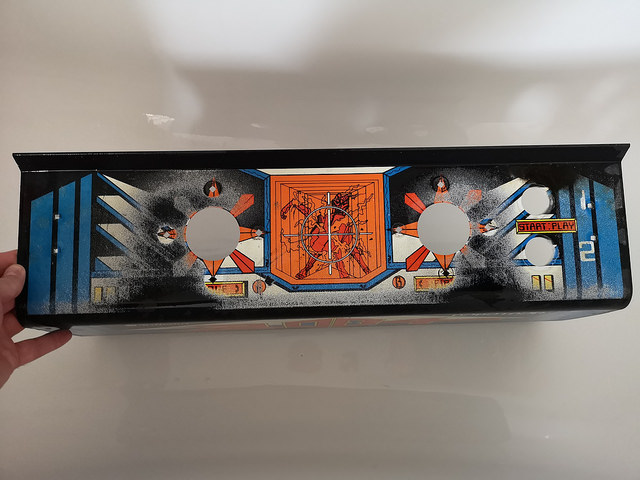
So that was one job out of the way. Time to move on to the practicalities. I knew the control panel was going to be a big job, so decided to get on with that. What I like about the look of the panel, is the wear marks on it. Years of use and abuse are pretty obvious to see, but somehow it tells the story of this cabinet, and I decided that I wanted to keep that worn out look, and in the process preserve some of its history:

So after stripping out the hardware, I took the blank panel and gave it a wash:
The stubborn area top right that I mentioned earlier was attacked with a magic eraser which removed the worst of it.
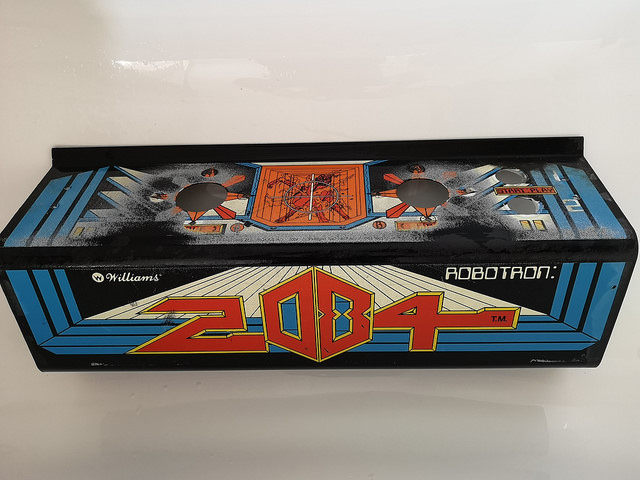
When the panel dried out, I wasn’t happy with the way the colours looked. They were very faded and tired looking. After posting a picture or two on a Williams Players’ Facebook group, someone suggested that the best product to fix this was going to be some Auto Glym Bumper & Trim Gel. Although designed for work on bringing old worn out car panels looking like new again, I figured it would work just as well here. So I got down to it with a dry cloth and elbow grease:

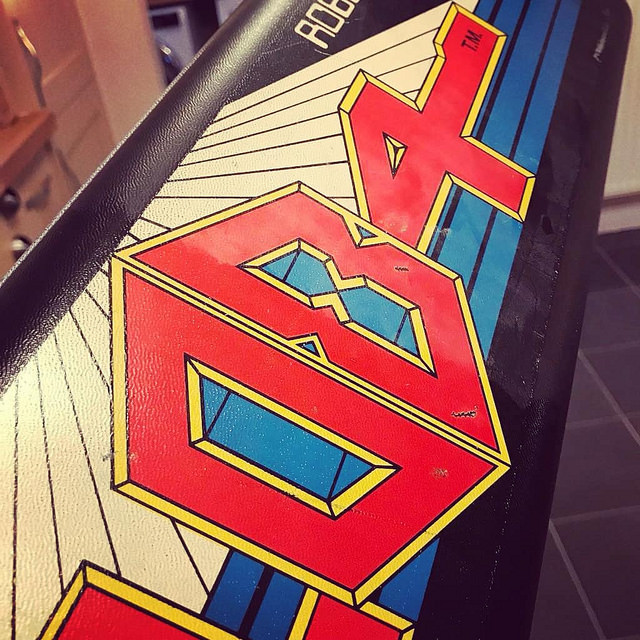
The colours are really popping now:
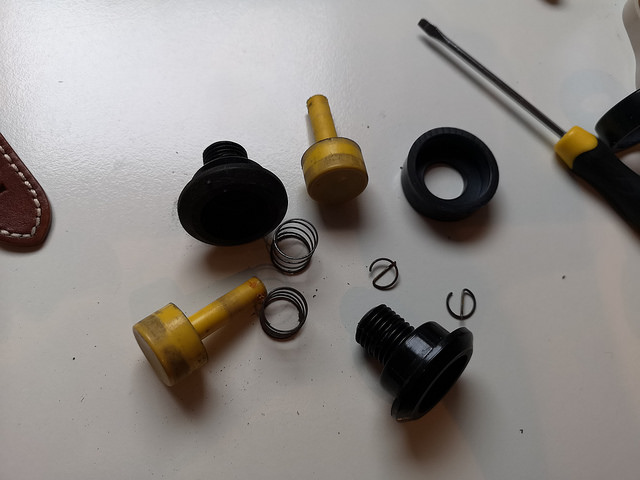
Onto the biggest challenge. The joysticks. For some reason, European Robotrons do not use the nice Wico sticks found on the USA version of the game. What we have is a bizarre, Frankenstein version of those sticks:
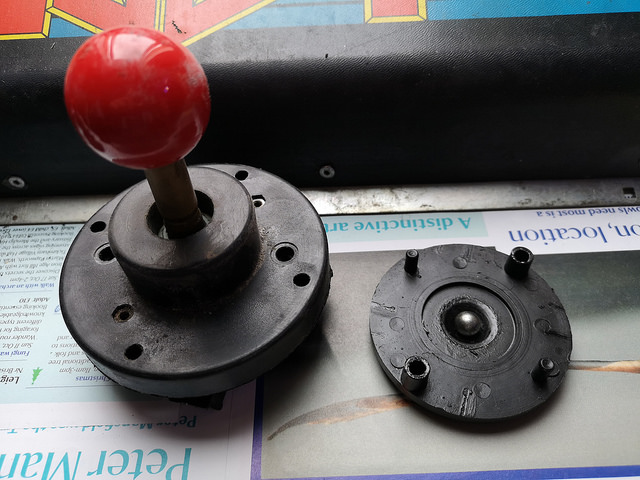
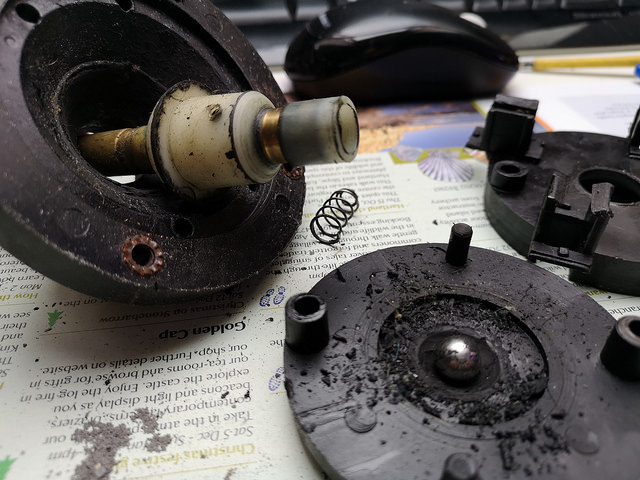

I asked around about these sticks and the consensus was that they were always horrible to use – even without the catastrophic wear I was trying to deal with. Sure enough, reassembled, the sticks didn’t feel right at all. They wouldn’t centre properly as the cup was so worn on both of them. The usual smooth movement simply wasn’t there. As much as I’d like to keep this cabinet as original as possible, there was no way I was going to be able to repair these. Parts are simply unobtainable, and trying to fix what I had, was going to be nigh-on impossible. I had to accept that they had come to the end of their life – pure and simple.
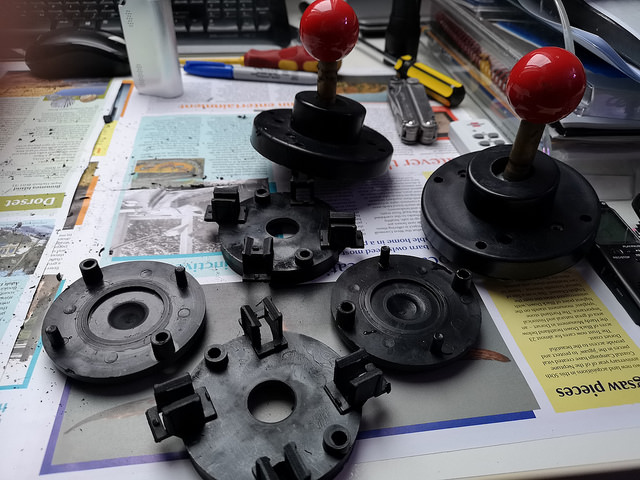
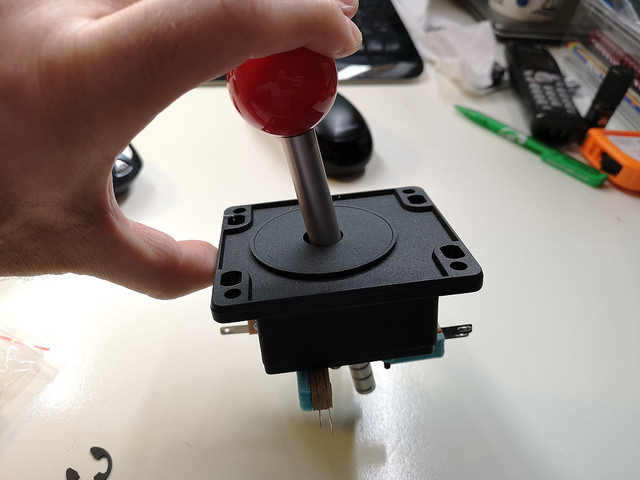
Thankfully, I had an idea. 5 years ago I bought a pair of Leaf-Pro joysticks from GroovyGameGear.com along with a couple of Robotron-esque sticks to complement them. They reviewed very well and players were saying at the time, that these are excellent replacements for original USA Wico joysticks. I pulled them out of my parts bin, and got planning how to mount them on the panel.
I’ll rebuild the original sticks and keep them in the cash box of the cabinet, so at least they will remain with the cabinet, even if they are no longer useable.
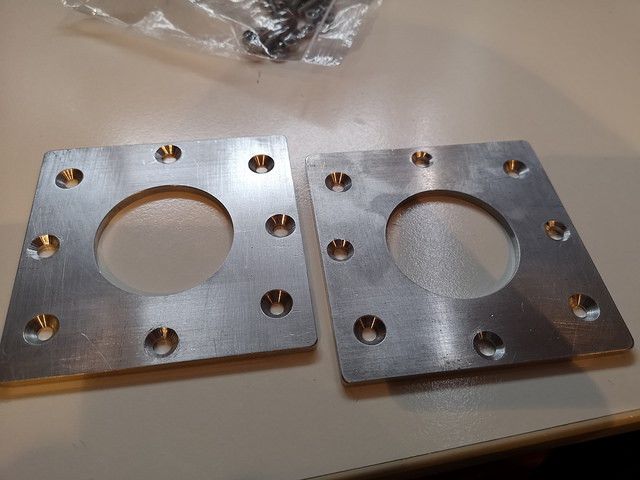
To get these to mount on the original panel was going to take some doing. The original sticks mounted via four bolts in a diamond shape around the joystick holes. That wasn’t going to work here. These mount in a square shape on each corner.
Another collector friend came to the rescue – Victor (from tenpence arcade podcast) came up trumps and offered to make some mounting plates for me. He came through in a couple of days, and produced these bad boys:
This solved a big headache – and of course I don’t have to hack around with the original layout of the control panel – meaning the integrity of the cabinet is kept intact. So while prepping everything there, I gave the two yellow start buttons a good clean and polish:

So getting the joysticks to our panel wasn’t quite plain sailing. I had to drill out some holes in the plastic base to accommodate the mounting bolts, but after some trial and error, I worked out the best way forward:

It wasn’t too difficult, other than having to run up and down to the garage for further Dremel and drill work. But it came together after a few hours and I had both sticks mounted perfectly to the underside of the control panel:
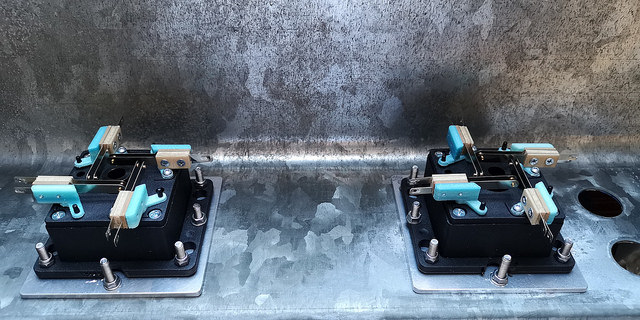
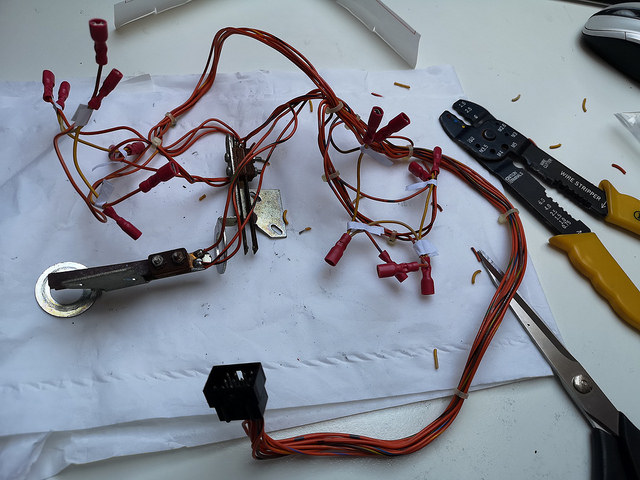
Wiring next. This was a pain in the ass. Whoever built the original loom decided to solder the wires directly onto the old leaf switches. So those had to be cut off and replaced with crimped connectors. Not a pleasant job, but necessary:
So with that done, it was time to mount the sticks and buttons to see what we have:
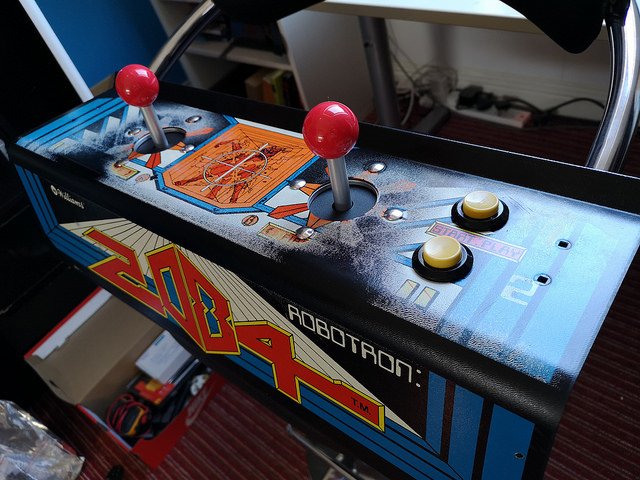

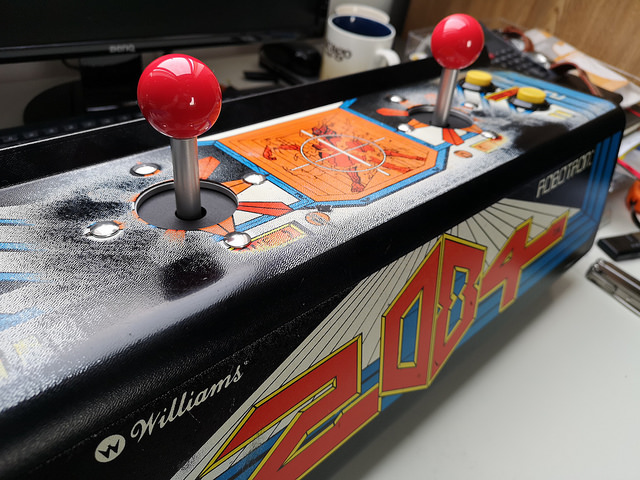
Really pleased with how that panel has turned out. We’ve breathed new life into it, upgraded our sticks and cleaned up the grime and buttons. It’s going to look great on the cab. Here’s a before/after:
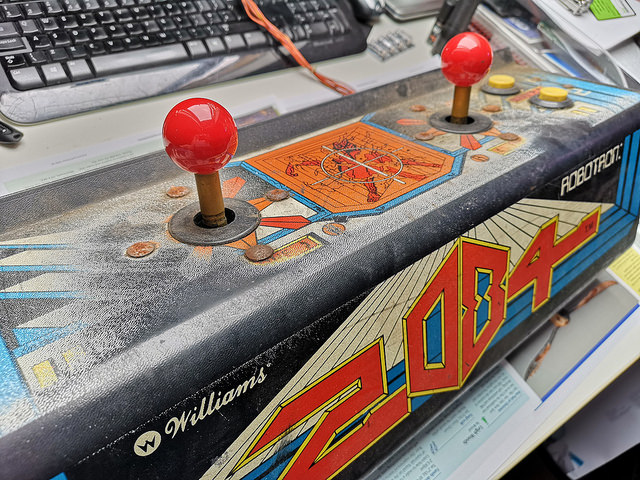
The sticks sit just a few tenths of an inch higher than the originals, but it’s perfectly acceptable. I might resolve this at some point by getting the sticks milled down slightly, so they better match the height of traditional Wicos. As for feel, they are very close to the originals.
There was more good news too. The boards came back from repair – fully working and ready to go!
So there you go. Part 1 of this restoration journey. In Part 2 we’ll get back to the main cabinet, where some wood repairs are required!
See you next time.
Tony


That’s really amazing. I don’t know why they didn’t go with black in the U.S.; it looks better. Normally I’m not a big fan of “patina,” but you can literally see people’s fists clenching the joysticks! How appropriate for Robotron!
LikeLiked by 1 person
Glad to see my old Robotron cabinet coming back to life…looking forward to part 2!
LikeLiked by 1 person
Hey Pete! Thanks for stopping by sir. More to come!
LikeLike
Looks amazing, Tony! Great work!!! Did you consider some dust washers on top of the control panel there? Might make for a bit of a cleaner look, but overall this came out great and I completely agree with your decision to leave the control panel a little bit grunged up!
LikeLiked by 1 person
Yeah I take your point. The dust washers sit underneath the panel, but with the plate there too, it sits quite low. I might dismantle the joysticks again and move them up top.
LikeLike
Nice blog.
Just realised my Robotron is an EU one then.
Who was your repairer and do you know if he is open for sorting other board sets out ? I think I have RAM issues.
Waiting for the second part as I have a few holes made by a security clamp.
Regards
Nigel
>
LikeLiked by 1 person
Would have been very tempting to go with a new control panel overlay, but I agree with some of the other comments it looks great. Look forward to part 2. Cheers. Roly
LikeLiked by 1 person
If you need your shaft shortening – I know a guy! HUR!
NIce work so far!
LikeLiked by 1 person
Nice work as usual pal. Love the CP as is too. Weirdly I love crimping, I find it most therapeutic! Looking forward to the woodwork..
LikeLiked by 1 person
this is very interesting! i love how you have brought it back to life!
LikeLiked by 1 person
You’re an inspiration sir. You’ve accomplished what I could not. Ive a full set of Robotron boards stored away that have t seen the light of day for 20 years. I’d longed to bring the amazing sounds from this game back to life and relive my misspent youth from those smoke filled arcade days, but my family happened. 🙂
LikeLiked by 1 person
Did part II get omitted or just not written? We are a year down the road, Looking forward to an article about the additional challenges that no doubt came up.
LikeLiked by 1 person